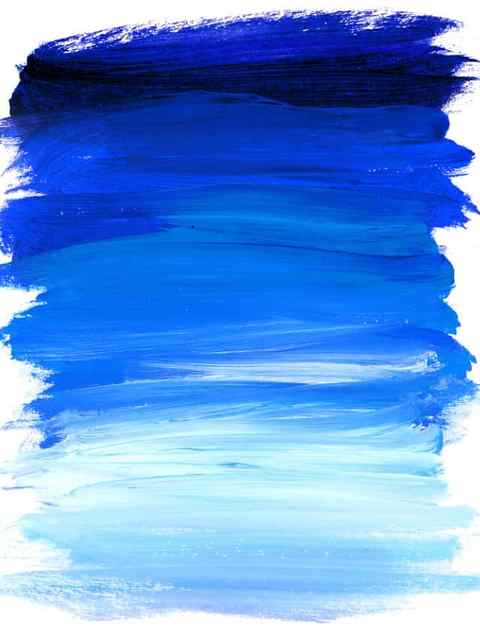
Try experimenting with three colors you think will mesh well together! I like using a triple load for the base of a lot of my paintings! The above graphic is a triple loaded brush with black, white and turquoise painted with all up and down strokes.
16 Ways to Avoid Brushstrokes in Your Acrylic Painting

There are many different types and styles of acrylic painting from painterly style with obvious brush strokes to impasto with thick, heavy layers of paint and many more. But what if you wanted a smoother finish to your painting such as when painting a portrait or a clear, reflective pond?
It is not always easy to avoid brush strokes with acrylic paint since it dries so quickly. Here are several techniques and tips you can use to avoid brush strokes in your acrylic painting.
**This page may contain affiliate links to products I have used or recommend. If you purchase something from this page, I may receive a small percentage of the sale at no extra cost to you. For more information click here.**
#1: Start with a smooth surface
You can buy very smooth canvases but they do tend to be pricey.
Alternatively, you can use several coats of good acrylic gesso on your not-so-smooth canvas or wood panel. Sand between coats to get the best smoothness and wipe clean.
You can apply as many coats as you need to get the smoothness you want. I have a post explaining how to gesso a canvas if you need more information.
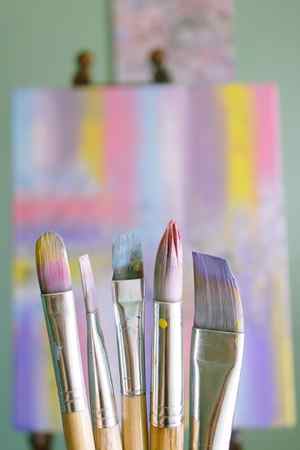
#2: Use a soft brush
The texture of the brush you use can also play a part in how streaky your paint becomes.
A stiff, hog hair bristle brush more suited to oil painting will cause numerous streaks in your paint.
A softer synthetic taklon brush is better to use when you want to get a smooth acrylic painting. It should be softer than hog hair but still firm enough to get a good stroke.
You may have to experiment a little to find a brush that suits your style of painting and your type of paint.
Expensive brushes are not necessarily the best but avoid dollar-store brushes since they tend to lose hairs that get stuck in your paint.
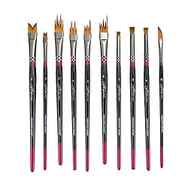
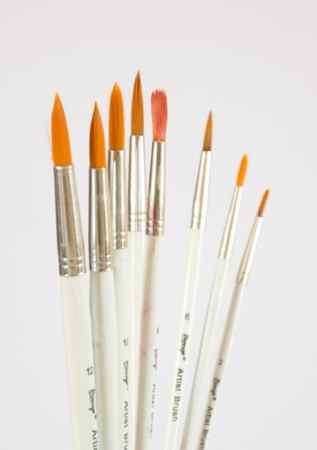
Brushes I Use:
There are so many brands of brushes on the market ranging from all sorts of price ranges. Just like most things that you invest in, the higher the brush price the most likely it will be of greater quality and the longer they’ll last.
I like to grab a mid range price of brushes and personally love the Royal And Langnickel ones. The line I use often for my tutorials is their Zen line. I also really like their Royal Majestic and Moderna line. Recently I started using mostly the Princeton Velvetouch Touch brushes! I love that this set includes the most common brushes so that you don’t have to purchase them separately.

The above graphic is by no means a list of all the brushes that exist! I left out the filbert brush which is like a flat but has a rounded tip.
A palette knife can be used as a brush to apply thick “impasto” strokes. There’s even odd shaped brushes like zig-zag edged and v-shaped!
Different Brushes Create Different Effects
See My Post About Using A Round Brush and Using A Flat Brush
How are brushes labeled?
Sometimes it depends on the brand. Wouldn’t it be more interesting if brushes were called fun names like “Harry” and “Louie”? Or if they were just color coded. That way we’d all know exactly which one!
Brushes are typically labeled with names like “flat” or “round” or “bright” or “shader” or “fan” or “angle” (you get my gist) and a number.
Usually the smaller the number, the smaller the brush! The larger the number the larger the brush. Everyday objects like old toothbrushes & cotton swabs can be used too!

Common Brushes
- Basecoat/ Wash : Basecoat brushes can be used for painting an entire canvas with gesso or varnish. It can also be used to paint an extremely large area or if you want to paint the entire canvas one color like black! You may also see a “wash” which is a large flat used for covering large areas.
- Flat or Bright :Flat brushes are used to get a sharp edge or if you want to paint a large area. They vary in sizes and usually are labeled with a number or how many inches wide they are (1″, 3/4″, etc.). Often times we hear “bright” used. A bright is also a flat brush but the bristles are shorter. A bright tends to be easier to control because the bristles are shorter. You may also see “shader” and that is typically with longer bristles. There is also a “chisel” which is a flat that is very short!

- Angle : An angle brush has many uses! I like to use this when I want my paint strokes to come to a fine point (like tree branches or pine needles). It’s also perfect for “cutting in” sharp edges or creating zig-zag strokes and double loading for a blended look!
- Round/ Liner : Round brushes are typically labeled with a number. The smaller the number, the smaller the brush. Use round brushes for filling in small areas. Also use them for fine details and tiny stokes! The very tiny round brushes are often labeled as “liners”. You may see 10/0 or 20/0 for these very small brushes.
- Fan Brush : A fan brush is fun to experiment with! I don’t use it often but they are great for painting palm tree branches, pine trees, waterfalls, etc. I once used it to paint a “tutu” in one of my painting tutorials! They are also labeled with a number.
- Filbert: Similar to a flat but has a rounded top. Great for blending and creating smooth edged strokes.
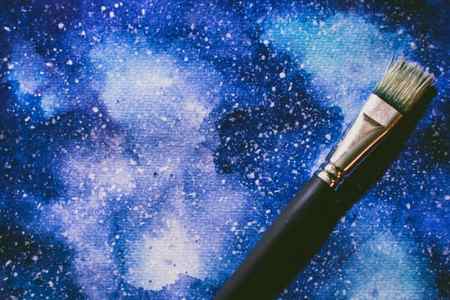
- Everyday Objects : Use an old tooth brush for a splatter paint effect! This is great for painting stars in a night sky. A lot of everyday objects can also be used as a brush: Q-Tips, sticks, feathers, fingers… You can even do some wonderful techniques, such as a galaxy, using an artist sponge!
Brush Techniques
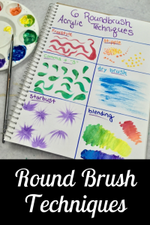
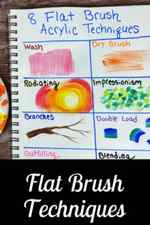
This is not an inclusive list at all as there are many! These are just some of the ones that I love using in my paintings! In fact, I created posts all about the different techniques you can create with just the round brush and a flat brush.
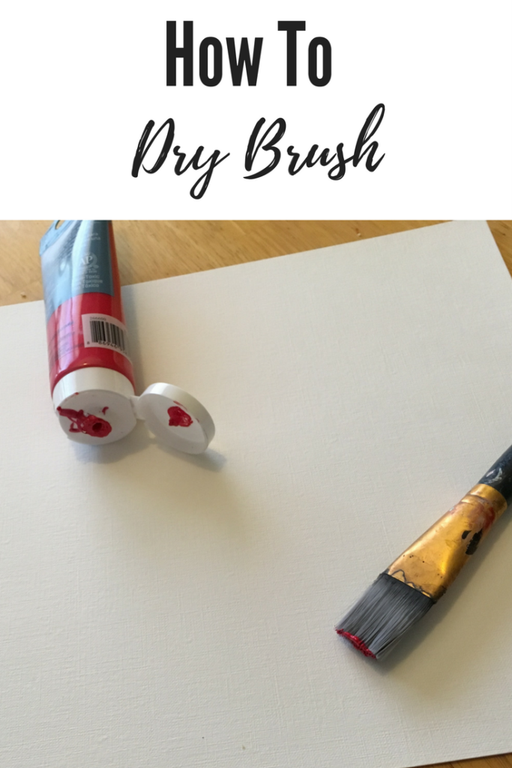
Dry brushing is a technique used by artists to make the paint look “feathery” or “dry”. Any brush can be used for this technique.
When you do a dry brush stroke, use a clean brush with no water on it. Dry it with a paper towel.
Load just the tip with a little bit of paint. You only need to get paint on the tip! If you load too much paint, wipe some off with a paper towel.

Then lightly apply the paint on the canvas! The strokes always remind me of a crayola marker that is running out of ink. It looks translucent and you can see the texture of the canvas or the color underneath.
Some examples of instances when a dry brush technique would look great are: sunset clouds, grass, waterfall, wood texture and more!


