Photos via CakeSpy
Purple watercolor paint
HTS Patterns are available in HTV, Glow-in-the-Dark HTV, Permanent and Repositionable Vinyl. Choose 1 or all and start adding amazing style and trends to all your crafting projects! All our HTS Patterns are printed on the highest quality materials in full vibrant colors.
- Create design and set to cut feature.
Tip: Pattern vinyl does not require Mirror setting - Place your pattern vinyl paper backing side down onto your mat so the vinyl side is facing up
- Cut design and weed vinyl
- Place transfer tape over your design and varnish the pattern vinyl and transfer tape together
- Place item on the heat press with your design in the area you want to press
- Press your item with medium pressure at 300°F – 315°F for 15 seconds
- Open press, allow design to cool for a few seconds and cold peel application sheet in 1 pull for best results
- Remove product from press
- Tip: This material can be layer with other HTV vinyl materials
Pattern HTV Instruction for Hand Iron Application
- Create design and set to cut feature
Tip: Pattern vinyl does not require Mirror setting - Place pattern design upward on your mat so the backing is facing up
- Cut design and weed vinyl
- Place transfer tape over your design and varnish the pattern vinyl and transfer tape together
- Set iron dial between Cotton and Linen pending the item you are pressing
- Place on flat hard surface (Iron board is not recommended)
- To achieve best application press, don’t use the iron steam function
- Press iron with firm pressure straight down for 30 to 60 seconds (pending the design)
Tip: Don’t move iron slide to slide - Allow design to cool for a few seconds and cold peel application sheet in 1 pull for best results.
Tip: If design area as a lift application, replace cover sheet and re-press area for 10 seconds
- All products should be polyester or cotton. Nylon materials will not work
- 100% Polyester
- 100% Cotton
- 50% cotton / 50% polyester
Material Recommendations for Oracal 651 Pattern Vinyl
- Non garment products
- Best used for outdoor products; boards, metal signs, decals and works great on Tumblers
- For best care we suggest waiting 24 to 48 hours before washing your garment
- Suggest to turn item inside out and washing in cold water
- Suggest to dry on low setting or hang dry item for best care
- Suggest to stay away from using chlorine bleach
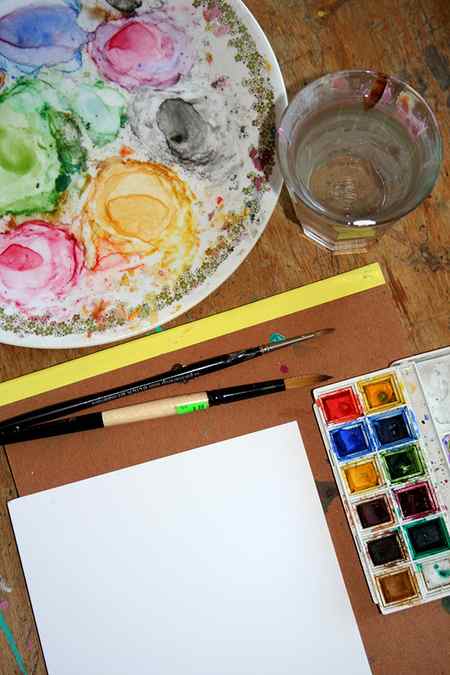
What you need to mix watercolors
Set yourself up for success by assembling the proper supplies. Here’s what you’ll need:
A palette
A palette is where you can mix different colors. Plastic palettes with vessels for different colors are readily available in art supply stores. Or, you can simply use a treated surface with plenty of space for mixing colors. For instance, I personally use an old dinner plate (pictured above).
Watercolors
You’ll need watercolors, of course! Typically, watercolors come in either pressed cakes or in tubes. You can use either type for mixing colors according to the steps in this post.
Water
Water is vital to bring the paint to life and give it a consistency where it can easily be mixed. Water can also be used as a means of adjusting the color, making it lighter if you add more water, or darker if you use just a little water.
You can keep water in a jar or water glass near your palette. Don’t fill the vessel all the way to the top, as you’ll be dipping and swirling the brush in the water and don’t want it to slosh onto your painting.
Get My FREE Guide »
A brush
The type of brush that you use is up to you and will depend on the effect you’re after. Check out our guide to watercolor brushes for information on what types of brushes might be best suited to the painting you’re working on.
Scrap paper
It’s nice to keep a neutral sheet of scrap paper nearby to test the colors you’re mixing to see how the colors look before you apply to your final work surface.
A white sheet of paper or one tinted the same color as your work surface is best, as it will give you the best indication of how the color will look on your work surface.
A work surface
Have your work surface at the ready so that you can use your colors once they’re mixed.
Mixing watercolors
Believe it or not, assembling your materials is far more work than actually mixing watercolors. To mix watercolors, follow these easy steps:
Step 1:
Decide what color you’d like to mix. For instance, let’s say it’s violet, which is a mixture of red and blue.
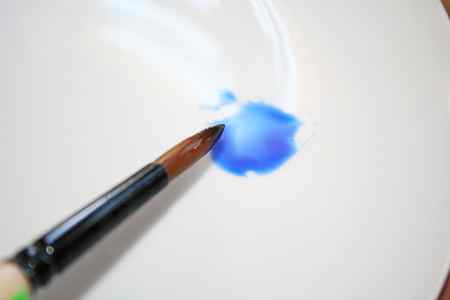
Step 2:
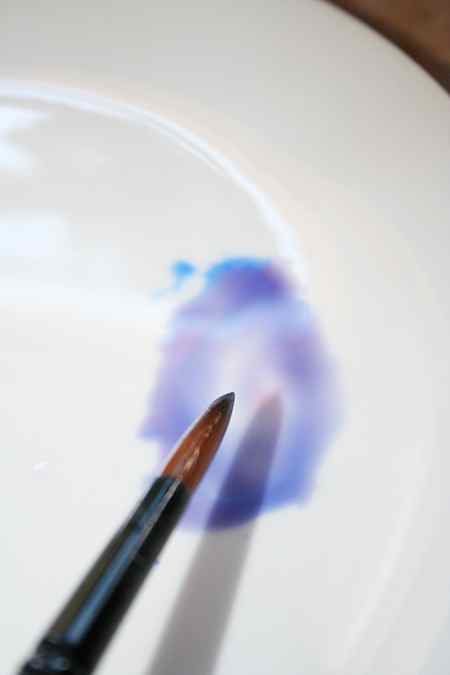
Dip your brush in water and load it up with one of the colors you’ll need to make the desired hue. Some people like to start with the more dominant tone, but with a color like violet, both red and blue are fairly dominant, so it doesn’t really matter which color you start with. Dab the paint onto your palette, adding more paint depending on how large an area you’ll be painting.
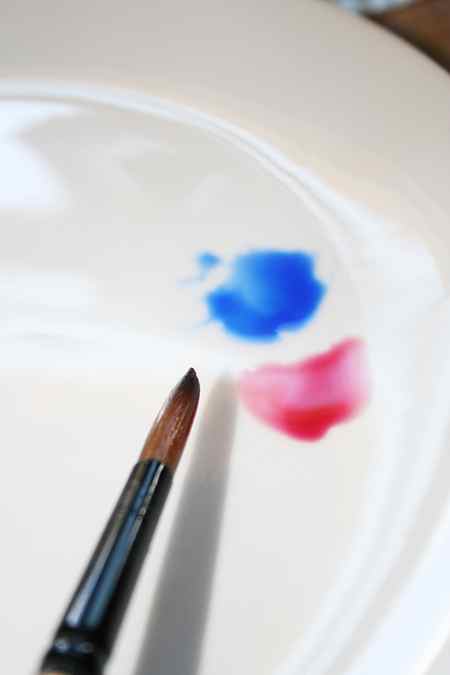
Step 3:
Clean the brush with water. Repeat the same process with the second color, but don’t dab the second color right into the first. Instead, dab the second color right next to the first one. This way, you can be sure that you’re adding an even amount of each color.
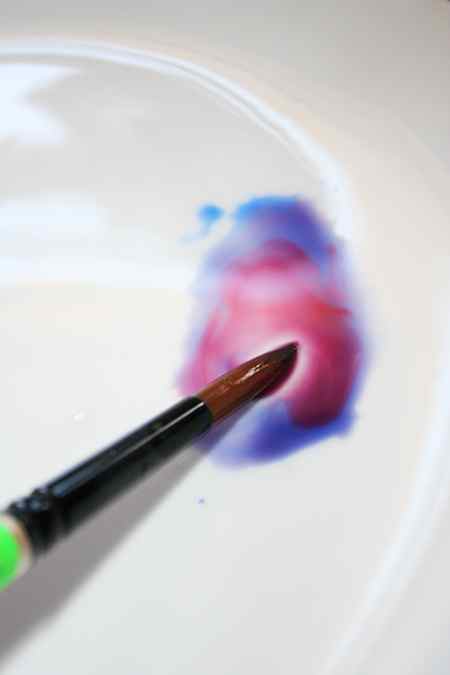
Step 4:
Clean the brush, re-wet, and then mix both of the colors together.
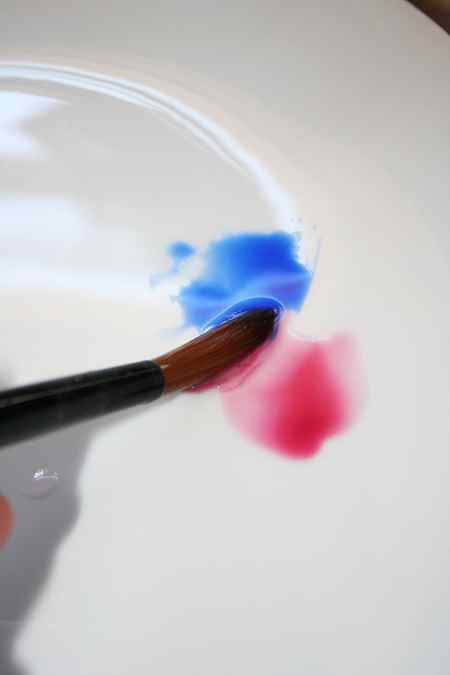
As the color comes together, evaluate. You can even paint a small amount on your scrap paper to gauge the hue.
In this case, the mixed paints look more blue than red. To make the color more balanced, you can clean the brush and add a little more red paint to the mix. Make any additional adjustments as needed to create your ideal color.
Step 5:
Once you’ve reached your desired color, your paint is ready to go. Get painting!
Notes about mixing watercolor
While the simple method above will get you started mixing colors in watercolor, as you continue to paint, you’ll find that your methods may become more refined. Sometimes, the perfect color isn’t just a straight mix of two different colors. On occasion, a touch of an additional color is just what you need. For instance, adding an extra bit of yellow to green tones can make the difference between a forest and grass green; adding a touch of blue (yes, blue!) to skin tones can give them the undertone they need.
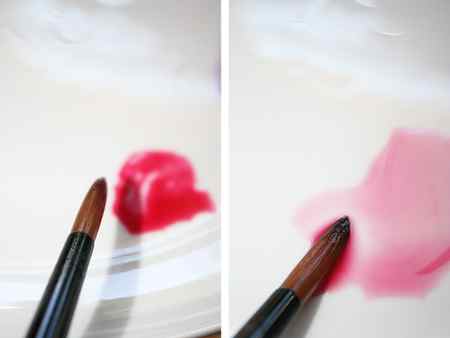
Sometimes mixing the right color doesn’t require mixing two different colors together. Sometimes, it’s simply a matter of adding water to lighten a color. For instance, you could make pink by combining red and white watercolor — or, you could simply water down red paint to create a pleasing pink tone.
Even dried watercolors will be able to “re-animate” with water, so unlike acrylic paint, you don’t have to worry about sealing colors in an airtight container between painting sessions. However, do make sure that you mix enough of a given color because re-mixing exact tones can prove difficult.
Get My FREE Guide »
Make a comment
8 Responses to “Wading into Watercolor Basics: How to Mix Watercolors With Confidence”
- Gordon Allen May 7th, 2021 Yes, thankyou. I’m a beginner who realizes that the color from a tube or pan is probably not what you want exactly to make your art to pop of the page. Drawing a stem with just straight green from your pan will work but stems do not have a solitary color and there is shading to consider and on it goes. When I do this I’m going to record how I get every new colour. Having this is labour intensive but after awhile it will save time. Reply
- Judygage9456421 March 14th, 2021 What a succinct and understandable lesson. Thank you. Reply
- Elia Martinez March 5th, 2023 Looking for light blue color. I have coloring set the colors are orange but light, green, purple, black, grey and yellow. How to obtain light blue? 6 paints 0.07 oz (2.07ML)2 coloring sheets Reply
- zariwahab21225369 January 24th, 2021 this really helped my daughter with her paintings Reply
- Ken Coutts January 14th, 2021 I’m a beginner, in watercolour, since first virus outbreak and first lockdown, my Sketching and proportion, perspective is good, bought a couple of good watercolour for beginners books.
Working through tips and tricks etc, probably trying to run before I can walk, came across a photo I had from years ago, I live in Scotland, this photo was of a young Stag in the foreground behind in the mist was snowy hills, however, you can still see the snow and where the rocks on the hills show through, albeit misty, I understand watercolour values and tones , to a point, I’ve tried to create the mist over these mountains down to tree level, tried to introduce the darker tones of the mountain rocks albeit with a misty look, the photo although in colour, most colours are browns and grey values.
Trying to achieve the darker values of rocks showing through the snow, yet remaining misty.
I either get cauliflower blooms or hard edges.
Any tips to try.
Regards. Reply- Lynn Cook February 21st, 2021 Startup Library: Painting With Watercolors Try this class. She teaches how to soften edges Reply
- Suzanne Herder January 11th, 2022 I would like to take the class you suggested about softening edges. How do I find the class? Reply
- Zach January 8th, 2023 To achieve a misty foggy look it’s important to preserve white space when preparing your glaze. Blotting away pigment with a paper towel can be helpful when making adjustments. Also note that colors are more saturated in the foreground than the background and even less so when in fog. Reply
- Lynn Cook February 21st, 2021 Startup Library: Painting With Watercolors Try this class. She teaches how to soften edges Reply


