Next, add shading to the lighthouse. Do this by adding a very small amount of phthalo blue on both edges of the lighthouse. Then blend it in gently with the white.
How To Paint a Lighthouse: An Easy Tutorial For Beginners
Do you want to draw a lighthouse by the sea, but don’t know where to start? Here is a fast and easy step-by-step guide on how to paint your own lighthouse! Feel free to customise it and add your own spice (Girls)! If you’re ready to follow our easy tutorial for beginners, keep on scrolling!
We can’t start our painting without the things we need! So first, check out the items on this list to see if you have some of them at your study if you’re missing some items, you can go to your fave craft store, and look them up:
- Plastic tablecloth or a cover to protect the area under you
- Palette or paper plate
- Cup with water and paper towels
- Paints in colours of blues, teal, aqua, white, red, black, gray, brown, yellow
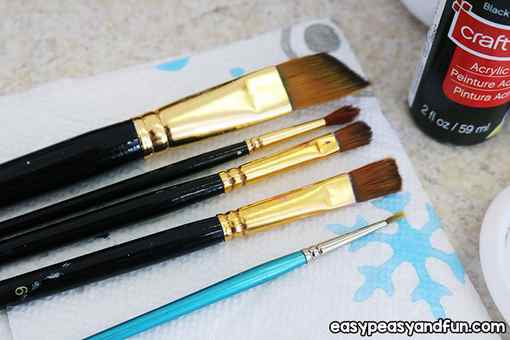
- Paintbrushes in a few sizes (tiny detailing brushes to 1 inch flat brushes)
- Pencil and eraser
- Ruler
- Easel (optional)
Step 2: Create your outline!
Before you start creating the outline, please refer to some reference photos to understand what you want the lighthouse to look like.
First, sketch the sideline of the lighthouse with a ruler. Start with a primer with a pencil and gently outline the lighthouse, waves, rocks (or whatever you want to put on the bottom). It is light on the canvas and can be erased without much pressure. Be sure to wipe off the eraser shavings so that they will not be painted later.
Draw a rectangle of light coming from the lighthouse and draw a circle in the center. Add patches of rocks, cliffs, or grass, even on simple slopes that run under the lighthouse. This is where you can be creative and decide how you want it to look.
Step 3: It’s time to start painting!
Let’s start painting the background! If you are using dark blue, you may need two full coats. Trace the contour with a large and thin brush, then fill with a large brush. If you have visible areas, try to paint on the outer edges, top and sides, and bottom as well.
After drawing the background, let’s start the lighthouse! If you want the lighthouse design to have stripes, you can start with a lighter color and then alternate it with a darker color. You can then add a circle at the top of the lighthouse through where the light passes. Use black to add some vertical lines to the area of the light, then paint the railings like a zigzag. Decorate the lighthouse with a little detail brush and make it really stand out! Then add a small window by combining white and black to create gray. Make a small square in the middle to make a window.
Paint the base of the lighthouse in a dark brown shade and then move on to the waves. Use a small brush to add a bright or contrasting shade of blue to the waves. If you haven’t created a wave, dilute your paint and add a line in the water. There are wavy lines here and there, adding an undulating bubble-like appearance to the tip of the white-colored wave above the wave, and adding blue or white to the wave as needed.
Add light by using a shade of yellow and creating a stroke perpendicular to the side of the canvas. If desired, you can also add birds using a black color that mimics the small V-shape of the sky.
And that’s how to paint your own lighthouse! If you enjoyed this painting tutorial check out the other how-to guides on our news page for a simpler step-by-step tutorial.
How to Paint a Lighthouse
What you will need:
- plastic tablecloth or a cover to protect area under you
- palette or paper plate
- cup with water and paper towels
- paints in shades of Blues, teal, and aqua, white, red, black, gray, brown, yellow – or any other you decide you need, maybe another yellow for a sun or moon or green if you want grass
- paintbrushes in a few sizes, ranging from tiny for detailing, up to about a 1” size, part of this is really what you prefer to use, but it is good to have a few long, thin type for outlining, and at least one smaller with a nice flat edge for painting straight lines with.
- pencil and eraser
- ruler
- easel if you prefer to use one

Step by Step Instructions
The first step is to lightly draw the lighthouse, waves, and rocks or whatever you choose to put around the bottom of it, in pencil.
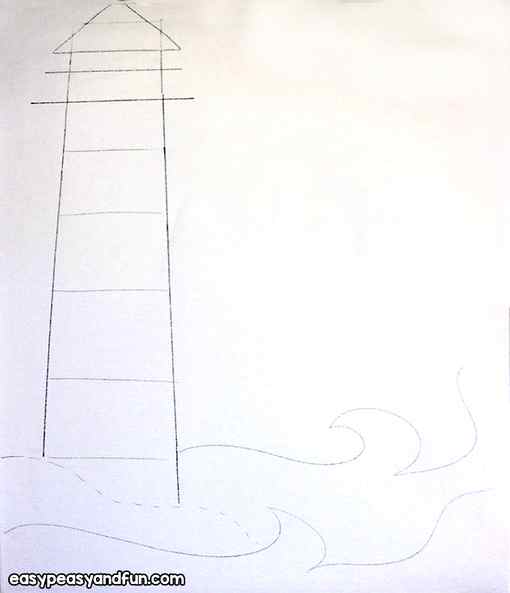
You can erase on the canvas as long as you do it lightly with no hard pressure, and just be sure you brush off any eraser shavings, so they don’t get it any paint later.
Use a ruler to draw the sidelines of the lighthouse to start.
Leave room for the top of the lighthouse and some sky above it.
Also, leave room for rocks and waves below. It should take up about 2/3 of the canvas height.
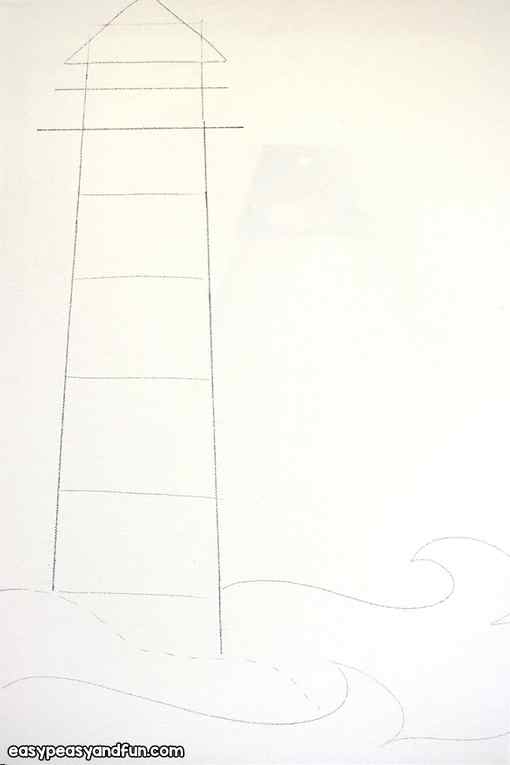
I would advise you to look online at some lighthouse images to choose the top style for the lighthouse.
Most are similar, but some have more ornate things like iron on them. You will need to choose how you want yours to look.
Don’t stress too much with drawing in tiny details here, since you will be painting over them for the most part. The small parts of this you can paint in with a tiny brush later.
If you are doing a striped design on the lighthouse, use the ruler to draw the stripes on to it now also.
Draw an area for the light – it should be a rectangle shape, with a circle in the center for the light.
Now, sketch in some rocks or a cliff, or grassy area, even if it just a simple, hilly line that goes under the lighthouse.
This is where you should get creative and choose how you want it to look. If you like the style of the sample here, you will need to draw in a few rocks first, making them bumpy and not perfectly smooth, and then some waves.
I wanted mine to have a wild, crashing type wave, not be a calm water, but you can choose whatever you want to do.
Once you have the main outline for your water or grass drawn, you’re ready to start.
It’s time to paint!
You will first paint your background. I recommend shaking up the paints well before pouring and don’t overpour it, but for the background, you will need at least 3 or 4 palette-sized cups of paint.
If you are using a darker blue, it will take 2 full coats most likely.
Start by using a long, thin brush and do an outline before painting in with a larger brush.

This helps keep you focused on the area you need to be on and helps keep you from accidentally going into the lighthouse with the paint.
Wet your brush to start and blot it on a paper towel, then dip it into the paint. This helps loosen up the brush and get the paint flowing. You should only use the water when you pull a new brush to use or to rinse the brushes out otherwise.
Water will mess up the paint finish and make it see-thru and runny.
Outline all the way around the lighthouse, and the rocks and waves with the background color you chose.
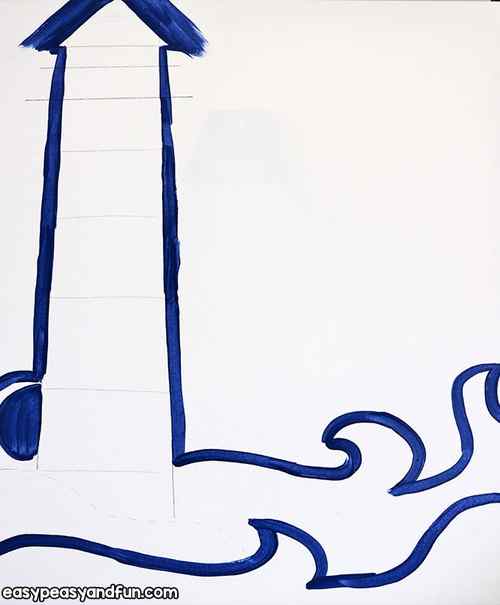
For mine, I added a line between where the rocks and waves mix towards the bottom of the canvas too.
Once you’ve done that, go ahead and paint in the background with your large brush.
Be sure to paint along the outside edges as well, across the top and the sides, and on the bottom if there is an area where it shows there.
While your first layer of paint is soaking in for a few minutes, rinse the brush well and switch to the lighthouse color.
If you are doing a stripe on the lighthouse, choose one of the colors for the stripes and paint those stripes in. One thing to note: If one of your stripes is black and you are adding iron balconies or anything to the top, be sure not to start the lighthouse stripes with black, so that the iron parts show up.
Mine is red and black so I did a small section of red there to start to make that part balanced and then did the thicker stripes in alternating red and black.
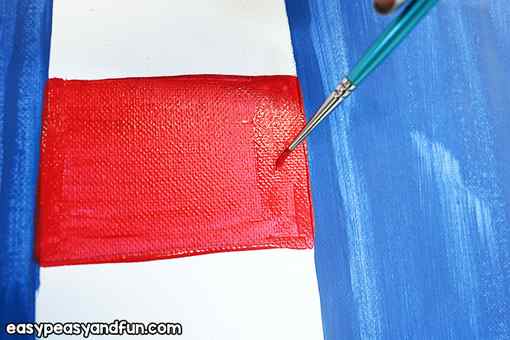
This paint color may need two coats as well, so if you want to switch back and forth between the lighthouse and the background, that works well.
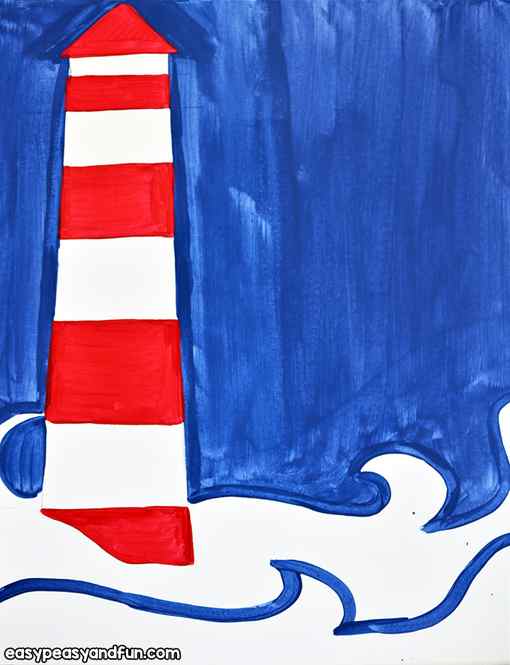
Add another coat to your background and then go back to the lighthouse.
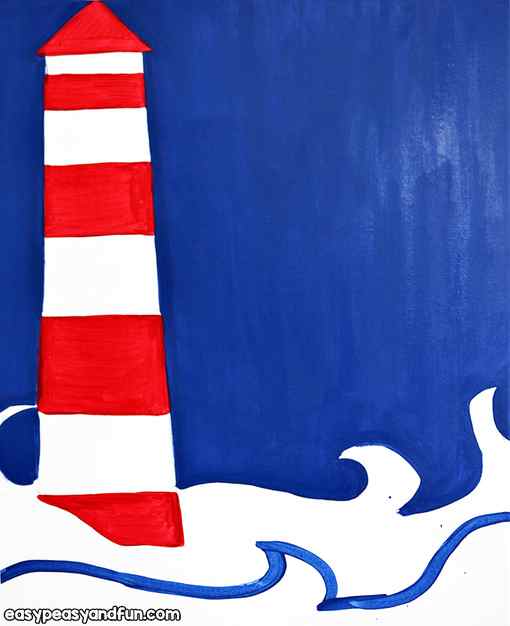
Next step is to start the rocks, water or grass, whatever you chose.
I painted in my rock first, that the lighthouse is sitting on top of, in a gray, so that when I paint the waves they overlap the rock.
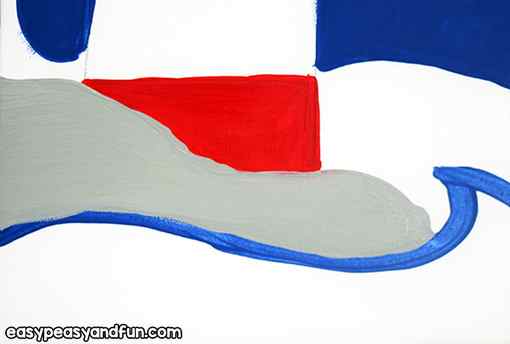
This is also a good time to add gray up where the light is so that it has time to dry before you go in to do the rest of it.
Then, I started with a lighter blue color and painted in all the areas with waves and water.
I used the dark blue color line I had painted earlier to help give the second lines of waves a shadowed look and help divide the waves up, so they don’t look like one big blue area. They need dimension to them and movement.
The best way to make that happen is to use a few shades of blue and some white.
Go into the light and paint the light yellow in the center of that area.
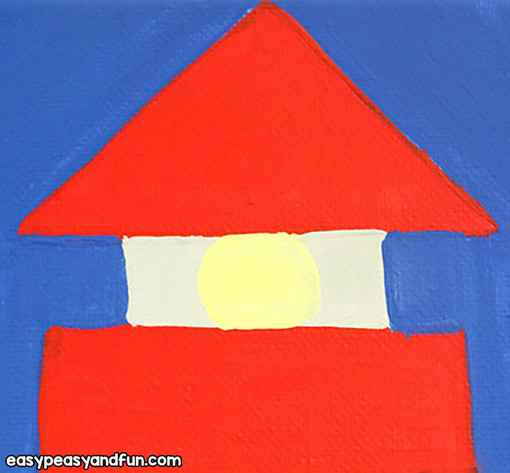
Once you have a good coat on the main color for the water (in my case, light blue), you can take a smaller brush and add some lines on each wave, following the shape of the wave to give movement to it.
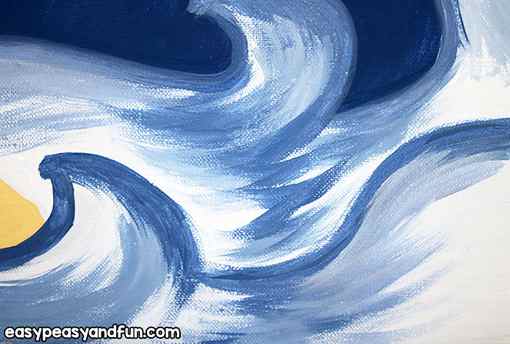
This is also a good time to let the paint dry on the water if it needs to and go back to the lighthouse.
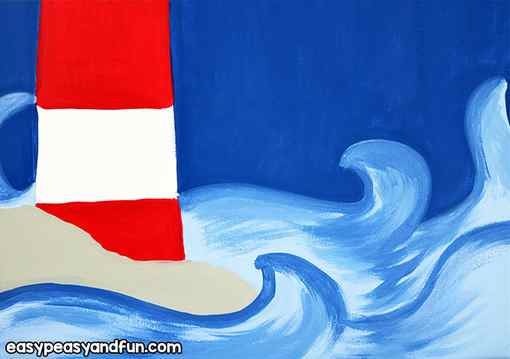
Start painting in the other colors on the lighthouse at this point, including the other stripe color and the roof. If the first color needs any touching up, go ahead and do that as well.
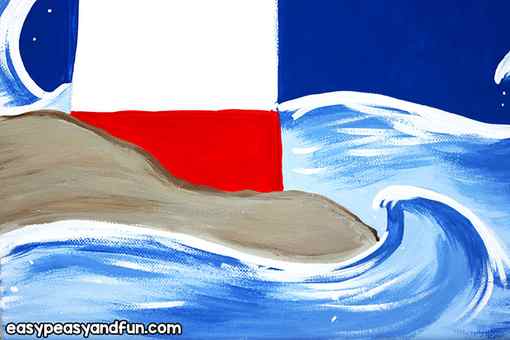
The background color, the lighthouse, and the water or rocks should be close to dry.
If you can see any canvas showing through the paint on these, touch it up now so it is a good, solid color all over.
Now, you should be ready to add finishing details.
For the waves, add any lighter or contrasting blues with a small brush – you can add lines in the water if you didn’t do waves, just making thin wavy lines here and there, and on the waves you can add a rolling foamy look to the tips of the waves with the white paint, as well as some blue or white in the waves if you like.
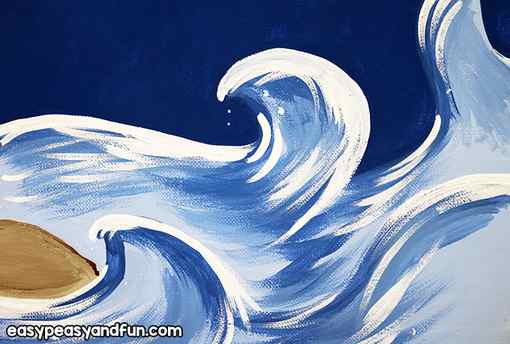
On the rocks, use a brown (I mixed a little white in my brown, so it wasn’t so dark and harsh) and take a small brush to add contrast and shadows on the rocks.
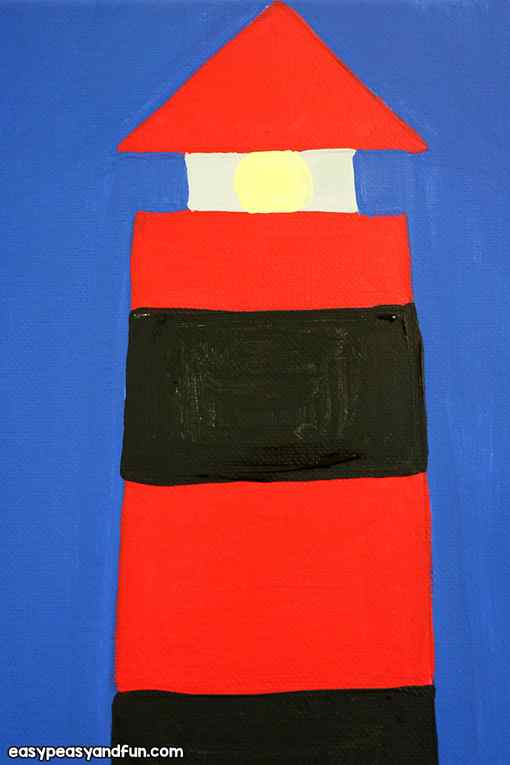
Small, wiggly, lines and a few dots help it look textured. On the lighthouse, use the tiny brush to paint in the railings and iron details.
I did a zig-zag type pattern for my railings and I also added small black lines down one side of the lighthouse to show some shading and make it stand out some.
Also, if your sky is a darker one like mine, take the tiny brush and add a few lines of yellow pointing down from the light to show the light shining if you like and also paint in a small window/cut out part mid-way down the lighthouse in a small rectangular shape.
You can shadow it with black too if you like, by painting across the bottom and one side with black or gray.
If you’d like to add birds in the sky or paint a sun or moon, this is the last step. Birds are done using a tiny brush, in V-shapes, with accented tips on the “V”. Keep them small and they are easier to paint.
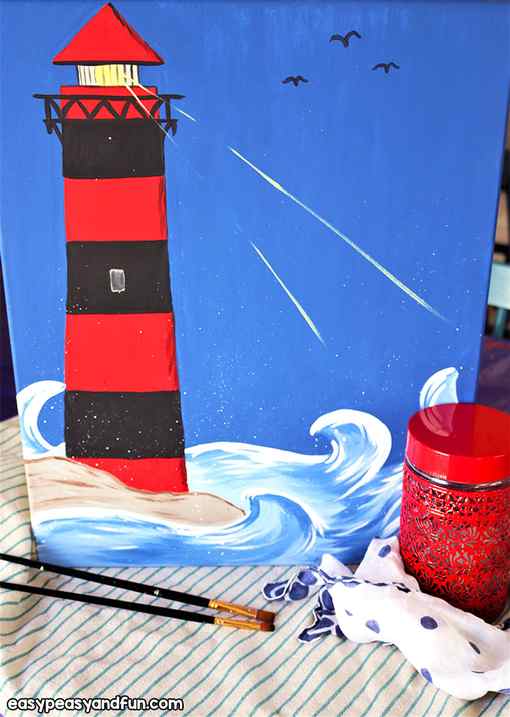
Lastly, check over all the painting to see if you want to touch up anything and take care of that, then add your signature!
Let it dry well.
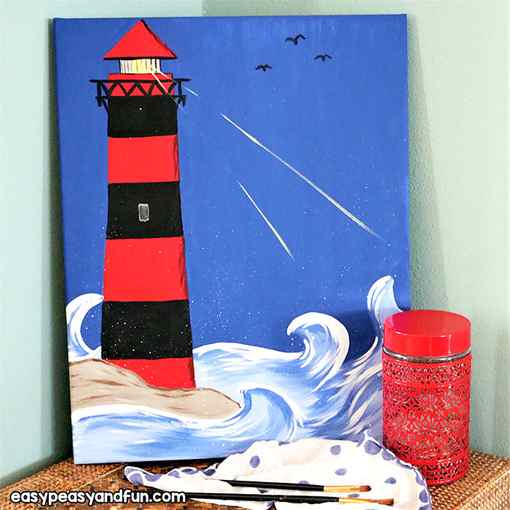
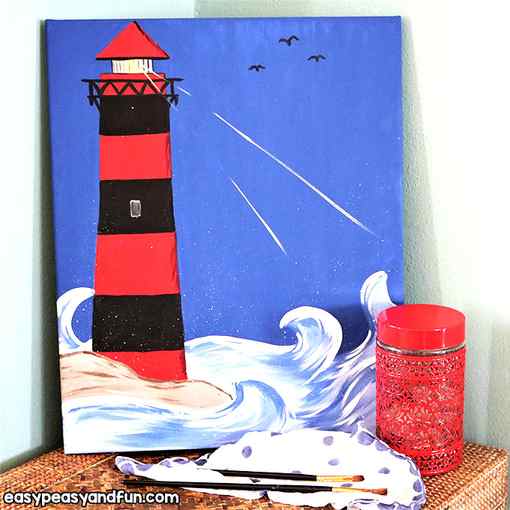
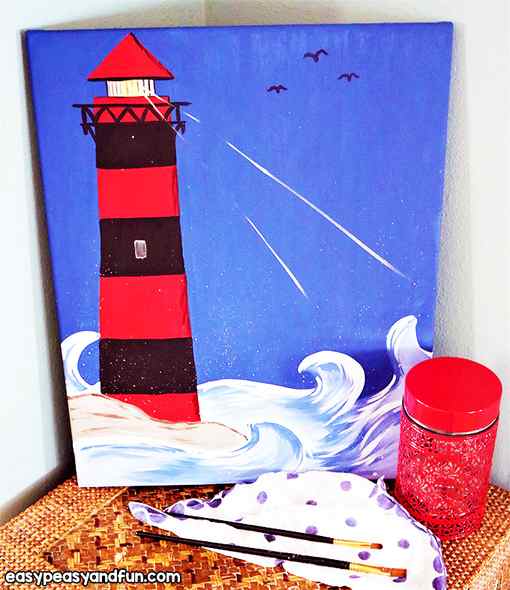
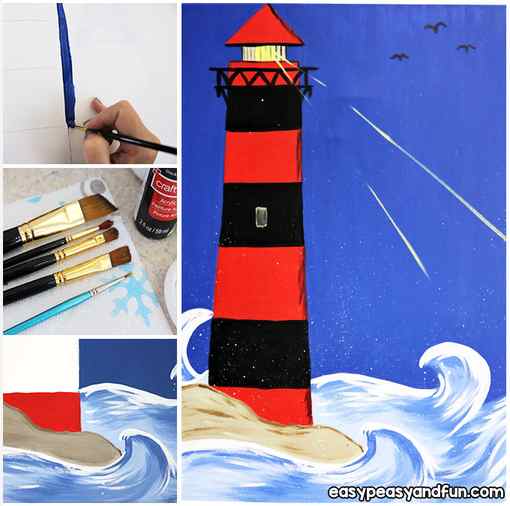
Project contributed by Mary B. H. from My Little Canvas
Want instant access to all of our printable crafts, activities, and resources?

With thousands of crafts, activities, worksheets, coloring pages, and drawing tutorials to print, you will always have just the resource you need at your disposal. Perfect for parents and teachers alike!
Paint More Star Details
Use the #4 round brush to paint more star details in the sky. Paint small dots and smear the dot with your finger to create a “glowing effect” for the star. Then paint a small dot inside the glow.

Paint these dots in clusters throughout the sky. You can also paint constellations!


Paint Light Inside Lighthouse
Load your palette with primary yellow. Use your #4 round brush to paint a small yellow dot in the light box area. You’ll have to paint over the middle vertical line.

Use your index finger to smear the dot so that it becomes blurry and creates a glow.

You may have to repeat this a few times to get that glow to be brighter.


Then paint a small white dot in the center of that circle. This will make it look like the light is bright right in the center.

Then use the #4 round brush to paint the light beams. You’ll want to do this “dry brush style”. That means you only load a small amount of paint on the brush. Wipe off the brush to ensure of this. Then paint a very translucent line with both titanium white and primary yellow mixed together.

Paint several of these light beams on both sides of the light (or on one side if you prefer).


These light beams (as long as you make sure you’re using very little paint and no water) will look translucent.


If needed, paint the black lines of the balcony where you would like them to overlap the light.

Paint Splashes Behind Rocks
Use a 3/4 flat brush and titanium white to paint the splashes. You’ll want to do this dry brush style just like you did with the light beams and white reflection in the water.

Load only a small amount of titanium white on the tip of your flat brush. Wipe some of the paint off. Then paint small angle strokes from the tops of the rocks.

Do this technique kind of all throughout the top of the rock area to create the impression of waves splashing against the rocks.


