What are your favorite Spring flowers? Have you painted them? I’d love to see them! Colleen about Colleen Enter your email address:
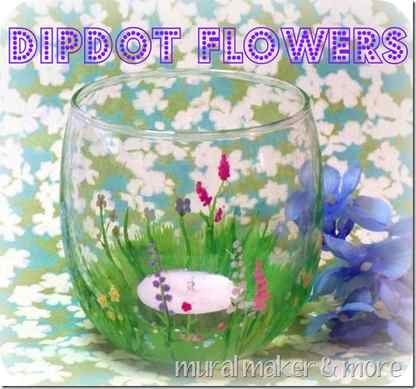
Paint Flowers in 15 Minutes or Less– even if you can’t paint
Okay, so it’s not my own idea. When I spied the Landee’s dipdot easter eggs yesterday it got my mind whirring. Plus, my friends at Expect Moore and The Country Chic Cottage invited me to join their Crafty Quickies party this week, which is 15 minute projects.
Of course I had to paint something. And it’s Spring. So that means flowers, right? Now, I believe there are all kinds of flowers we could paint in 15 minutes or less, but here’s the question – do you believe YOU can paint flowers in 15 minutes? Read this little ‘tutorial’ and I think you’ll agree . . .
Anyone can paint dipdot flowers!
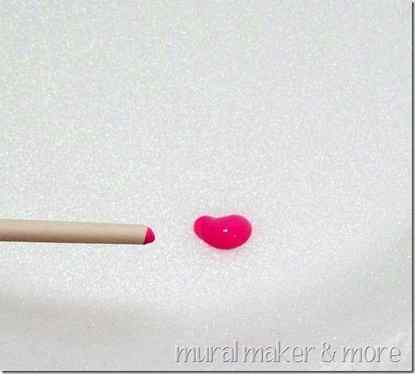
So what is a dipdot flower? Simple – dip the end of a paintbrush into paint. . .
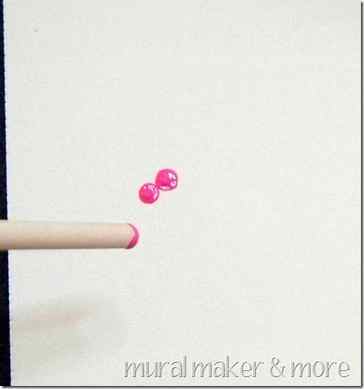
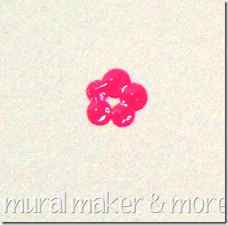
Dot five or so in a circle and you have a dipdot flower. Easy, huh?
Now, these are cute for Easter eggs and other projects, but can’t we get a little more creative with our dots?
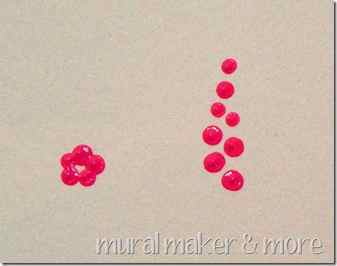
Instead of a circle, ‘dot’ a line. These could be delphinium, foxglove, hollyhocks, or whatever other tall flower you can think of.
My lilac bushes are blooming so I tried a cluster too. Or they could even be grapes?
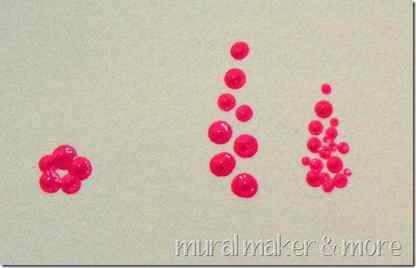
Are you with me so far? How about adding another color?
Close up it looks a little messy but from a distance two paint colors add a little bit of dimension to a very simple paint technique.
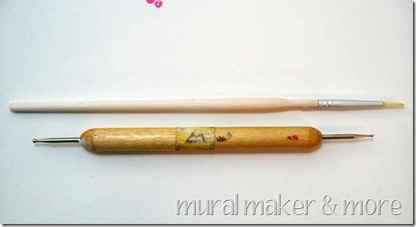
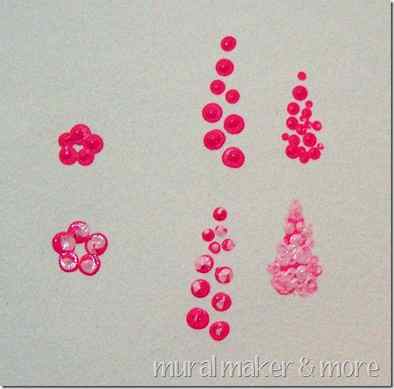
You don’t have to use a paint brush. If you have a stylus you can make smaller dots. Look around and see what else you can use. This is great for kids too, by the way. They’ll love making dip dots into all sorts of patterns.
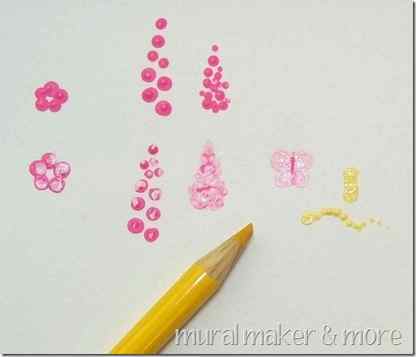
Butterflies, caterpillars and a . . . blob! A blob that was going to be a bumblebee but I didn’t grab the black paint.
Okay, so you see how absolutely simple dipdot flowers are, right? And, yes, you can totally make a bunch in under 15 minutes. Just keep in mind they’ll take a while to dry. (That’s a hint for homeschool teachers and any inpatient types like me!)
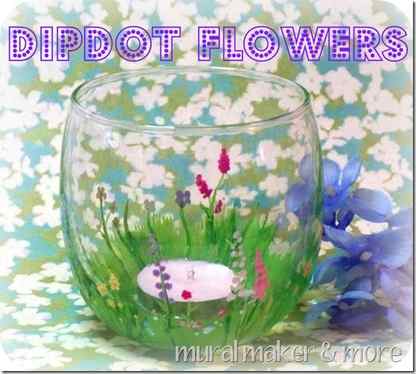
Let’s see how you can make a dipdot flower garden now. It’s super easy.
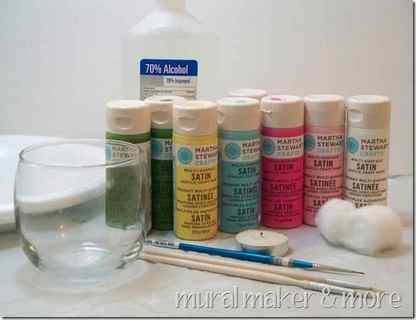
I chose a glass votive holder for my ‘garden’ so I used Martha Stewart paint by Plaid Crafts. If you’ve been here before you know I love this multi surface paint because it works on nearly every surface! I don’t need to buy special paints for glass any more.
Before you paint on glass, clean it thoroughly with rubbing alcohol and let it dry.
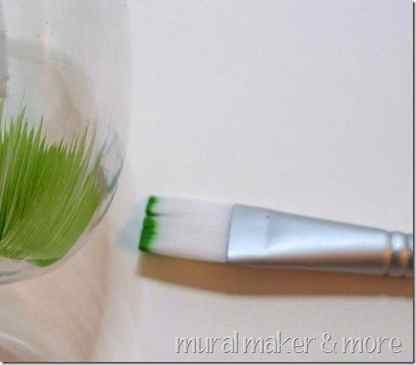
Then take a larger bristle brush (about 3/4 inch) and paint some ‘grass’ on the bottom of the votive.
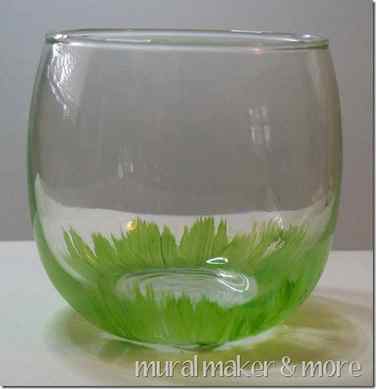
Let it dry. Completely.
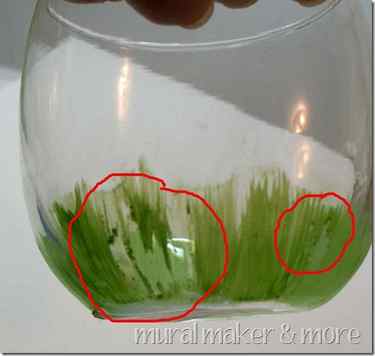
Or this happens.
I know better. I truly do. But I was timing myself for 15 minutes and . . . I got paint gummies. No worries though. After the paint dries thoroughly *ahem* you can wipe the gummies off and paint over the bare spots.
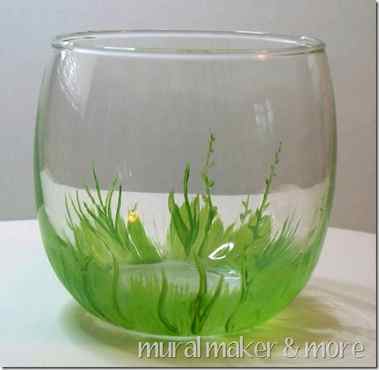
Then paint a few ‘stems’ of varying lengths.
And dot your garden!
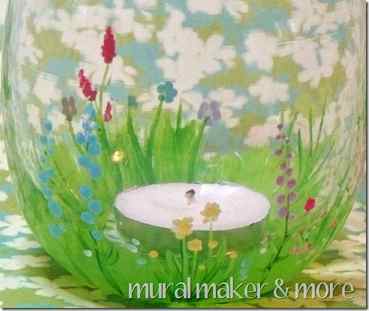
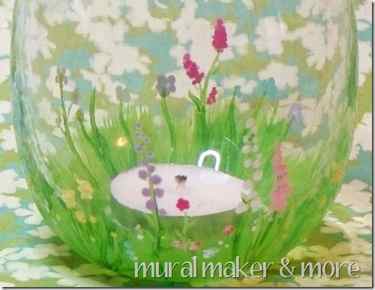
Tall flowers, posies and little dots here and there make a pretty little garden. In under 15 minutes!
Drop in a tea light or votive and you have a pretty little present for Easter, Mother’s Day . . . or yourself! You deserve it, right?
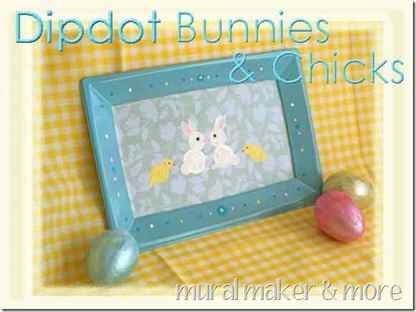
You can also dipdot bunnies and chicks in less than 15 minutes! Maybe paint some bunnies, chicks and flowers, huh.
Don’t forget to check out some other 15 minute Crafty Quickies, ok? I’ll see you over there!
What are your favorite Spring flowers? Have you painted them?
I’d love to see them!
Colleen
about Colleen
Enter your email address:
Comments
- robyn says April 26, 2013 at 1:05 pm
How long does it take for the green to dry completely? I need a craft for some teen girls, but we have limited (20 min.) time, and I want to be sure it’ll actually be possible, thanks!
Great idea. Perfect for the artistically challenged, like me!
would have NEVER believed I myself could do this until your incredibly easy/detailed tutorial. Now I might just have to try! thanks!
Ive been, TRYING to paint glass for 3 weeks now. Im practicing on mayo jars and things i have laying around. Anyway, no matter what I do the paint drags when I put it on the glass. I can’t really explain it but the paint doesn’t adhere to the glass so I just have a big mark that you can see the glass through. What am I doing wrong?? Please help please please please!!
- Colleen says May 12, 2015 at 9:52 am
Hey Stacy! Sorry to hear you’re having problems, although glass can be tricky. Do you wash the glass with rubbing alcohol first? That’s important. Another thing, if you’re using a paintbrush, it’ll take multiple coats to get an opaque color – and you have to let each color dry completely in between coats. Otherwise, yes, the paint will lift. On this tutorial I used the end of the brush and dotted the paint, which is how I got an opaque look. You can try different things – paint pens, foam pouncers, etc, to get a better look. I hope this helps. Feel free to ask question if it didn’t.
~Colleen
Trackbacks
Quick Crafts Day 1 – * THE COUNTRY CHIC COTTAGE (DIY, Home Decor, Crafts, Farmhouse) says:
[…] linky party feature for today is Just Paint It and this tutorial for painting dip dot flowers. Think you can’t paint? Let Colleen show you that in fact you […]
Create an easy flower painting for your home
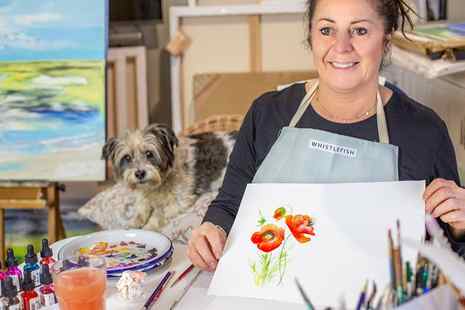
Discover how to paint watercolour flowers with Whistlefish founder Lyn Thompson. In this easy step-by-step photo tutorial, you’ll learn how to produce some beautiful blooms to display in your home.
- Share on Facebook
- Share on Twitter
- Share on Pinterest
- Share on Whatsapp
- Share on Tumblr
- Email to a friend
This competition is now closed
Published: November 1, 2022 at 10:00 am
There’s also so much flexibility when it comes to painting flowers. You can interpret them in your own way and you don’t have to be an expert in fine art. Being loose with paint gives a natural look that lends itself to the subject and there is so much room to be playful with colours and strokes. No need to be precise, just get stuck in!

Watercolours have always been my medium of choice as they are brilliant for building layers of colour and achieving a beautiful variety of tones from soft pastels to bold brights. Personally, I like using a combination of watercolour inks and solids; the inks are so vibrant and easy to work with and the pigmentation in the solids is excellent, great for a variety of painting methods. It’s always best if possible to have fresh flowers in front of you so you can see the full stem and choose an angle you like most. My favourite flowers to paint are those I find in my own garden; wildflowers like poppies, roses and foxgloves (I chose poppies for this tutorial). I always take photos on my phone so that when the flowering season has ended I can still refer back to something real.
Easy flower painting materials
Before you begin your easy flower painting, you’ll need to stock up on some supplies. Here’s what you’ll need for this project…
Watercolour inks come in vibrant colours and contain all of the colours you need to create stunning flower paintings. These inks blend well with traditional watercolour paints too. Look out for brands such as Ecoline and Daler Rowney.
Watercolour set
If you want to get into watercolour painting, it’s worth investing in a set of high-quality watercolour paints. Look for a set with pans so you can easily replace any of the colours if they run out. Good brands to buy include Winsor & Newton, Derwent and Faber Castell.
It’s important to use watercolour paper for this flower painting project. This paper is very thick and won’t bend or warp when wet. Watercolour paper absorbs the paint well and will help you to achieve a professional finish.


