How to Upcycle Old Canvas Art
Many of us have them – old canvases featuring art we’re no longer in love with. Perhaps we bought them years ago, when that style was in fashion, or perhaps they were bought as a gift. It seems a waste to throw them away, but what can we do with them instead? Upcycle them, of course! Here’s a quick and easy tutorial on how to make the most out of old canvases.
What kind of fabric you use will depend on the style of your home. Rustic country homes might suit hessian, whilst for an urban home, you might want something sleek and black. You probably already have an old shirt or fabric offcut that will work perfectly so there’s no need to spend a fortune on anything fancy.
Once you’ve found your fabric, you’ll need to cut it to size. You’ll need it to cover the front of your canvas and it’s worth including an excess of at least 4 – 5 inches, depending on the thickness of your canvas – remember you’ll need enough to attach at the back too.
Attach the fabric to the canvas
Place the fabric face down on a flat surface, and put the canvas – also face down – on top in a central position. Wrap the fabric around one side and secure it to the back of the canvas using a staple gun – be careful! – avoiding any staples already there. If you don’t have access to a staple gun, you may find flathead drawing pins work just as well.
Continue to secure the fabric all the way around the canvas, pulling it taut but without stretching. You may need to cut fabric from the corners as you go, as a lot will gather there. Then, cut off any excess fabric around the edges.
Add an image
If your fabric is heavily patterned and you’re happy with the look, then by all means leave it there and get that canvas hung! If not, choose a shape, whether it be a heart or a star, or something more complex if you’re a bit of an artist! Cut yourself out a stencil or template using some card or sturdy paper.
Place the stencil on the face of your canvas and secure it with weights or some tape. Then use a paint pen, or a small paintbrush and the colour of your choice, to outline the shape and then, having removed the template, fill it in. Remember to do this in a well-ventilated area.
Allow it to dry and voila! Your canvas is ready!
An Easy Way to Repurpose Old Canvas Art
A few weeks ago, I cleaned out my husband’s office, which included going through a lot of old decor. As I was preparing bags to be packed up for Goodwill I hesitated adding a few old art canvases to the “donate” pile. I knew they would be easy to update, so I set them to the side for future projects.
If you saw my Fall Home Tour on Monday than you may have already seen my new DIY artwork. I actually finished this project and took photos before I fully decorated for fall, but wasn’t able to get the post written in time. Better late than never, right?

I had previously purchased artwork for the spot above my new bar cart , but ended up moving it downstairs when I was finishing the vintage modern bathroom makeover . That left me with a blank wall in the dining room that was just asking to be filled.
SUPPLIES NEEDED TO REPURPOSE OLD CANVAS ART
Affiliate links have been used
*** You may notice that I use a lot of the same supplies. It’s an upfront expense, but once you have the supplies you can create endless projects***
– Art canvas (keep your eye out at thrift stores and clearance aisles if you don’t have an old one laying around)
– Paint (I used plaster and black milk paint )
– 1x2x6 boards (length depending on how big your canvas is)
– Wood stain (I used Weathered Oak and Special Walnut )
– Nail gun
– Mitre saw (or hand saw and mitre box )
– Silicone glue brush
HOW TO REPURPOSE AN OLD CANVAS INTO NEW ARTWORK
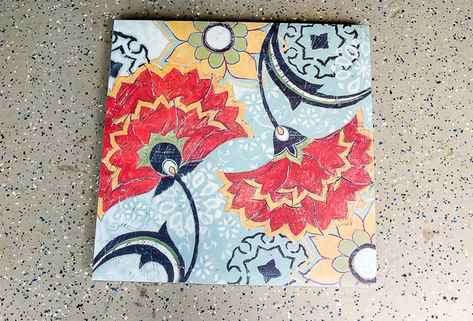
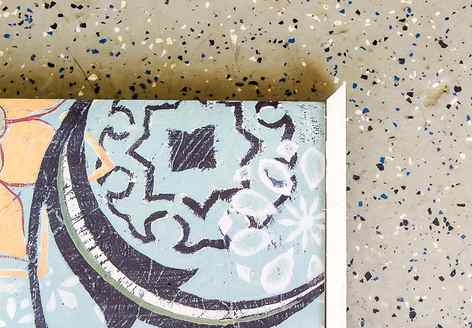
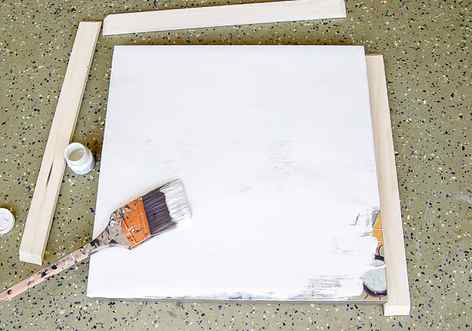
I started with a canvas that had been previously hanging in our basement. It was during a time when I was all over using bright colors, especially orange and aqua. Obviously, it’s no longer my style, but that’s nothing a little paint and wood couldn’t fix.
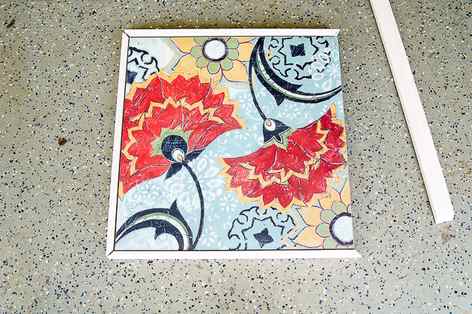
I measured and cut my 1×2’s at 45 degree angles to build a frame for my canvas. This isn’t necessary, but it definitely gave my piece more contrast and a more expensive look.
After I had all my wood cut, I painted my canvas and stained the wood.
I first went over the wood with Weathered Oak stain then a light coat of Special Walnut .

Once everything was dry I attached the wood frame to the canvas using my nail gun. I knew I wanted black and white art and since I have zero drawling ability I went with simple arrows,
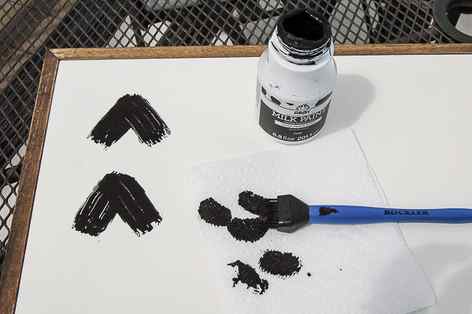
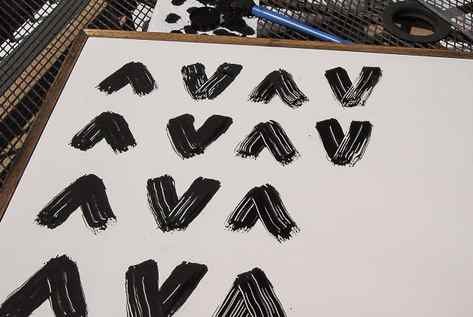
I used a silicone glue brush because it leaves brush strokes, which creates great texture. I didn’t measure when painting the arrows. I wanted to keep things imperfect, but intentional.
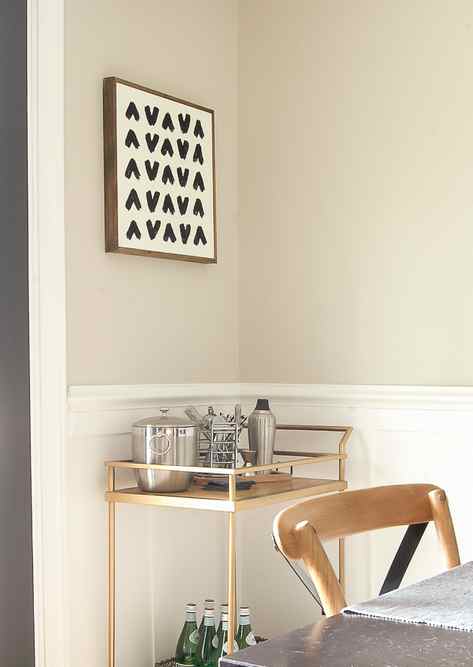
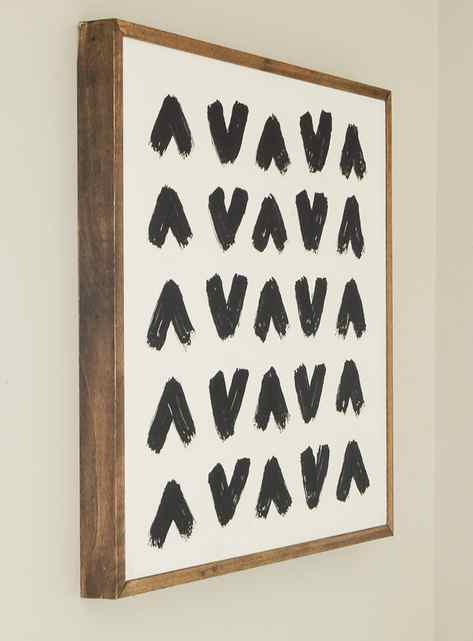
I love the contrast of the black and white against the wood frame and the fact that I can swap out the basement artwork with this one when I feel the urge for a change.