I have a hard time believing that it is already time to share my very first Christmas project! Wowza! Where did time go?
Origami Reindeer head


This reindeer head is an original model that I created for a origami creation challenge on the French origami site Pliage de papier. The theme was “Hijacking the Lilly Flower”. To create this reindeer head, you first have to fold a lily. Then with a few more folds, you can transform the lily flower into a beautiful reindeer!
Origami reindeer head video instructions
To make a reindeer head in origami, please follow the instructions from this video on YouTube:

Please share this reindeer head with your friends!
How to make an origami reindeer head
Here are the step-by-step instructions to fold a reindeer head (photo diagram and/or video).
- Origami Reindeer head
- Cabeza de reno en origami
- Tête de renne en origami
- Testa di renna origami
- 折り紙のトナカイヘッド
- Cabeça de rena de origami
- 馴鹿頭折紙

1. To fold the reindeer head, you first have to fold a lily flower. See the lily flower instructions.

2. Slightly open the lily flower.

3. Fold the right inside flap of the small tip towards the edge and flatten it.

4. Fold the left inside flap in the same way.

5. Turn the model and repeat the last two folds for the opposite small tip.

6. You can now flatten the model.

7. Make a valley fold to bring the right tip towards the center.

8. Make another valley fold below the right of the right tip to flatten it.

9. Repeat the last two folds on the left tip to bring it to the center and to flatten it.

10. Fold the outer tips (the ears of the reindeer).

11. Turn the model over.

12. Fold up the bottom of the bottom tip.

13. Turn the model over.

14. Fold the right side of the right tip towards its center to form the horn.

15. Fold the left side of the right tip towards the center.

16. Repeat the last two folds to form the left horn.

17. Fold down the top of the head (one layer).

18. Fold the right ear towards the center.

19. Fold the right ear in the middle, towards the right.

20. Fold the left ear towards the center.

21. Fold the left ear in the middle, towards the left.

22. Turn the model over.

23. Fold back the top of the head.

24. This is optional: if your paper has two colors, you can open the horn to change its color.

25. Turn the model over and invert the folds of the horn.

26. Turn the model over.

27. Make an inside fold at the top of the horn.

28. Repeat the folds for the other horn. Your reindeer is complete!
Who would have guessed that you could start with a lily flower and get a reindeer? You can create a big reindeer face to put on your wall, or many reindeers for Santa’s sleigh!
I hope you liked this original paper reindeer head model. If you fold it, please send us pictures of the result to [email protected] so that we can add them to this page and create an reindeer heard! Thank you!
Note: this model is an original model protected by international copyright laws. Please do not publish instructions, diagrams or videos that show how to fold it, but instead point people to this page. If you would like to help with the translation of the instructions to your language (or improve the translation), please let me know. Thank you!
DIY Plush Reindeer Head
I like to make Christmas decorations for our home that we can re-use year after year. We have the Christmas village and now we have a plush reindeer head!
If you’re the sewing type, I’ve got the whole pattern and tutorial here for you today to make a plush reindeer head too! It actually comes together pretty easily and you could probably hand-sew the whole thing if you wanted.
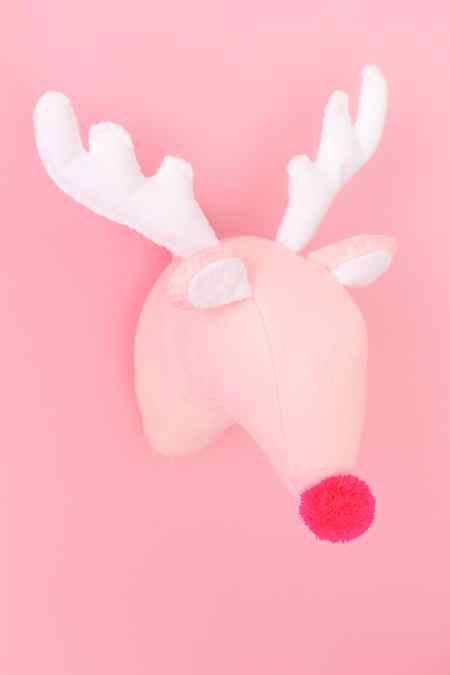
I’m so happy with how it turned out.
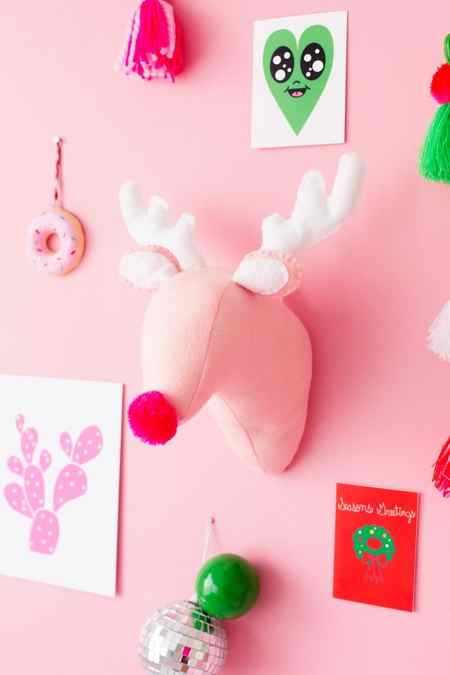
Make this fun plush reindeer head for your kids room at Christmas!
Active Time 2 hours hrs
Total Time 2 hours hrs
Equipment
Sewing Machine
Scissors
Needle & Thread
Materials
- Reindeer pattern
- 4 sheets pink felt
- 2 sheets white felt
- Pink and white embroidery floss
- Stuffing
- Pom Pom for nose
Instructions
Cut out the reindeer pieces from your desired felt colors. I used light pink for all the head pieces and the large ear shape, and white for the inner ear and antlers.
Start with the ears. Use embroidery thread and a blanket stitch to stitch the inner ears to the outer ear shapes.
Then, with good sides facing OUT, blanket stitch the front and back pieces of each ear together, leaving the bottom open for stuffing. Stuff each ear with just a little bit of stuffing.
Blanket stitch together each the front and back of each antler, leaving the bottom open for stuffing. Stuff each antler with a little stuffing.
Stitch the “neck” of the two main head pieces together, as shown. Use a 1/2″ seam.
Now you’ll need to stitch the center head piece to the piece you just sewed. This is also where you’ll stitch in the ears and antlers. Pin an ear and antler to each side of the head, making sure they are lined up with each other.
Then, with good sides together, pin the center head piece all along the head and sew through all layers.
Fold the small rectangle you cut out in half, lengthwise, and stitch with a 1/4″ seam. You don’t need to turn this piece right sides out, but you can if you want! This will be your hook for hanging.
Pin both ends of the hook you just made to the top-back of the reindeer head. Then pin and sew on the back, leaving a few inches open for turning and stuffing.
Turn the head so it is right side out and stuff it.
Hand stitch together the opening you left. Tack the ears and/or antlers up if they are not sitting where desired. (Depending on how stuffed they are, they may “fall” a little, so you can just take them so they are more upright!)
Hand stitch the pom pom on the front of the nose!
Where To Hang a Plush Reindeer Head
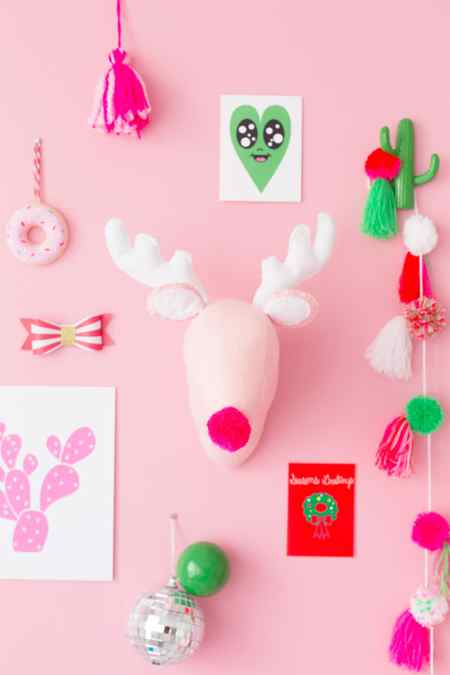
I like to swap out regular art for Christmas themed art. Add this reindeer head into a gallery wall in your home somewhere!
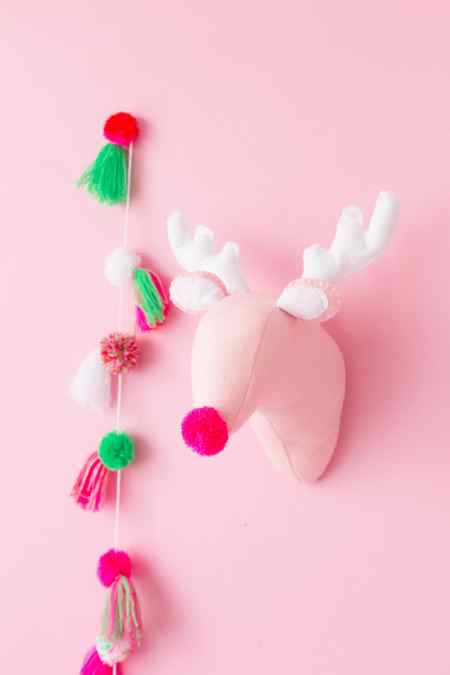
These reindeer busts would also look adorable in a kids room or playroom.
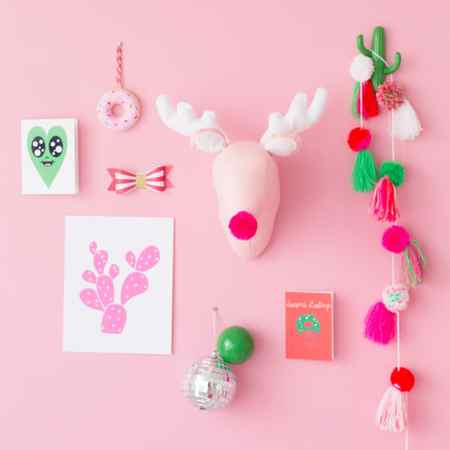
Imagine making eight of them to make an entire Santa’s crew worth of reindeer?
So here is the Holiday Book that Flora Craft provided us with.
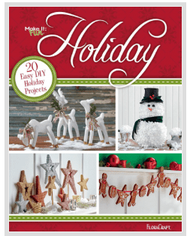
There are so many awesome projects in this little eBook, and I love them all, wich made it pretty hard to pick my favorite. After much deliberation, I decided to make a fun reindeer head to use as an ornament for my mantel. Of course, you can use it in other places too, for example, as a front door ornament for the Holidays.
Things you will need for the project:
-FloraCraft® Make It: Fun® Foam Block – 1” x 12” x 18”
-FloraCraft® Make It: Fun® Foam Cutter
-red ball ornament for the nose
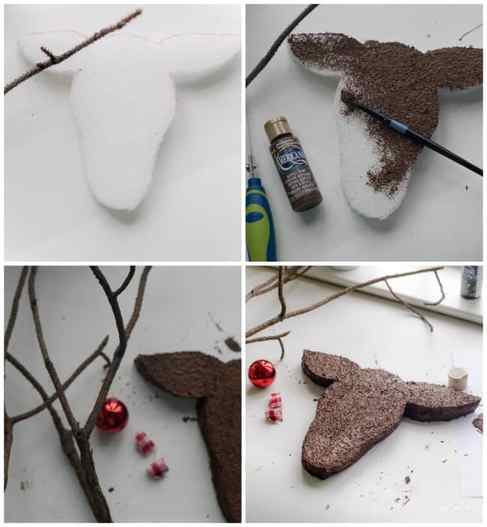
Draw a head shape, which you can grab below and print for yourself. Print two and tape it together.

First I stenciled the head on the foam sheet and cut it around with my FloraCraft ® cutting tool.
As a second step, I painted the head with brown acrylic paint.
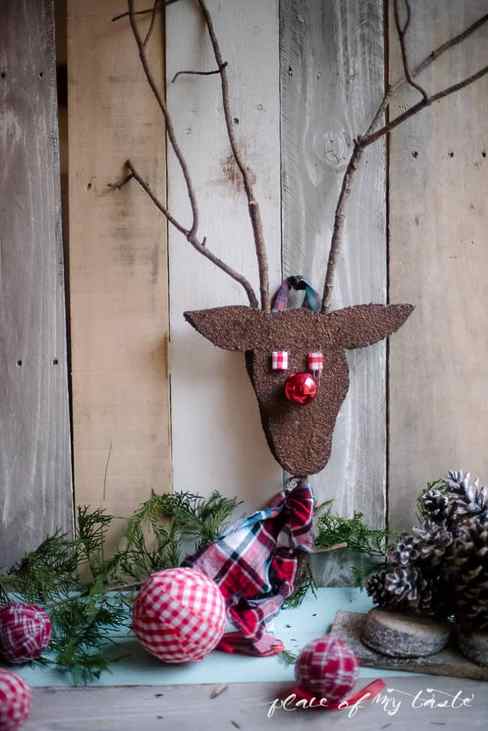
I made small eyes from plaid fabric, and I glued it on the head shape as well as a red nose.
Finally, I pushed some branches into the foam on the top of the head shape for antlers, and I also did that for the reindeer’s neck and I wrapped it around with plaid fabric.
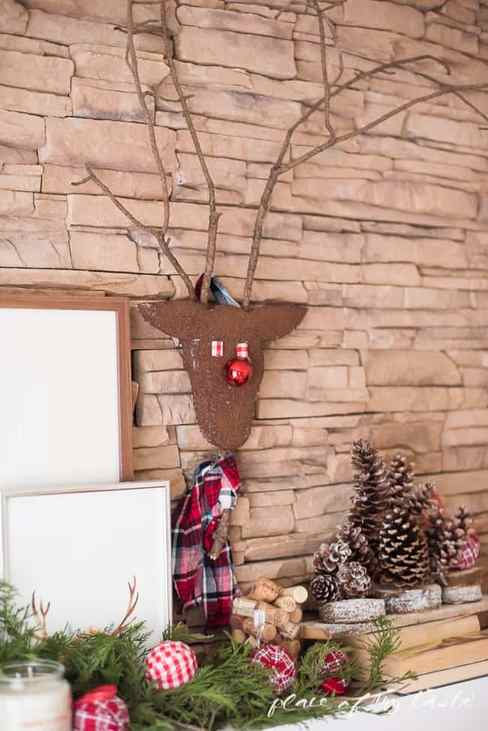
I love to create things from my backyard finds, I really do.
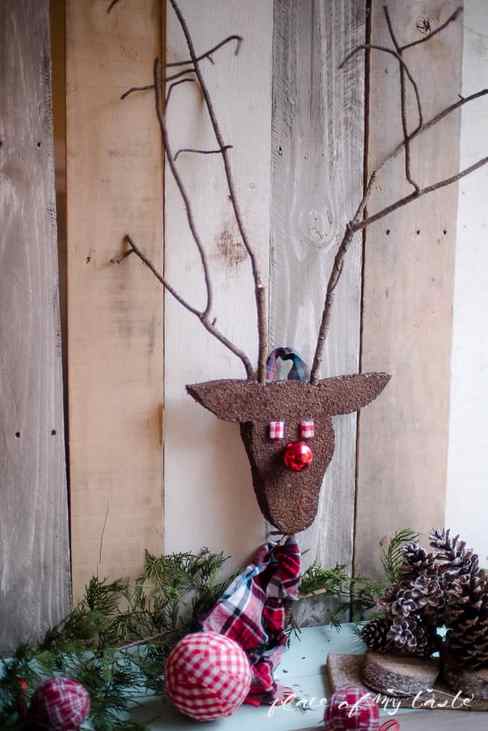

This guy will be a nice little Christmas ornament in my home. I hung it above my mantel, and he looks pretty darn good.
In addition, here is a quick video for you to see this reindeer head ornament coming live in action.