In this video I go over what will be covered in the video series and go over the shaping bay and shaping stands.
How to Make a Surfboard

By AndrewW1977 The Eclectic Workshop Follow
More by the author:
About: http://www.youtube.com/c/AndrewWorkshop More About AndrewW1977 »
I have been making boards on and off for the last 10 years, I’ve lost count on how many I have made but I think over 10 for sure. Just like surfing making surfboards is additive. It’s cool to see your quiver grow and improve your surfing and shaping abilities. Besides you can custom shape the board to the waves to your local conditions.
If you are worried that making your own board is outside your skill level, don’t be intimidated. Anyone with some basic tools can do it! It is very rewarding to take raw materials and end up with a surfboard you can ride.
Even if your board doesn’t come out perfect it will still be totally ride-able.
When I first started getting into making board I had no idea where to start, I did a ton of research and just started by buying some foam at Home Depot and started shaping.
I came across the website www.swaylock.com and it is an excellent resource for surfboard builders. The forum is very friendly and other builders are willing to help, just remember to use the search feature first before asking a question.
This Instructables is a video series on how to build your own surfboard from scratch. The purpose of these videos is take you step by step in helping you make a surfboard from scratch with raw materials. The intended audience is the beginner builder and I will try to go into as much detail as possible. I will add details and some pics to each step/video in the Instructable where I think it is applicable.
The first decision you need to make is will you make your own surfboard blank or make your own from scratch.
The board I am making is completely from scratch from block foam, you can also buy your surfboard blank and skip the first few steps for making the rough blank. This surfboard will be made from “styrofoam” and epoxy resin. The steps are similar for making a traditional polyurethane surfboard and polyester resin.
The rough breakdown of how to build a surfboard is the following:
- Decide on a surfboard design
- Make a stringer
- Glue stringer between block foam
- Remove bulk foam from the block foam
- Rough shape the blank
- Cut out rough shape of the surfboard
- Shape the blank
- Artwork
- Fiberglassing/Laminating
- Hot-coat
- Sanding hot-coat
- Gloss-coat
- Sand gloss-coat
- Polish
- Go Surfing!
- Blank = a rough piece of foam to be used to make a surfboard
- Stringer = wooden piece of wood that runs through the middle of the surfboard
- Glassing or Laminating = Covering the surfboard with fiberglass and resin
- Hot-Coat = a coat of resin applied over the glassed surfboard
- Gloss-Coat = a coat of resin applied over the sanded hot-coat
Note that this Instructable is a video series so the instructions will be in video format. The entire playlist can be viewed here as well: https://www.youtube.com/playlist?list=PLHeE1mcmnNBSXs0ymSgrxwF5od6gqvX07
Add Tip Ask Question Comment Download
In this video I go over the tools that will be required to shape the surfboard. All the basic tools can be obtained at a local hardware store. The most important tool to have is a Stanley Surfoam plane, it’s a rasp like tool that removes foam easily. Other important things to have are various grits of sandpaper.
Add Tip Ask Question Comment Download
If you are making your own surfboard blank instead of purchasing one you will need foam. There are two different types EPS and XPS. As a general rule EPS is typically the bead foam and XPS is the blue or pink construction foam. EPS absorbs water if you get a ding in your surfboard, XPS does not absorb water but can delaminate. Either foam will work fine, just there are differences between the two that you will want to consider.
Add Tip Ask Question Comment Download
Step 4: Wooden Stringer – Part 1
The stringer is a piece of wood that is in the middle of the surfboard. It’s placed there for strength and can give the board some flex characteristics, in polyester resin fiberglass boards they were common but some companies are making surfboards without stringers now, the epoxy construction techniques make stronger and lighter boards. It’s up to you if you want to use a stringer, I personally like having a stringer even in a epoxy board.
This video shows you how to make a stringer from thin plywood. You can either trace out an existing board stringer template, design your own from scratch or look for the “Clark Foam Blank Catalog” online. The company is now out of business but their catalog gives many different outlines for surfboard stringers. I usually use something from the catalog.
Add Tip Ask Question Comment Download
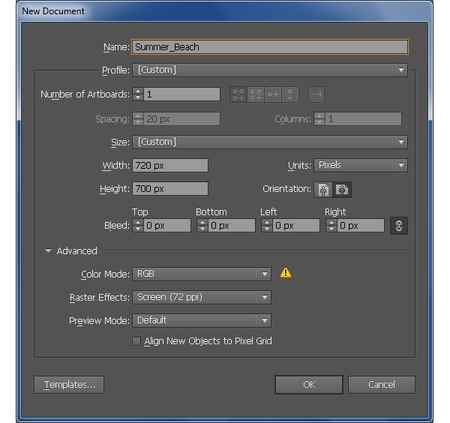
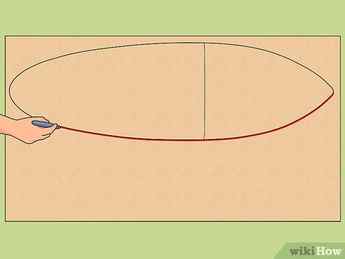
Making the Surfboard Template
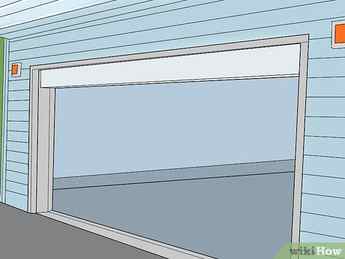
- Working outside is a plus when it comes to ventilation, but an indoor facility with 3 perfectly placed fluorescent lights will show flaws in your shaping so you can catch them early on.
- This is a weather-dependent project if you work outdoors. Know that you won’t be able to do any work in the rain, snow, or even in the wind.
- It may be a good idea to build a room specifically for board building; for a short board you will need at least a 10 feet x 8 feet (3 meters x 5.4 meters) room and longer than 10 feet if you’re building a long board.
- Make sure the stringer (the wooden strip that stretches the length of the board through the middle) is lined up perfectly straight between the plywood’s ends.
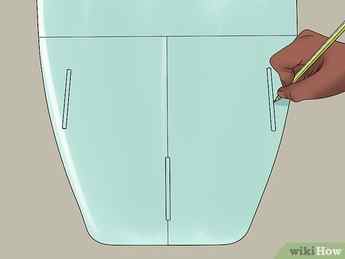
- To make it easier to trace, you can mark placement points with a marker at the nose and the tail, at the board’s midpoints, then all the way around the board making each consecutive point parallel from the last, so the surfboard’s cut-out is accurate.
- Be extremely careful to not move the board or the plywood while you are tracing the outline.
Advertisement
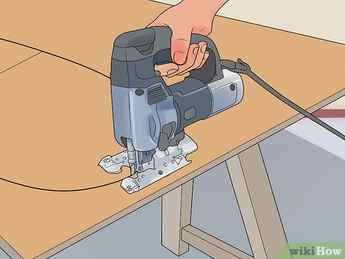
- Make sure the edges where you will be cutting are hanging off the sides of the sawhorse and use a carbon steel blade to cut through the plywood.
- There are many different shapes, weights, lengths, and densities of surfboard blanks. The type of blank you need depends on how you ride the wave. If you love to rip small waves, a less dense blank is for you (as long as you don’t mind replacing it more often). The denser the board, the stronger it is and the longer it will last.
- EPS foam is often hailed as a good choice of material for the blank, as it is both a strong and long-lasting material, while being lower in density than polyurethane foam. [1] X Research source
Advertisement
Part 2
Part 2 of 5:
Shaping the Surfboard
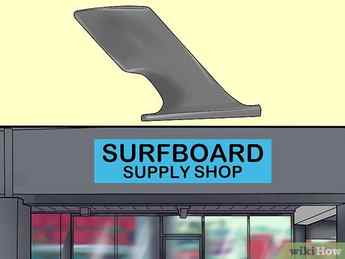
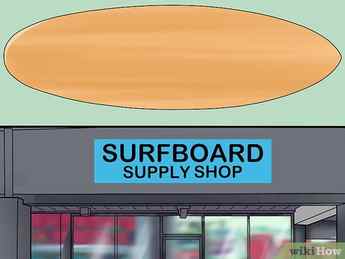
- If you have never shaped a surfboard before, you should spend some time in a surfboard workshop and watch how they do it to get an idea of the process before you start. [2] X Research source
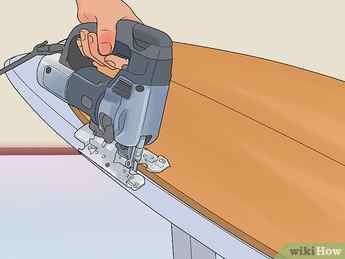
- Saw with extreme caution, especially when you cut around the stringer on the nose.
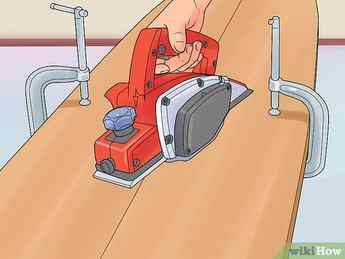
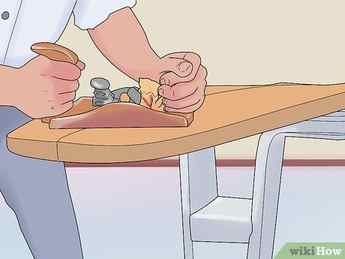
- When you get closer to the nose, it will become difficult to use the electric planer; this is when you should use hand and finger planers for precision.
- You can get all the planers you need at a home hardware or carpentry supply store.
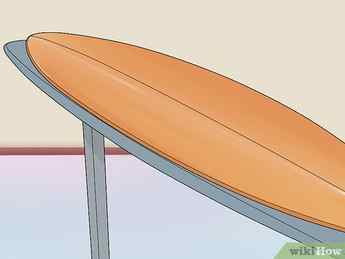
- There are countless ways to shape the rails of your board, but in general, the softer the curve the more forgiving your board will be. Sharper curves are often found in higher performance boards. [3] X Research source
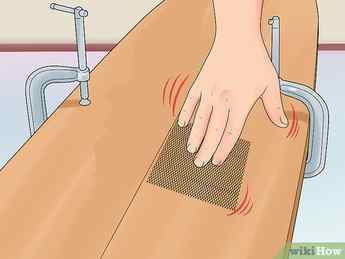
Smooth out the rails of the blank with steel mesh. Hold a piece of steel mesh in both hands and move it along the rails from tail to nose. Make the back 1/4 of the rail into a sharper edge and the front 3/4 more rounded.
Advertisement
Part 3
Part 3 of 5:
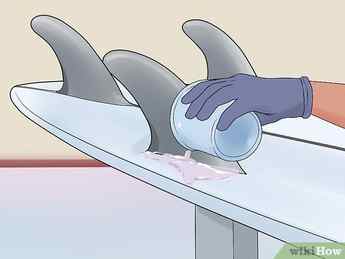
Adding Resin to the Surfboard
- You can buy fiberglass cloth at a surfboard supply shop, marine shop, or fiberglass shop.
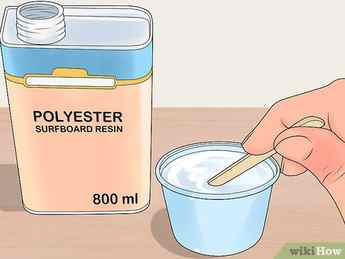
- Buy polyester surfboard resin and catalyst at a surfboard supply shop.
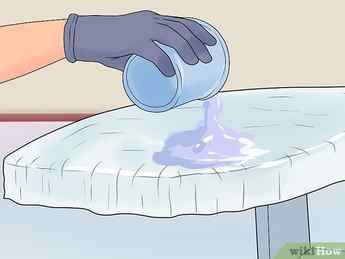
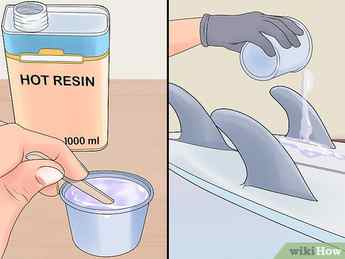
- Resin should take around 5 to 6 minutes to cool, so timing is important. Be sure the entire cloth is evenly wet and secure on the blank. Leave any excess cloth (it will eventually be covered), but make sure to squeegee away any excess drips.
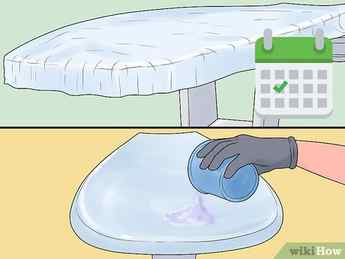
Allow the resin to cure for about 1 day, then repeat on the other side. Add resin to the top side with the same method you used for the bottom. Add an extra 4 oz. (133 mL) layer of fiberglass cloth on the deck for added strength.
Advertisement
Part 4
Part 4 of 5:
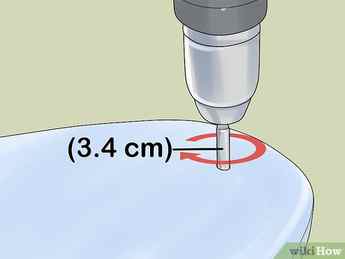
Step 8: Attach the hooks
Once the paint is dry, flip your board over to the backside. I wanted my board to hang a little off the wall instead of directly up against it, so I cut a couple pieces of scrap wood to use as spacers and screwed them into the back.
Then I used two picture hooks and attached them to my top spacer (this photo shows the board upside down):

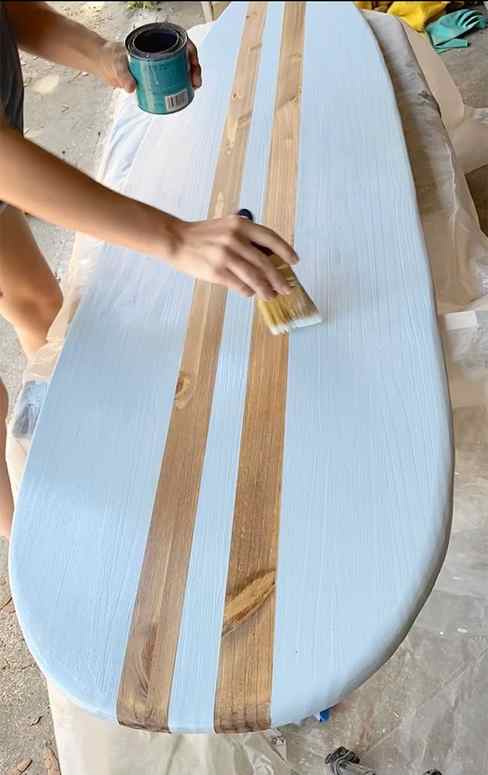
Step 9: Seal
To protect the painted finish, you don’t want to skip this step! I used Minwax Polycrylic in a semi-gloss finish (any clear poly or varnish works just fine).

A couple coats is all you need (or more if you expect this to be used as a toy)…
Step 10: Hang on the wall
We’ve made it to the last step! Measure and mark where you want your board to hang, then insert drywall anchors (we love the self drilling kind) into the wall. Slide your hooks over the screws and voila!
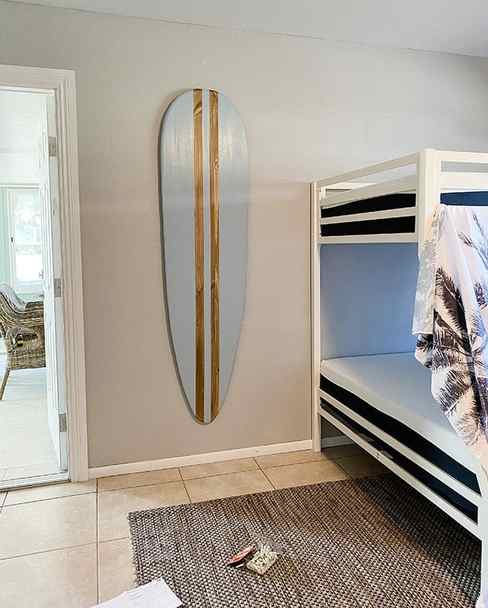
A few of you told me the board looks better hung the other way so we might flip it around. What do you think?

This was a fun little project and it adds the perfect laid-back surfer vibe to this kids bedroom (and for just $30!) I think it would be a great addition to any space with a coastal/beachy theme (without looking kitschy/over the top). The best part is that you can completely customize the size, shape, color and design to suit your style. If you’re planning to make one, be sure to watch a step-by-step video/timelapse of this project over on Instagram.
Oh, and see that wall art behind me? We managed to squeeze in another DIY project for the beach house last weekend, and I’m working on another tutorial for that next. Aiming to get it posted here for you guys tomorrow, so don’t go anywhere!