Once the sky area is done, let it dry and then add the snow land with a lot of white.
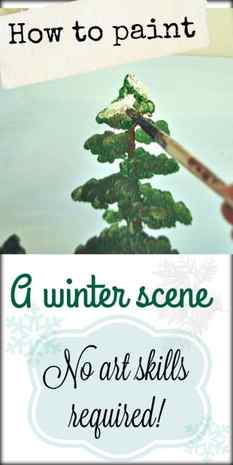
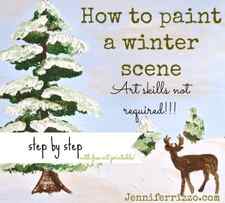
How to Paint a Winter Scene Art Skills Not Required .
Hey everyone! I hope you had a great weekend! I have a fun tutorial here on how to paint a winter scene! I’ve had a lot of e-mails asking me for another art class,In fact, a few of you were not only brave enough to try the pumpkin canvas tutorial, but a few of you had fun painting parties!Painting Snowflakes is also popular, and I know the stenciled linen pillows were another fun project! One of my top tutorials is How To Paint Birch Trees
I had a lot of requests, but I thought a nice winter scene that you could keep out until past the holiday’s would be perfect!
Are you ready to learn How to paint a winter scene?
To paint a winter scene you’ll need:
a canvas (size of choice)
white,grey,brown,blue and green acrylic paint
Brushes (Liner,large flat, and round.)
I painted this on acrylic canvas board, but you can do this on a canvas,a pillow or even a wood board.

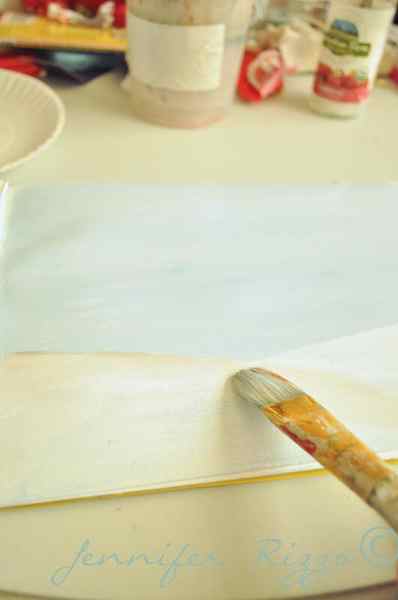
First base coat with a blue color. I mixed a blue with some white to get the color I wanted.
If you love painting a pretty canvas, check out more about my Online Poinsettia Painting Workshop.

Once that’s dry, take some white and make a hill. It does not have to be perfect, just kind of free-form it.

Take a little grey and define your hills by painting it along the edge and blending it. Add more white if the white is a bit too dry.
Just blend it until you are happy with it. If it gets too grey, let it dry and go back over it with white paint.

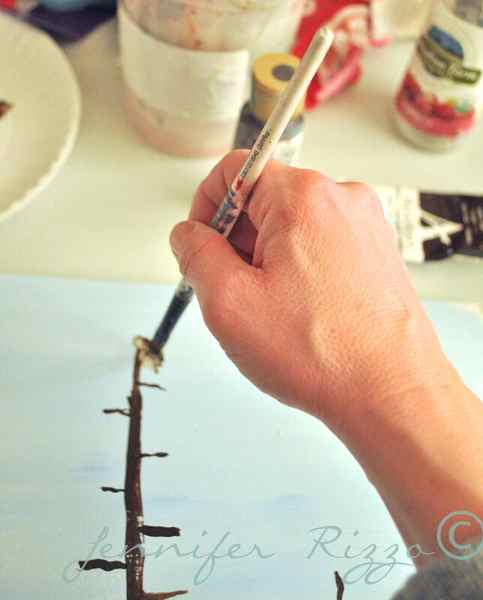
After your white is dry, take your brown paint and a thin liner brush and draw a line down the middle-ish.Make it fatter on the bottom than on the top.

Make the base into a triangle shape for the trunk.
For more another winter painting idea see how to paint birch trees.

Draw lines out starting at the top. make them slightly longer as you move down. New growth is always towards the top or outside of a tree or plant, so those will always be smaller and old growth near the bottom will always be bigger.

Once you have the tree base done, make 3 little lines next to the tree on top of the “snowy hills”.
Take a dab of brown and pounce it on the top of the tree.

Work your way down each branch,dabbing our as you go on top of each of the lines.

You can even dab across the tree a little, it doesn’t have to be perfect!

Then make little “dabs” on your other lines.

Then take your green paint and dab it on top of your brown.

Work your way down the tree making pouncing motions with the brush.

Once you finish the big tree, dab some paint on the little trees.

Then take your white paint and dab that just on the top of your green areas, this will be your “snow”.

Less is more, you can always add more later.

Then do the same thing to the little trees in the back!

To make the winter sky,use a brush to spread paint back and forth across the surface. This is called “scumbling”. See you are an artist!

Scumble some grey underneath and blend them.

Once you’ve added winter to your sky, you can leave it how it is, or you can take it a step further and add a deer like I did. This is much easier than you think!
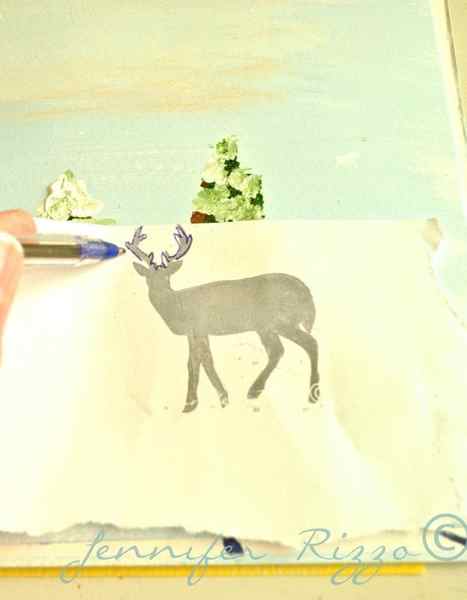
Print out the deer template from this post and print it as a 2 x 3 inch picture. Use the same method to transfer the image to your canvas.

Once your image is transferred, use your brown paint to start filling in the lines.

Once you have you deer painted, let dry and frame your picture!

Let me know if you have a painting party or paint this picture, I would love to see your work! Here’s a tutorial on how to add snowflakes to your scene! I have another treat for you too! I cropped this picture down so you can print it and frame it. I really hope you try to paint it yourself too.

Just save to your computer and print!

If you liked this post, you’ll also like:
Post Tags: # Acrylic painting tutorial # christmas decor # How to paint a winter scene # workshop
MATERIALS YOU NEED
Acrylic Colors:
Surface:
- I painted on a 4×4 inches wooden boards.
Acrylic Brushes:
- I used a size 3 flat brush from this flat brush set which is perfect for this canvas size. If you are painting bigger, then switch to a size that is proportionate with your painting surface.
- Size 1 liner brush from my favorite miniature brush set
Resin:
- Epoxy Resin
- Digital Weighing Scale
- Paper Glass
- Popsicle Sticks
PS. If you need some advice on acrylic painting supplies, check out this article – 3 Basic Acrylic Painting Supplies – The Minimalist List.
Before you begin, watch this short clip on how gorgeous these resin coasters look! And very soon you will find out how easy it is to create them.
Ok let’s go!
Painting 1 – Northern Lights

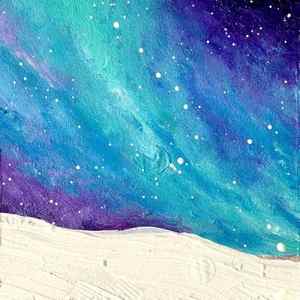
1. Paint the background – sky & land
To paint the northern lights in the sky, I used a flat brush and a lot acrylic blending. Started with prussian blue in the top right, and then blended it with aqua green, and then back to blue and white, and finally purple on the left.
Let the sky dry completely. Then with thick body white, i painted the snow land by creating a thick texture.
2. Distant Pine Trees
Paint the distant pine trees using a round brush and mixing pink and black. I used technique 3 from the round brush techniques. I also added a grey texture to the snow land to add some shadows.
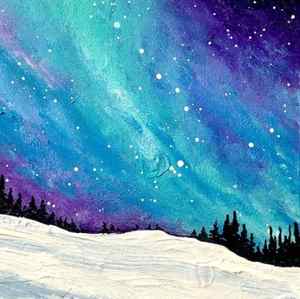
3. Add the main snow pine trees
Now add the big snow pine trees on the snow land. For these I used technique 1 from the round brush techniques.

4. Snow and the Shadows
In the final step, start with adding white on the snow pine trees. Then paint the shadows of the trees using a mix of blue, white and black. And finally splatter some white color over the whole canvas.

Painting 2 – Pink Winter evening

1. Color The Background
Start by coloring the whole background. I used pink and yellow with loads of white to paint the sky. Yes the sky can be pink And then I created the snow land with white and a touch of grey to show the land structures.

2. Distant Pine Trees
Paint the distant pine trees using a round brush and mixing pink and black. I used technique 1 from the round brush techniques. And then paint a couple of trunks on the right and add the leaves using the same texturing method.

3. Winter Cabin + More Snow Pine Trees
Now paint the cabin in the middle of the landscape. I started with burnt sienna and yellow to paint the walls first. Give it a few mins to dry and then add the roof with white.
After that add the 4 snow pine trees in different places. You can change the positions if you want to.

4. Highlights to the snow pine trees
Now add the highlights to the pine trees to make them look like snow pine trees. Follow the method of painting a snow pine trees in 6 easy steps.
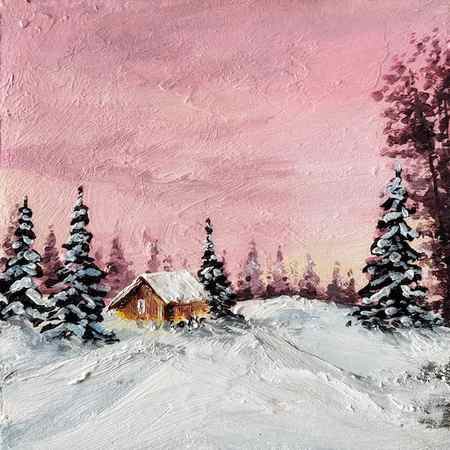
5. Final Touches
And it’s done. I fine tuned the home at the end, and added some more textures to the trees wherever I felt like. And also added some small black strokes to the snow land. This is your painting, so add all the final touches and make it yours!


