- Canson Mixed Media Pad (300gms) or suitable HP Watercolour Paper
- Derwent Procolour Pencils – Crimson Lake (14) – Base Colour, Plum (15) – Dark Tone, Geranium Lake (13)- Light Tone, Rose Pink (19) – Light Tone, Grass Green (49) – Complimentary Colour, Spruce Green (42) – Complimentary Shadow Colour, White (72). Note – If you don’t have these colours feel free to substitute colours that you have.
- Derwent Graphic Pencil F
- Paint Pen or White Gel Pen/Posca
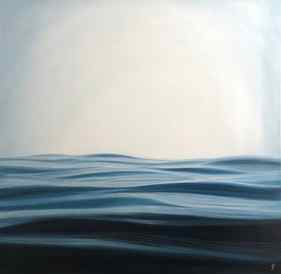
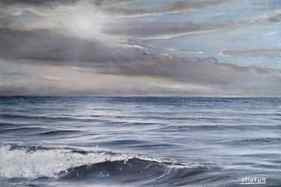
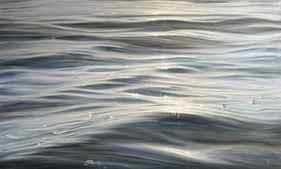
Results for “Realistic Water” Paintings


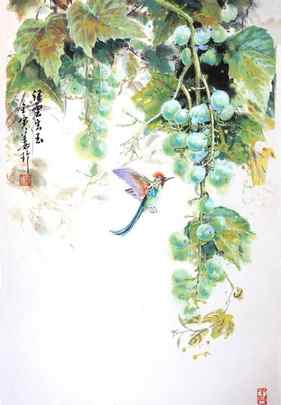
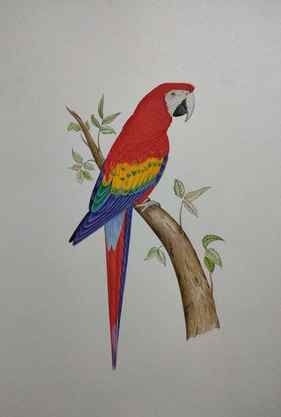
Discover new art and collections added weekly by our curators.
© 2023 Saatchi Art
Leaf Group Commerce All Rights Reserved
Drawing a simple generic water droplet


Lay down a light dusting of Crimson Lake to create an area of colour for the background. Then lightly sketch a sphere/droplet of water in the centre over your background. Keep the graphite pencil work light. In the image above my outline is darker than I would normally draw. It’s emphasised to help with the exercise.
Step 2 – Add the cast shadow

Select a complementary shade to the base colour ( I’m using Spruce Green – you could use a grey but it will look flatter). Begin to create the bottom cast shadow beneath the droplet. Play close attention to the direction of light source and note that the darkest part of the shadow is directly around the outer lower rim of the droplet on the opposite of the light. Shade with small circular movements and keep your marks light and smooth. Follow this up with the darker tone of your base colour (I’m using Plum). Drop some in over the green to begin creating an interesting and vibrant shadow colour.
Top tip – If you look closely at the reference photo you may be surprised at how dark the cast shadows under the droplets actually are.
Step 3 – Shade the top edge

Using the same deep red (Plum), move to the opposite side of the cast shadow and shade the top edge of the droplet. Make sure the edge of the droplet is crisp and darker than the inside. Next, leaving a small gap between the outside and inside, lightly suggest the form and shape of the sphere. It should suddenly start to give the illusion of lifting off the page at this point.