Complete Deer drawing
Gond Drawing of a Magical Deer and a Bird
Gond folk art paintings seem to suggest that in the world of the Gond people all nature, all life, is interconnected. Their paintings create a magical world where people, animals and trees can all morph into one another.

This drawing in black ink on thick ivory coloured paper measures 28x35cm. It features the side view of a deer with its head turned back to look at a bird sitting on its back. The bird is facing back away from the deer but its head is also turned to look at the face of the deer. Their faces are almost touching and their relationship seems friendly, almost intimate. That both their eyes are drawn in the same style – almond shaped with black pupils – suggests they see things in the same way and that one could become the other.


The body of the deer is decorated with a series of loops that extend over the face. The spaces in between are filled with a soft squiggly pattern gently suggesting a short coat of soft fur. The representation of feathers on the bird is even more playful and is achieved with a series of overlapping series of arcs all the way from the neck to the tail that create a friendly and almost comic texture. A charming touch is that a decorative pattern around the deer’s neck suggests a necklace, or maybe a belt put there by an owner?
So far so good, the drawing is charming and straightforward. But this is Gond art and we head into the magical with the drawing of the deer’s antlers which morph effortlessly into the branches of a tree, complete with numerous side branches, leaves and buds.
Gond drawings and paintings are always magical but this drawing of a friendly bird and a deer whose antlers become a tree seems to be full of the appreciation of life and vision of harmony that is typical of the art of the Gond people. We discuss more about the Gond in other posts, they are a large tribal group who live in upland forested areas of central India, especially Maharashtra.
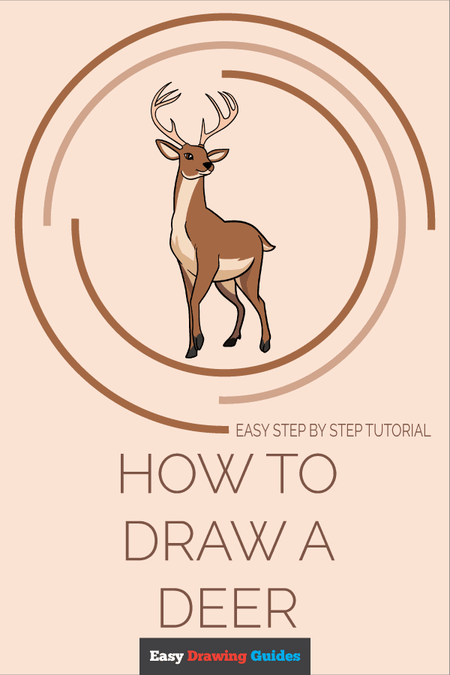
How to Draw a Deer
Learn how to draw a great looking Deer with easy, step-by-step drawing instructions, and video tutorial.
By following the simple steps, you too can easily draw a perfect Deer.
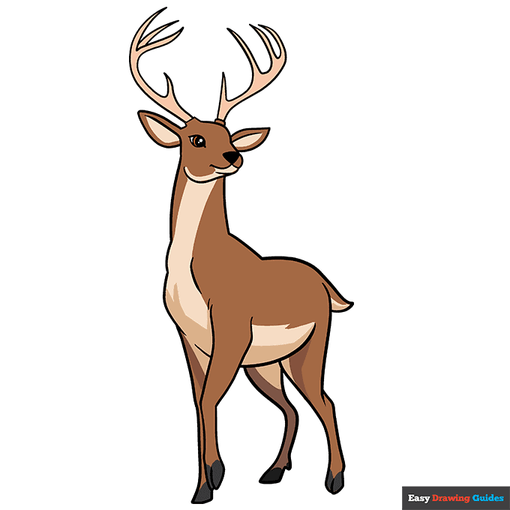
Complete Deer drawing
Stately deer are symbols of elegance and the great outdoors in many parts of the world. This easy, step-by-step animal drawing guide can help you learn how to draw a deer.
There are 43 different species of deer. Our illustration features a white-tailed deer. It is native to North and South America.
The deer in our drawing is a male. The antlers give it away – only males have branching horns on their heads.
Scroll down for a downloadable PDF of this tutorial.
Bambi is perhaps the most famous cartoon deer. You can learn to draw his portrait here.
Then, try creating a realistic forest scene. In addition to the deer outline, you can learn how to draw a cartoon forest and include other woodland creatures, such as this grizzly bear drawing or this chipmunk drawing.
Step-by-Step Instructions for Drawing a Deer
How to Draw a Great Looking Deer for Kids, Beginners, and Adults – Step 1
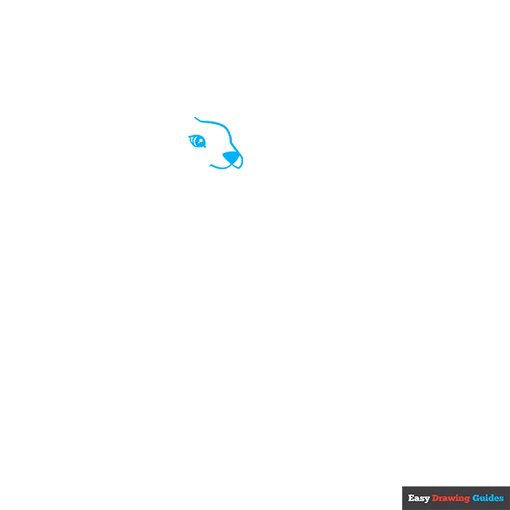
1. Begin the deer outline by sketching the animal’s face. Shade an inverted, curved triangle for the nose, then use curved lines for the snout and top of the head.
Enclose a double-pointed shape for the eye, and enclose successively smaller circles within it. Shade one of them to form the pupil.
Easy Deer Drawing – Step 2
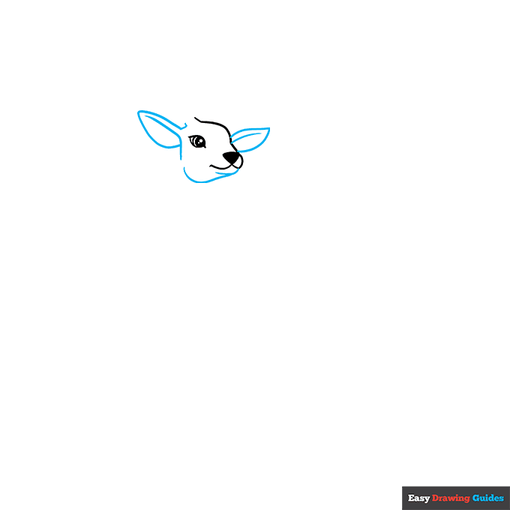
2. Draw the ears using curved lines. For each ear, use three lines – two for the outside that meet at a gentle point, and one to contour inside the ear.
Then, use overlapping curved lines to form the deer’s chin and jaw.


Easy Deer Drawing – Step 3
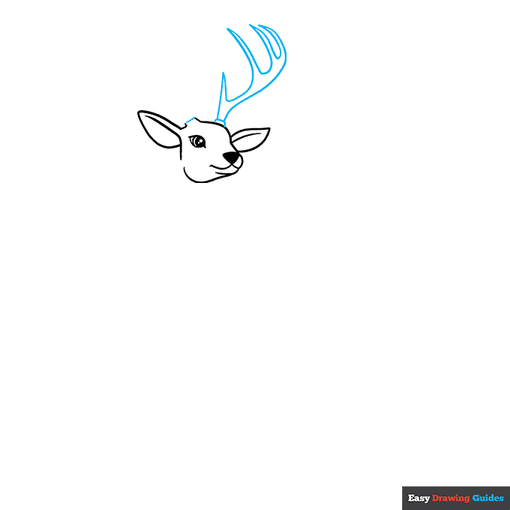
3. Use curved lines to enclose the irregular shapes of the pedicles – the bases of the antlers.
Then, begin drawing the first antler using a series of curved lines to make the branching points. Allow the lines to meet at sharp points.
Easy Deer Drawing – Step 4
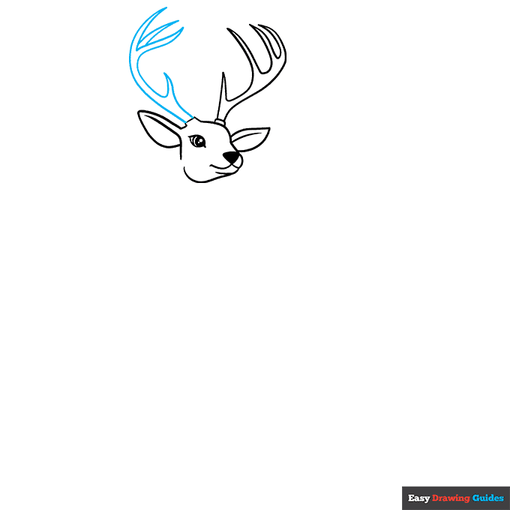
4. Draw the remaining antler. Again, use curved lines that branch into sharp points.
Easy Deer Drawing – Step 5
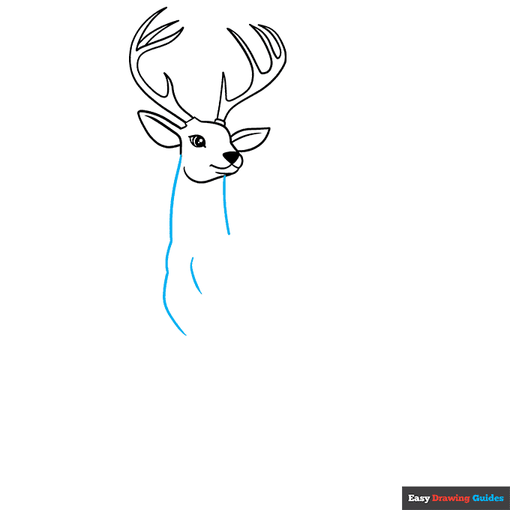
5. Extend curved lines from each side of the head, forming the neck. Then contour the chest with another short line.
Easy Deer Drawing – Step 6

6. Use long curved lines to sketch the deer’s graceful leg. Notice how the lines overlap to form the cloven or split hoof.
Easy Deer Drawing – Step 7
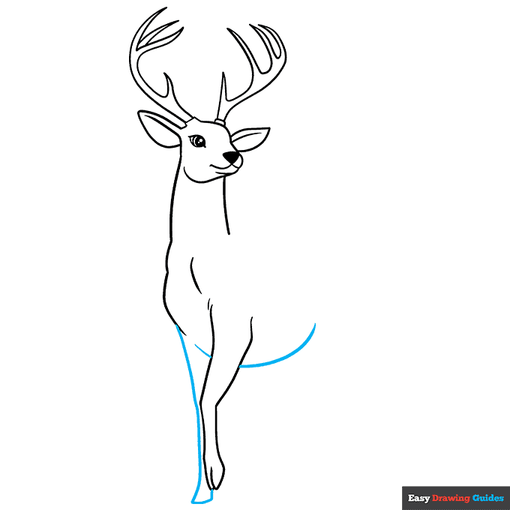
7. Use long curved lines to draw the remaining foreleg as well as the deer’s belly.
Add More Details to Your Deer Picture – Step 8
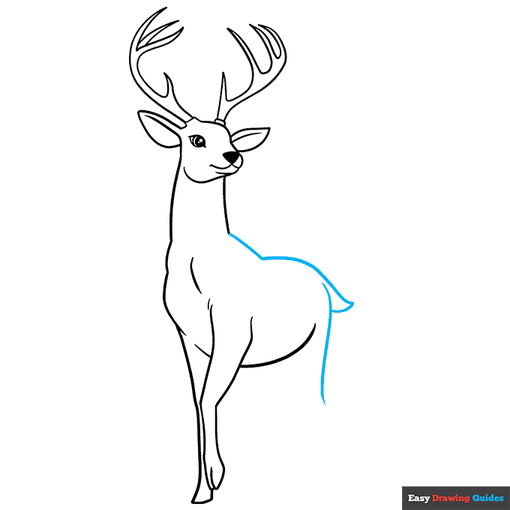
8. Extend the line of the neck to form the shoulder, back, and top of the tail. Then, draw a vertical curved line, forming part of the rear leg.
Connect the two with a shorter curved line, enclosing the bottom of the tail.
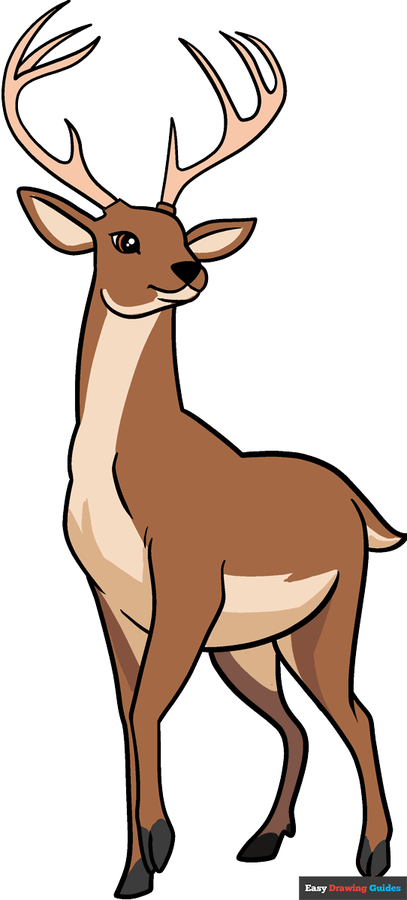
Complete the Outline of Your Deer Drawing – Step 9
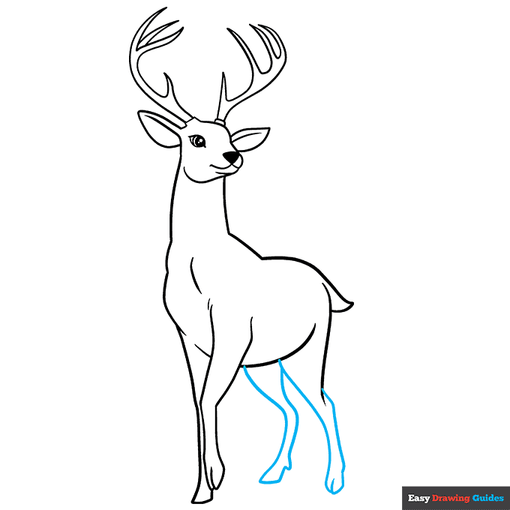
9. Use overlapping curved lines to finish drawing the deer’s legs. Notice how the overlaps contour the muscles near the knee as well as the split hoof. Note, too, the bulge of the dewclaw or rear digit behind the hoof.
Color Your Deer Drawing
Your deer outline is now complete. Color the animal. White-tailed deer are brown with white markings on their bellies and tails.
Easy, step by step Deer drawing tutorial
Click HERE to save the tutorial to Pinterest!
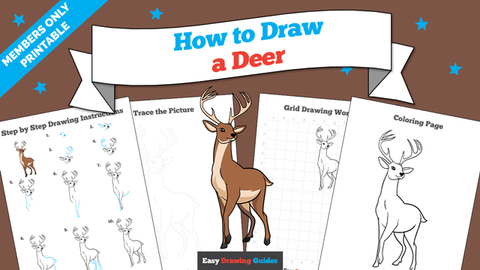
Deer Drawing Tutorial – Easy & Fun Printable Pages
Join now and get immediate access to thousands of printable drawing instruction and practice pages!

MEMBER TROUBLESHOOTING
Still seeing ads or not being able to download the PDF?
First, check that you’re logged in. You can log in on the member login page.
If you’re still not able to download the PDF, the likely solution is to reload the page.
You can do this by clicking the browser reload button.
It is a circular arrow-shaped icon at the top of the browser window, typically found in the upper-left side (you can also use keyboard shortcuts: Ctrl+R on PC and Command+R on Mac).


