Thankou so much for stopping by! Join our crafting community to find more nature-inspired DIYs and upcycled craft ideas. It feels good to repurpose, upcycle and create with nature!
Wooden surface decorated with poured acrylic paint
I got a pouring medium sample from the Plaid crafts company and wanted to try acrylic pouring with that for the past two months. .I wanted the project to be published in the mid of November, so I thought I will do a Christmas themed one. I came across this big wood sign ornament from Dollar tree and wanted to try acrylic pouring on that but I could get only one as it was out of stock. I was positive I could find another one in some other Dollar tree shops. But I wasn’t lucky enough so I gave up on that project. Last Friday, When I went to the Dollar tree I came across the same wood sign and grabbed to try this. So I tried it this weekend and here is how it turned out.

Materials Used:
Big ornament shaped Wood sign
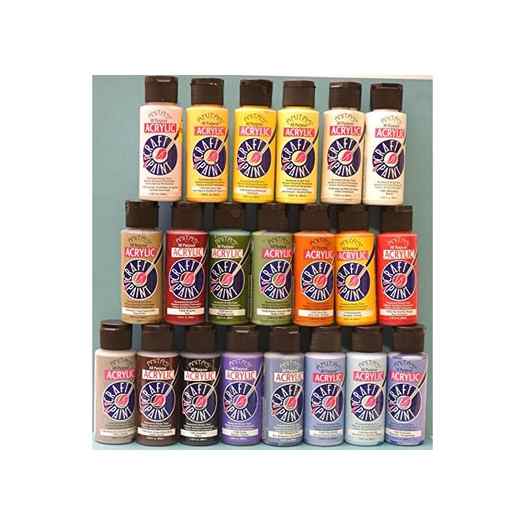
Acrylic paints
Pouring medium
Paper cups & popsicle sticks for mixing
Trash bags or Newspapers for protecting the surface.
Ribbon and glue (optional) for decoration
Step 1: Mix equal parts of pouring medium and paint in cups. Do this for all the colors you want to use.

Step 2: Pour a little bit of each paint one after the other in a separate cup. I made sure to alternate between dark and light colors.


Step 3: Since I tried the straight pour last time when I tried acrylic pouring, this time I tried dirty pour and flip cup method combined. For this, after pouring the paints in a separate cup, I placed the wood sign on top of the cup and flipped it so that the paint gets transferred onto the wood surface.


Step 4: Swirl the paint around to cover the wood sign. Mix some more paint to cover the areas where the paint did not reach and swirl it again. Place the sign on top of something high so that the excess paint drips and the sign dries. It took around 8 to 10 hours to dry completely.


I also tried dirty pour on 2 square panels to finish the mixed paints.

Step 5: Add any decoration as desired. I used hot glue and ribbon to decorate the corners of the ornament and then made a loop to hang with another ribbon. Used the same type of ribbon and covered the top to look like an ornament. I also added two jingle bells at the bottom using some sewing thread to add some sweet touch to the ornaments 😉


How fun and simple was that? This is a totally fun project that you can do to decorate your house. If you are looking for something out of the ordinary to decorate your house for holidays or parties, this is a must-try. You can add some vinyl words in the middle to make it a signboard since I wanted to highlight the marble effect from pouring I left as is. You can refer to my previous project on how I added a decal sticker to make the acrylic poured wood panel as a wall decor piece.
An Acrylic Paint Pouring Craft
Although we have done a similar craft with this DIY ocean resin art piece, I love, love, love that this latest paint pouring craft doesn’t require any resin at all! And yet, the finished pieces looks just as impressive and professional as the one made with resin. By adding the lustrous metallic acrylic paint in to the mix gives the piece the extra bit of dimension it needs.
More Paint Pouring Ideas
Once you finish a paint pouring project, you’ll quickly realize what an addictive craft this is. Just to give you an idea, I didnt stop at just this pretty seahorse, I also paint poured a wooden padde and a beachy-themed jumbo popsicle stick bookmark! Trust me, you will be looking around for other surfaces to paint pour on to also!

Want to receive a ton of inspiration and money saving ideas for decorating, gift-giving and crafting? Join HERE!
Materials Needed
Disclosure: This post contains affiliate links for your shopping convenience. Should you choose to purchase through them, we will make a small commission at no extra cost to you. You can read our full disclosure here.
- wooden seahorse surface
- DecoArt Ready-to-Pour Paint in Sky blue, Deep Turquoise, Emerald Green, White
- DecoArt Americana Metallics in Gold
- gloves, plastic cups
- paint brush
- beach themed wooden (laser cut) cut outs
- beach themed decorative charms
- twine
- hot glue gun
- fine glitter (optional)
Paint Pouring a Wooden Seahorse (or any wooden surface)
To follow along with the making of this paint poured seahorse, head over to our Facebook page and watch the video tutorial here.
Afterwards, I had to leave the seahorse to dry fully before I decked it out in all beachy goodness. Things like charms, seashells and a beachy phrase were added with a bit of hot glue and some simple twine. You can check out exactly how I decorated the paint poured seahorse in the second part of the video here.


