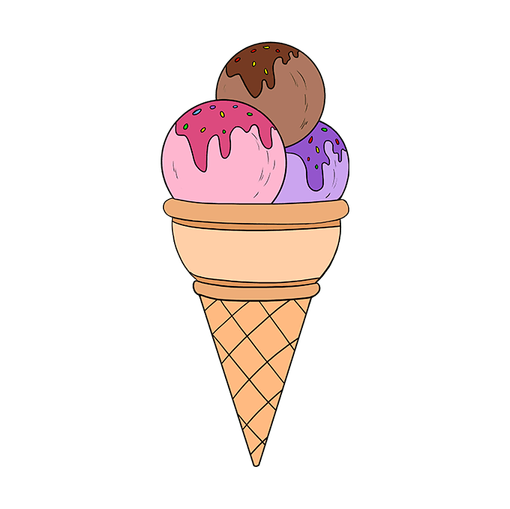
Learn how to draw a big 4 scope ice cream cone in 9 steps.
National Chocolate Ice Cream Day Sketching Tutorial


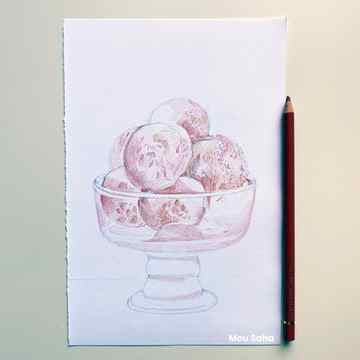
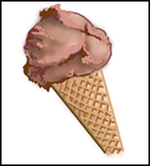
Hi everyone, Mou Saha here to share a coloring tutorial using Polychromos Color Pencils in celebration of National Chocolate Ice Cream Day. Since I cannot share a real scoop or two with you digitally, I am showing you how I build the delicious scoops one subtle layer at a time!
Recommended Art Materials:
Mixed Media paper
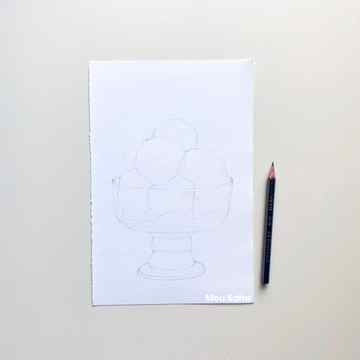
I used my HB graphite pencil for a quick light sketch of a few scoops of chocolate ice cream in a glass cup.
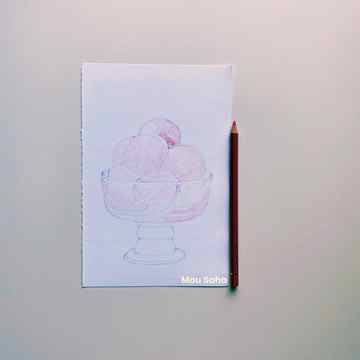
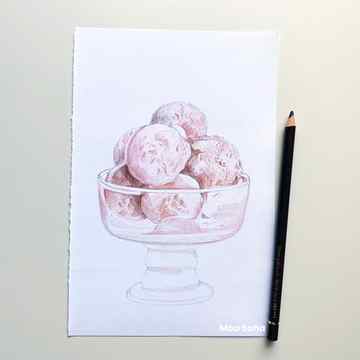
I applied my first color layer with the Coral 131 Polychromos Color pencil.
My next layer was with the Burnt Ochre 187 from the same set.

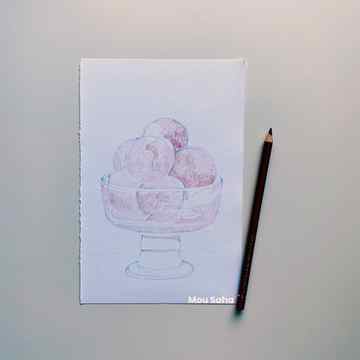
The third layer was a subtle addition of textures with Venetian Red 190.
I added a fourth layer with Sanguine 188.
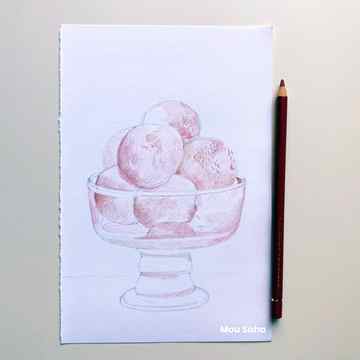
At this point, I started working on the dimensionality of the scoops using shading with Burnt Sienna 283.
I added the remaining touches to the chocolate ice cream scoops with Walnut Brown 177.
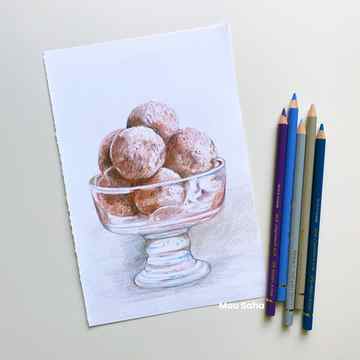
I colored the glass cup with Light Ultramarine 140, Bluish Turquoise 149, and Indanthrene Blue 247, leaving the glass highlights blank for the white of the paper to show through.
Finally, I colored the background with Warm Grey II 271 and Cold Grey II 231.
I hope you enjoyed the tutorial and will treat yourself to some delicious chocolate ice cream to celebrate the National Chocolate Ice Cream Day on June 7th!
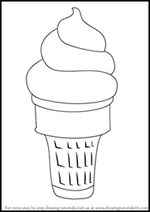
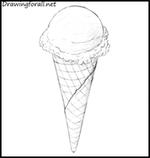
How to Draw Ice Cream
Learn how to draw a great looking Ice Cream with easy, step-by-step drawing instructions, and video tutorial.
By following the simple steps, you too can easily draw a perfect Ice Cream.
Complete Ice Cream drawing
“I scream, you scream, we all scream for ice cream!”
– “Ice Cream,” 1920s novelty song
Ice cream, a frozen confection made from sweetened milk, is popular around the world. Its origins are ancient; snow mixed with honey and fruit was sold in the marketplaces in Athens, Greece.
Explorer Marco Polo first brought the idea of “fruit ices” to Europe from China during the 1200s. By the 1600s, successful ice cream shops had been established in France.
Ice cream was first contained in a cone during the 1800s, but it was popularized during the 1904 World’s Fair in St. Louis, Missouri, U.S.A. Legend has it that the ice cream vendor ran out of bowls.
He asked a nearby waffle vendor – who was selling little due to the heat – if he could fold his waffles to form a container, and the waffle cone was born.
Scroll down for a downloadable PDF of this tutorial.
Ice cream differs in various parts of the world. For example, in Japan, you might find unusual flavors such as sesame seed or sakura flower. In Iran, a frozen dessert is made from vermicelli noodles and rosewater – made with real rose petals – served with pistachio nuts and lime juice.
Specialty shops often make ice cream right before the customer’s eyes, using liquid nitrogen to freeze the ingredients quickly.
Would you like to draw an ice cream cone? Now you can, with the help of this simple, step-by-step drawing tutorial.
All you will need is a pen, pencil, or marker and a sheet of paper. You may also wish to color your ice cream using crayons, colored pencils, or markers.
If you liked this tutorial, see also the following drawing guides: Cherry Blossoms, Turkey Dinner, and Superman.
Step by Step Instructions for Drawing Ice Cream
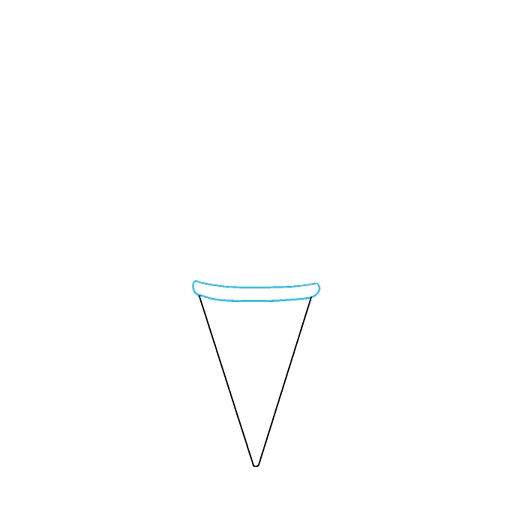
How to Draw a Great Looking Ice Cream for Kids, Beginners, and Adults – Step 1

1. Begin by drawing a shape like a letter “V” using two straight lines. This outlines the bottom of the ice cream cone.
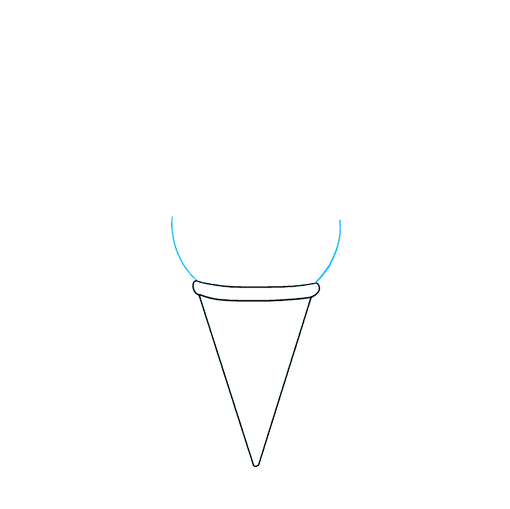
Easy Ice Cream Drawing – Step 2
2. Connect the top of the “V” using a curved line. Draw another curved line just above it, parallel to the first. Connect the lines using short curved lines at each end. This forms the next portion of the cone.


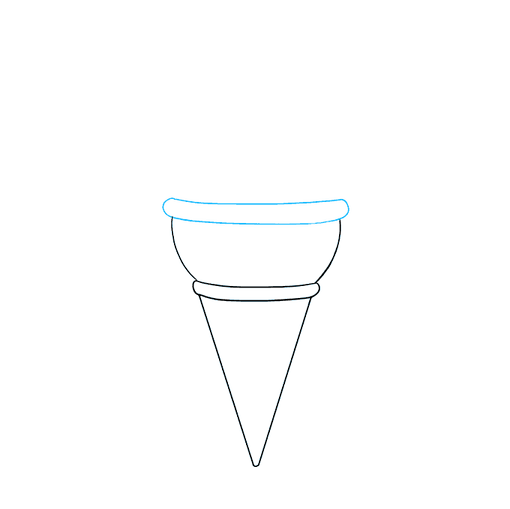
Easy Ice Cream Drawing – Step 3
3. Draw a long, curved line upward from each side of the ice cream cone. This will outline the upper portion of the cone.
Easy Ice Cream Drawing – Step 4
4. Connect the lines using a curved line. Draw another curved line just above it, parallel to the first. Connect the lines using short curved lines at each end. This forms the upper rim of the cone.
MORE DRAWING TUTORIALS:
How to Draw Grapes
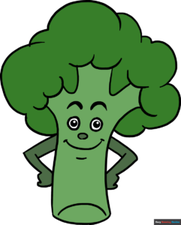
How to Draw Broccoli
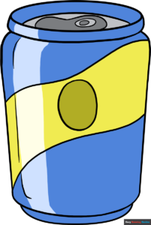
How to Draw a Soda Can
Easy Ice Cream Drawing – Step 5

5. Add a scoop of ice cream. Enclose a circular shape, the bottom of which is hidden by the top of the cone.
Easy Ice Cream Drawing – Step 6
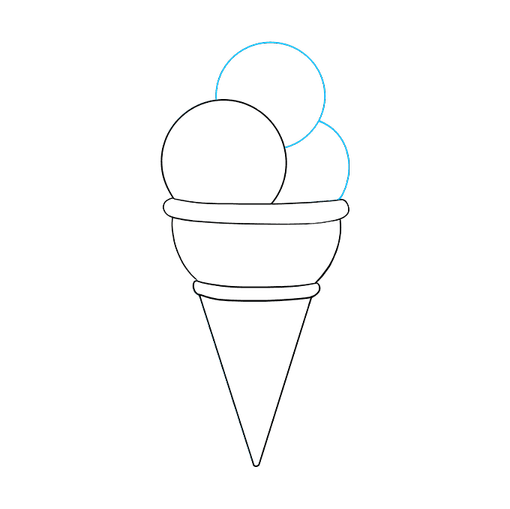
6. Draw another incomplete circle, partially hidden by the first. Then, enclose another circular shape between this scoop and the cone.
Easy Ice Cream Drawing – Step 7

7. Add detail to the ice cream cone. Draw two curved, horizontal lines across the middle portion of the cone. Then, use diagonal curved lines to draw a checkerboard pattern across the bottom of the cone.
MORE DRAWING TUTORIALS:
How to Draw a Tea Cup

How to Draw a Cornucopia

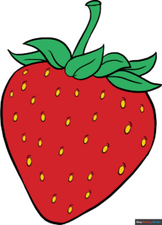
How to Draw a Strawberry
Add More Details to Your Ice Cream Picture – Step 8
8. Top your ice cream. Enclose an irregular shape at the top of each circle using a wavy, curved line. This indicates a flavorful sauce.
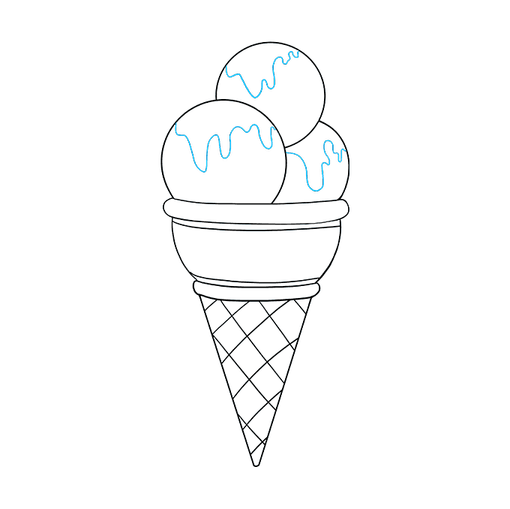
Complete the Outline of Your Ice Cream Drawing – Step 9

9. Enclose small circles and ovals to indicate sprinkles on top of the ice cream. Lightly draw short, curved lines to add texture to the ice cream.
Color Your Ice Cream Drawing
10. Color your ice cream. What flavor do you like best? Chocolate ice cream is usually brown in color; vanilla is white; strawberry is pink. There are plenty of other flavors, too – green mint, orange sorbet, and even blue and yellow Superman ice cream.
If you’re eating your dessert first, you may next want to draw a hearty meal. Check out our easy drawing guides for hamburgers, hot dogs, turkey dinners, and more.
For more great Really Easy drawing tutorials, see the 51 Cute Really Easy Designs post.
Easy, step by step Ice Cream drawing tutorial
Click HERE to save the tutorial to Pinterest!
Ice Cream Drawing Tutorial – Easy & Fun Printable Pages
Join now and get immediate access to thousands of printable drawing instruction and practice pages!

MEMBER TROUBLESHOOTING
Still seeing ads or not being able to download the PDF?
First, check that you’re logged in. You can log in on the member login page.
If you’re still not able to download the PDF, the likely solution is to reload the page.
You can do this by clicking the browser reload button.
It is a circular arrow-shaped icon at the top of the browser window, typically found in the upper-left side (you can also use keyboard shortcuts: Ctrl+R on PC and Command+R on Mac).
MILKSHAKE
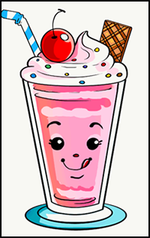
Would you like to draw a tasty milkshake? This easy, step-by-step food drawing tutorial is here to help. All you will need is a pencil, an eraser, and a sheet of paper. You may also wish to use crayons, markers, or colored pencils to “flavor” your milkshake.

I can’t believe how hot it is outside. The past couple days it’s been over a 100 degrees. So we thought it would be fun to cool off and learn how to draw a milkshake!
POPSICLE
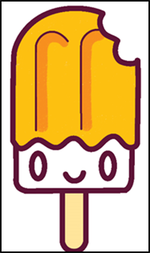
I will show you how to draw a cute Popsicle / Creamsicle with a face on it, in this tutorial. This cute style is called Kawaii, and kids all around the world love to draw in this style. The following easy step by step drawing lesson is perfect for kids of all ages.
How to Draw Chocobar Bar
This is a step by step drawing tutorial on how to draw a chocobar bar.
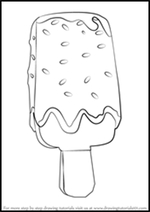
Popsicle Chocolate ice cream is a yellow color ice cream which is coated with chocolate layer from the outside.
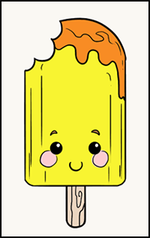
Would you like to learn to draw a cute, smiling popsicle? This fun, step-by-step popsicle drawing guide is here to show you how. You will need only a sheet of paper and a pen, pencil, or marker.
Today we’re learning how to draw a cartoon popsicle. This one is a lot of fun and super simple for young artists. Challenge your kids to change their drawings and make them different. You can also draw this lesson several times and make a page full of popsicle friends…mmmm?
SNOW CONE
Learn how to draw a funny, simple snow cone! It’s the perfect summer treat. though, this one you can’t eat! What’s your favorite snow cone flavor?

Summer is always best with Popsicles and Snow Cones! Learn how to draw these two Cute and Easy Cold Treats step by step.


