Since it’s a beginner drawing project, you can use graph paper to practice your drawing before drawing on plain paper.
Cute Christmas Tree Drawing Ideas Easy (in 10 minutes)
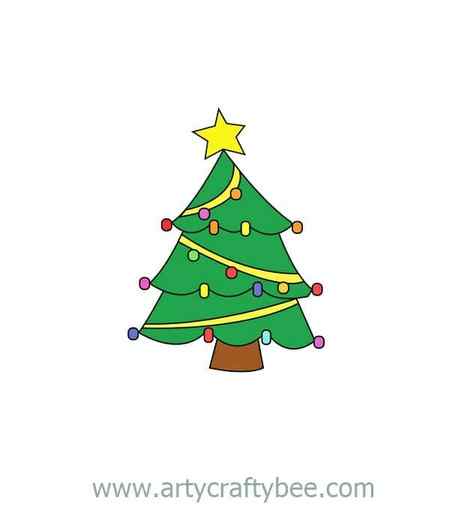
Are you looking for a Christmas tree drawing for Coloring Ideas?
Since Christmas is nearby, I thought of making content for Christmas drawing for kids. I kept everything easy and simple in the step-by-step Christmas tree line drawing tutorial.

With this Christmas tree drawing picture tutorial anyone can learn how to draw a Christmas tree.
Christmas tree minimalist drawings are very well-liked these days. In my tutorial, it might have 20+ steps, but I have shown every little stroke and detail of making this Christmas tree drawing and Coloring. I think kids will enjoy drawing from this tutorial.
I have made a few fun Christmas easy Crafts for kids previously in my blog. You can check out the Christmas Tree Bookmarks I made last year, and also I have this Origami Santa Clause Craft tutorial Christmas ornament.
Drawing activities are very important for kids. It helps them to build up their creativity and art skills. Drawing and Coloring activities help toddlers learn colors, shapes, and a lot more art concepts.
Tools and Materials:
- Drawing book or sketch boom.
- HB, 2B Pencils.
- Colorful Sharpies, crayons, and marker pens.
- Ruler.
- Eraser.
Following the images, it is more helpful than reading the instructions.
Step By Step Christmas Tree Drawing Craft
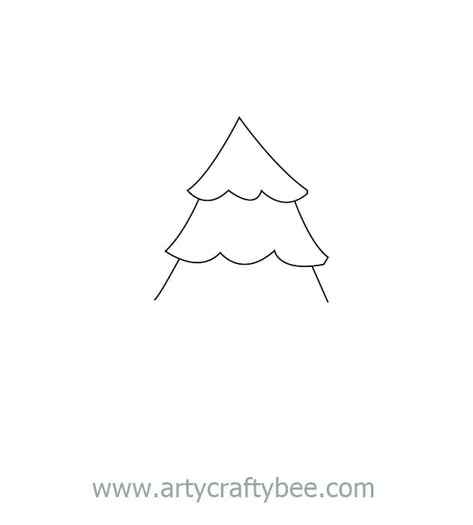
Step 1: Christmas Tree Drawing Outline
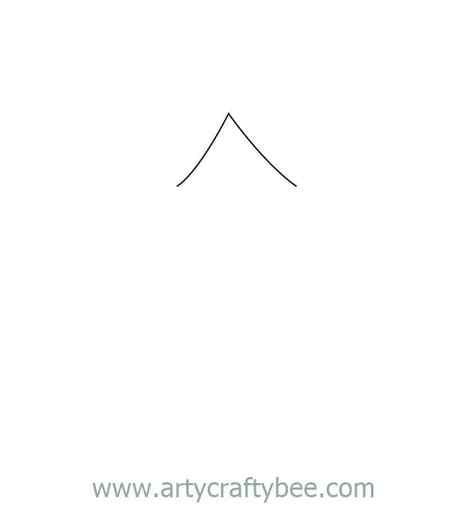
To start drawing the Christmas tree drawing first, you need to draw two curved lines (almost like a triangle). This is the top of the Christmas tree.
Step 2: Draw Three Curvey Lines
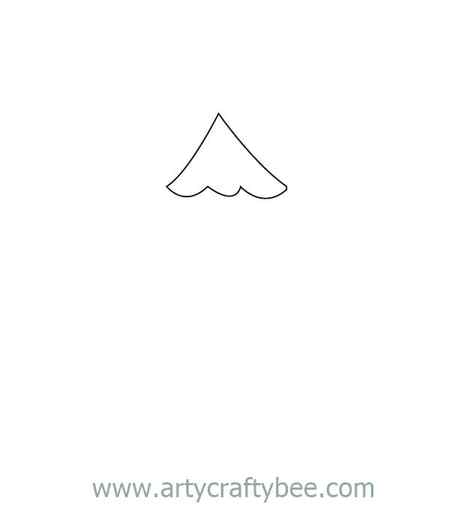
Then, draw three curved lines joining the two open ends at the bottom.
Step 3: Draw Two Curney Lines
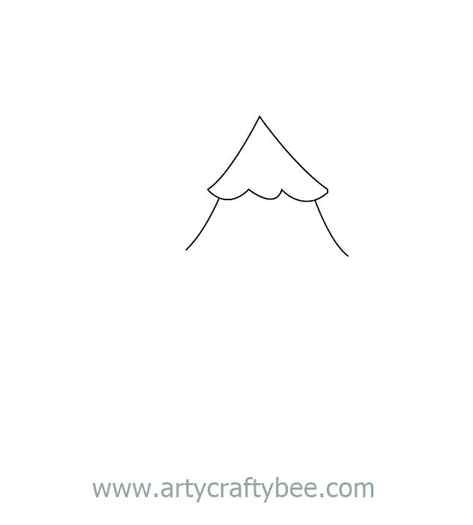
Then draw two extended lines from the three curved lines on the bottom.
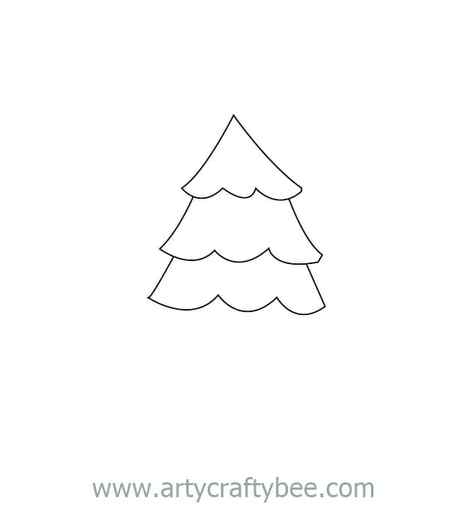
Step 4: Repeat Step 2
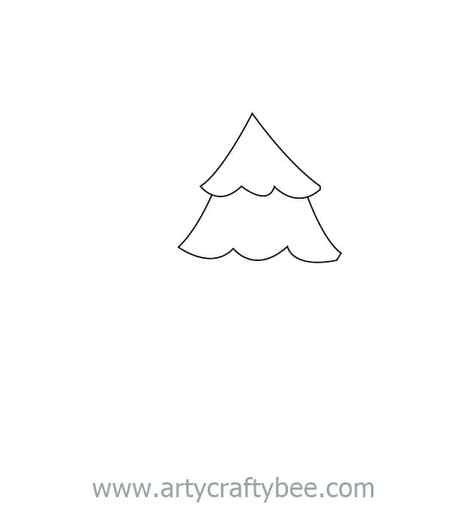
Then, draw three curved lines again joining the two open ends.
Step 5: Repeat Step 4
For the third part (the last part) draw two more lines.
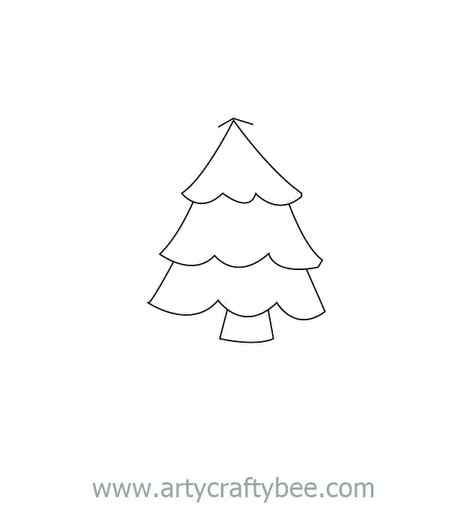
Step 6:
Draw three curved lines and join the two ends.
Step 7:

Draw the tree’s trunk on the bottom part of the tree.
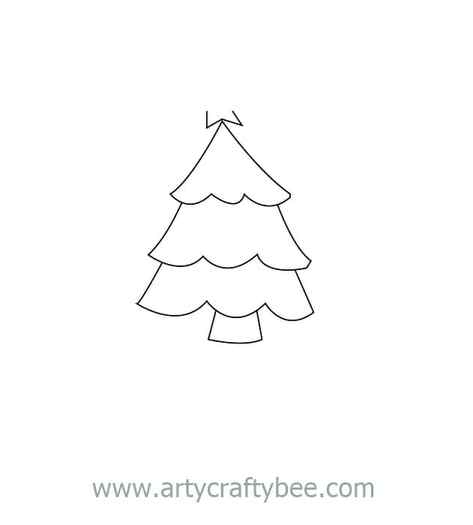
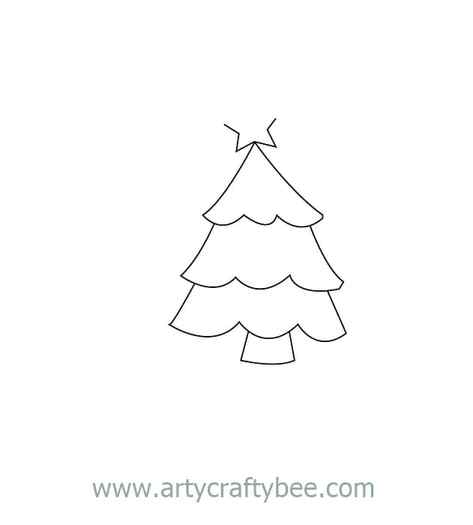
Step 8:
To draw the star, draw two angled lines on the top of the tree.
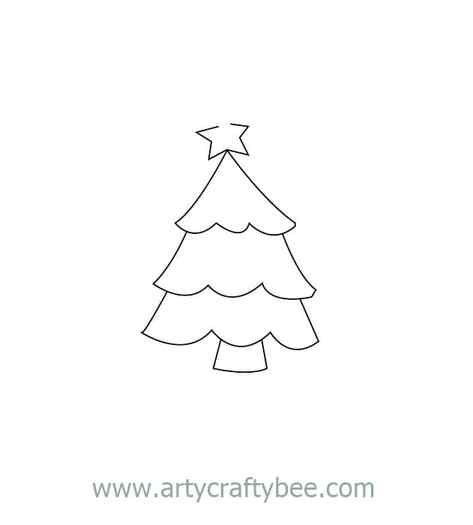
Step 9;
Then, draw two more angled (inverted).
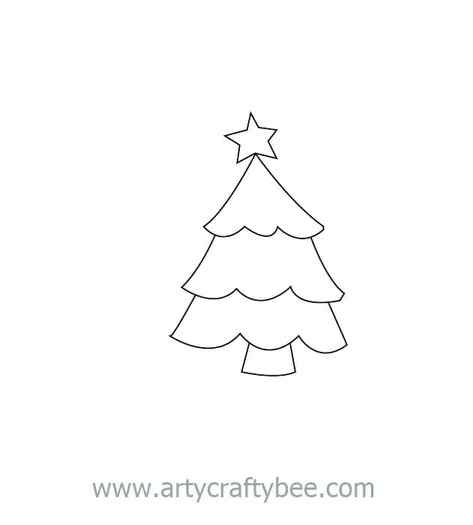
Step 10:
Draw two more angled lines from the endpoints of the previous lines.
Step 11:
Again, draw two angled lines from the endpoints of the previous lines.
Step 12:
Now draw two angled lines towards each other and close the ends to draw the star.

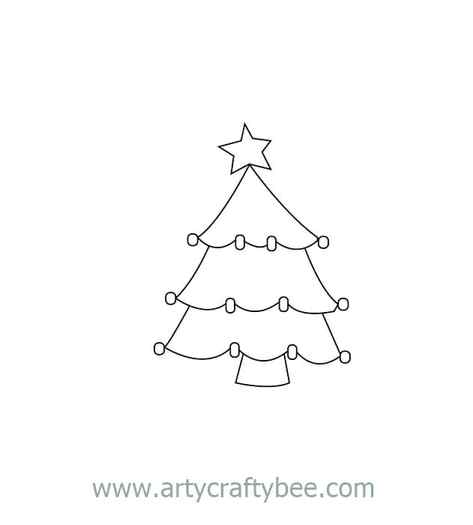
Step 13:
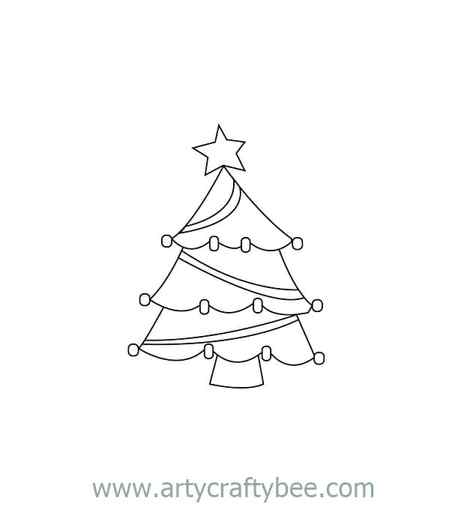
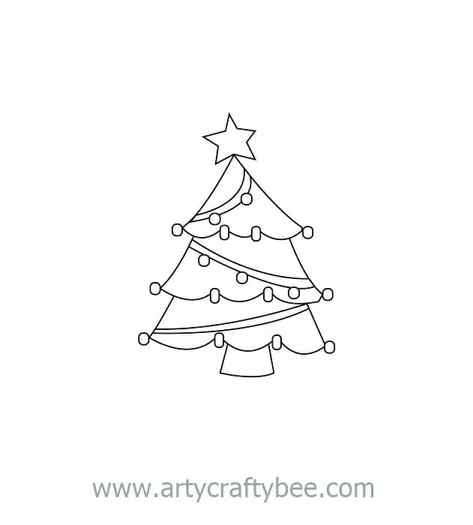
Draw round shapes on each corner of the Christmas tree.
Step 14:
Draw more circles inside the joined points of the curved lines.
Step 15:
Draw two lines inside the tree’s each part.
Step 16:
Draw circular shapes (Christmas ornaments) on the lines between the tree.

Step 17:
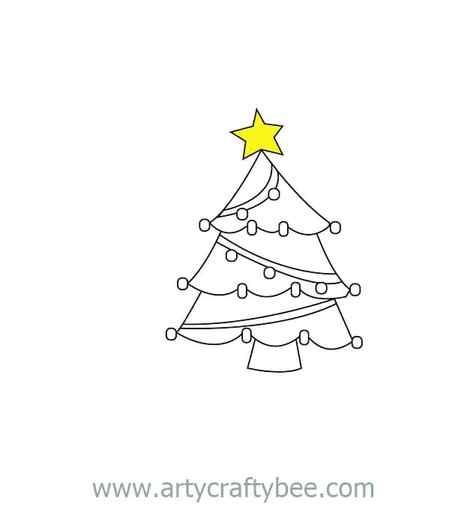
Color the Christmas Star using a bright yellow colored Sharpie.
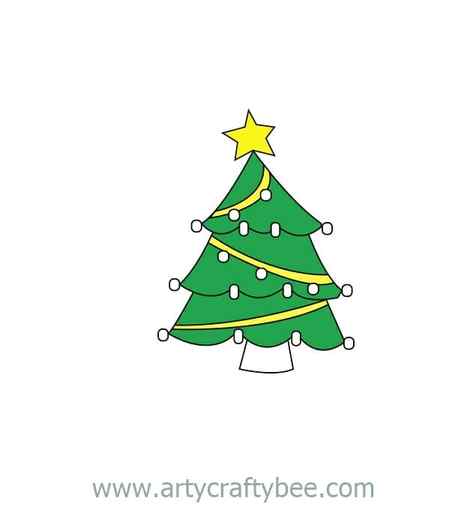
Step 18:
Color the tree carefully using a green shaded crayon or Sharpie/marker pen.
Step 19:
Color the strips inside the tree using a different shaded yellow or orange color.
Step 20:
Color the Christmas tree lights using colorful shades (blue, red, orange, pink, purple, green, etc).
Then color the tree’s trunk using brown color.
How Can I Use This Drawing?
I made this Christmas tree drawing mainly to make a Christmas card with it. You can also frame this drawing and hang it somewhere. This also makes a nice picture for a picture frame.

Christmas 2021: How to draw Christmas tree – here’s nine-step guide

Representative image  |  Photo Credit: iStock Images
Christmas brings cheer and hope, lifting everyone’s spirits. As the year draws to a close amid the Omicron variant scare, there are lots of reasons to celebrate.
With its distinctive appearance and beautiful decorations, Christmas trees are perhaps the most iconic symbol of Christmas.
There are many times when you may feel the need to draw a Christmas tree, whether Christmas is coming up or you want to have some Christmas cheer any time of the year. In that case, you are in the right place!
This easy-to-follow guide shows you how to draw a Christmas Tree in nine easy steps. So, let’s begin!
- We will start by drawing the tip of the Christmas tree. As of now, there will be no decorations or details added. Start by drawing what will look like a curved triangle with an inward-curving bottom.
- We will now draw the middle section of the Christmas tree. The basic concept of the second step is the same as the first, but it will be much longer.
- Drawing in two more sections of the tree is the next step.
- Since the tree will extend outwards, the first section will be quite long. Its final section is much shorter, but still extends outwards as well.
- The bottom of the Christmas tree will be added in the next step. This can be accomplished by connecting two bottoms of the tree with a jagged line that is curved in both directions. There should be a slight curve toward the bottom.
- Adding in two curved lines at the end for the trunk of your Christmas tree is the next step. Almost there now!
- The main part of your Christmas tree drawing is now complete, so we’ll be adding details to it now. We will first add in some small jagged lines inside the tree to give the impression that the tree has depth. A beautiful ornament should be placed on top of every Christmas tree. So, you can draw a star or any other tree ornament instead. Once you have your tree topper drawn, we are going to add some lines to the Christmas tree trunk.
- Now, we will add fun decorations to our Christmas tree drawing. The ornaments you like could be drawn, and even details like tinsel could be added. Perhaps you could decorate it to resemble the last Christmas tree you had at home. In order to make your Christmas tree drawing look absolutely beautiful, add in any final details you think that can be added.
- All that’s left is to add some beautiful colours to complete your Christmas tree drawing. Colour in your Christmas tree drawing in a way that lets your imagination and creativity run free. To really make your drawing stand out, you may wish to try a few fun art mediums. Acrylic paints are great for bringing out vibrant colours, whereas watercolours lend a pretty, soft look. If you want to add some smaller colourful touches to your drawing, coloured pens and pencils can also be used.
You can also check out these videos:


