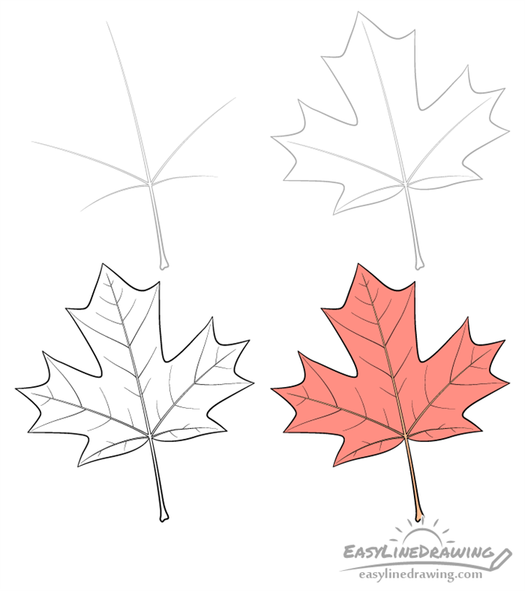
- Draw a center stem.
- Add a cap on top.
- Draw two symmetrical U shapes.
- Add two more symmetrical caps.
- Draw two symmetrical curves.
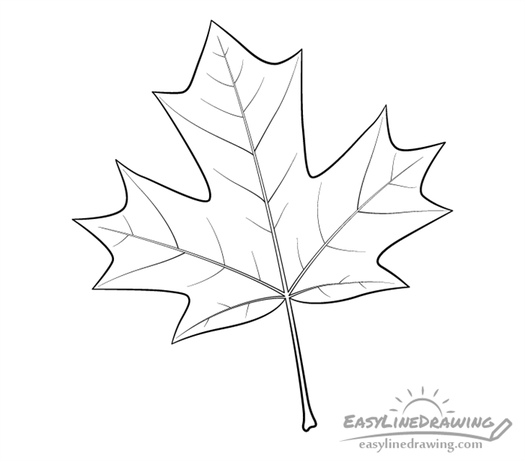
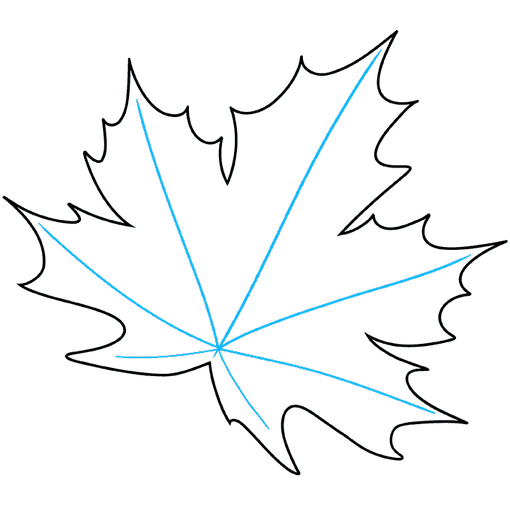
- Add four large veins.
- Draw six medium vein lines.
- Add lots of small vein lines.
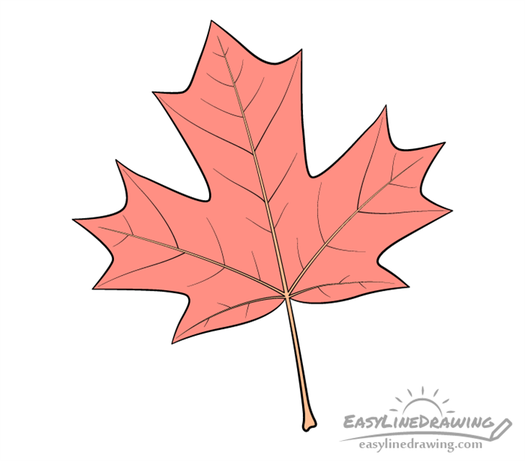
- Trace with marker and color.
How to Draw a Maple Leaf Step by Step
This short tutorial shows how to draw a maple leaf in four steps with simple illustrated examples and quick explanations.
Maple leaves have a very interesting shape but one that also makes them a little more difficult to draw then some other leave types. To help this tutorial shows a fairly simple step by step approach to drawing one.
As with most tutorials here on EasyLineDrawing it’s recommended that you start it in pencil and make light liens that you can easily erase in case of a mistake. You can darken them after you have all parts of the leaf outlined.
Step 1 – Draw the Veins/Midrib/Petiole

Start by drawing the petiole (part that attaches the leaf to the branch), midrib and the main veins. These will then work as guides for outlining the shape of the maple leaf.
Firs Draw the petiole/midrib and afterwards draw the primary veins (two on each side). These veins should all start from the same point where the petiole transitions into the midrib.
Draw each of these parts with a slightly curved or even wavy shape to make them look more natural (as opposed to just straight lines).
Step 2 – Draw the Outline of the Leaf
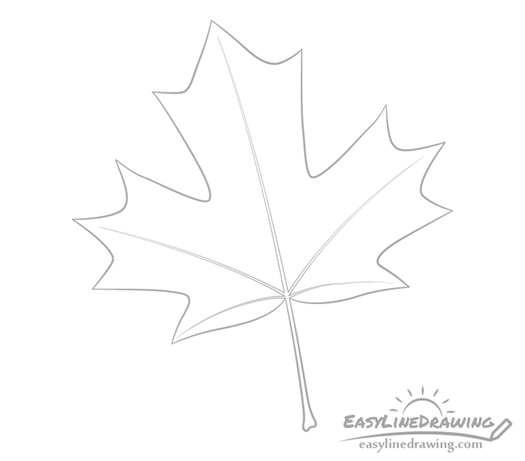
Around the veins/midrib draw the outer shape of the leaf as shown in the example above. The leaf should be split into five main parts. Two smaller ones at the bottom and three larger ones that each split into three more.
Maple Leaf Drawing
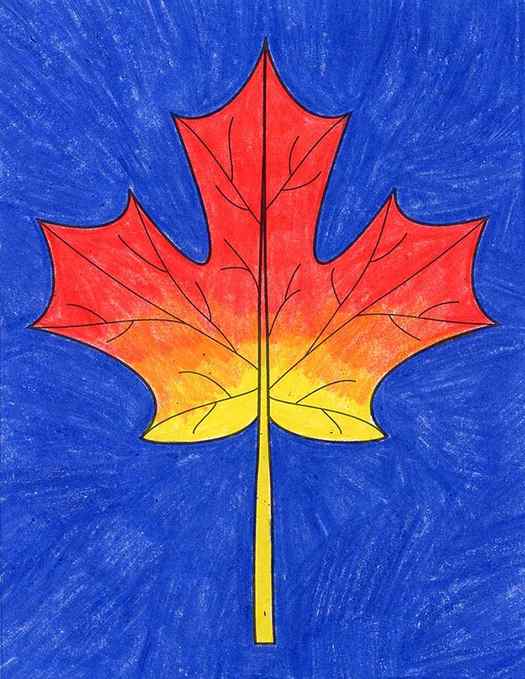
The fun part about learning how to draw a maple leaf, is getting creative afterwards with some fall colors. Any combination of warm colors will be beautiful, especially if students press really hard with their crayons. You don’t get that saturation without putting in a bit of effort.
While there are a million variations of maple leaves in the world, most of them do tend to follow a certain kind of pattern. Once students learn the pattern, they can learn how to draw a maple leaf any size they want. The leaves have three large fingers, so to speak, with a few more curves sprinkled around them. This tutorial shows how to draw those shapes in a logical progression, and then the how to fill the veins inside with their own kind of pattern.
Why Do Maple Leaves Change Color?
Leaves get their green color from a chemical called chlorophyll, which helps trees take in sunlight. In the fall, because of changes in the length of daylight and changes in temperature, the leaves stop their food-making process. The chlorophyll breaks down, the green color disappears, and the yellow to orange colors become visible and give the leaves part of their fall splendor.

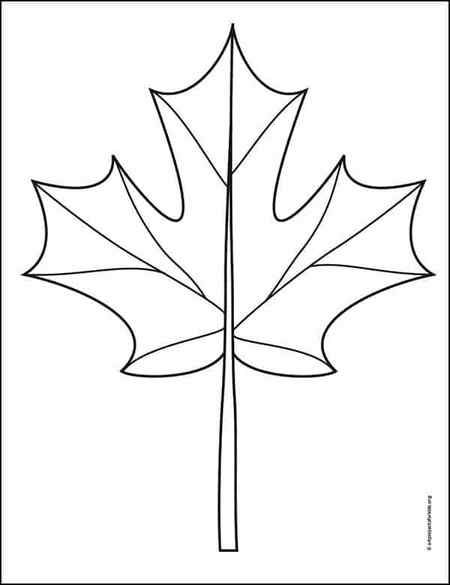
Maple Leaf Coloring Page
- Drawing Paper. This is the good stuff you can buy in bulk for a good price.
- Pencils. I like how this brand always makes nice dark lines.
- Black Marker. A permanent marker will give you a dark black color.
- Crayons. The larger packs are nice for more color choices.
- Note: All of the above are Amazon affiliate links.
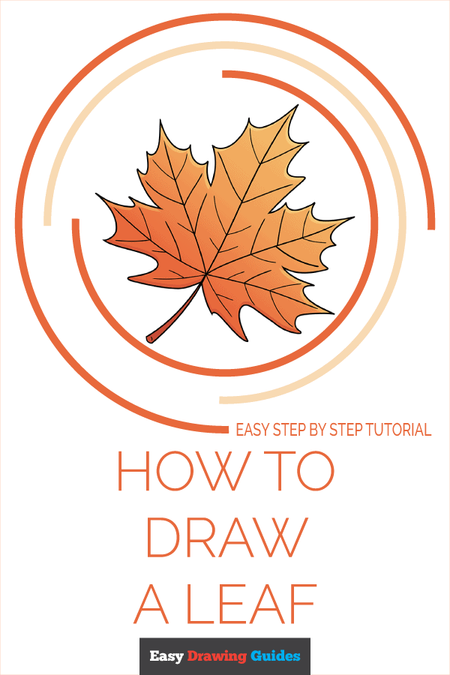
How to Draw a Maple Leaf
Learn how to draw a great looking Maple Leaf with easy, step-by-step drawing instructions, and video tutorial.
By following the simple steps, you too can easily draw a perfect Maple Leaf.

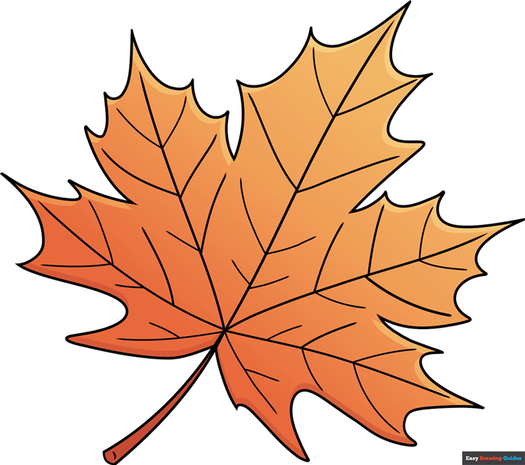
Complete Maple Leaf drawing
Would you like to learn how to draw a maple leaf? This easy, step-by-step leaf drawing tutorial can show you how.
This type of leaf grows on the maple tree, which is native to most of the Northern Hemisphere. There are about 200 species of maple in China, Europe, and North America.
One unique feature of maple trees is that they produce “winged” seeds. Each pair of seeds has two leaflets that catch the wind and help the seeds to travel some distance from the parent tree.
Scroll down for a downloadable PDF of this tutorial.
The swirling motion of the falling seeds has earned them the nickname “helicopters.” One type of maple tree, the sugar maple, produces sweet sap that is processed to make maple syrup.
Maple leaves are also highly symbolic. A red maple leaf appears on the Canadian flag. Maple syrup bottles may feature the leaf on their labels or the bottles themselves may even be leaf-shaped.
Brightly colored maple leaves are synonymous with the autumn leaf-peeping season in the United States of America.
Can you identify all the parts of the leaf? Drawing a leaf and labeling its parts can be a great science fair project. As you read the descriptions of each step, note the leaf parts vocabulary, highlighted in bold.
If you liked this tutorial, see also the following drawing guides: Bamboo, Potted Plant, and Olive Branch.
Easy, Step-by-Step Maple Leaf Drawing Tutorial for Beginners
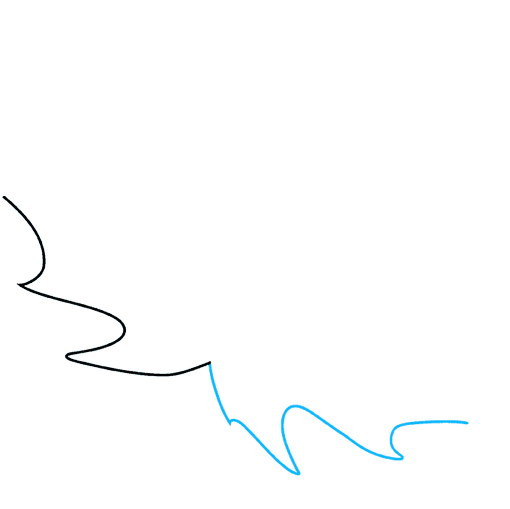
How to Draw a Great Looking Maple Leaf for Kids, Beginners, and Adults – Step 1

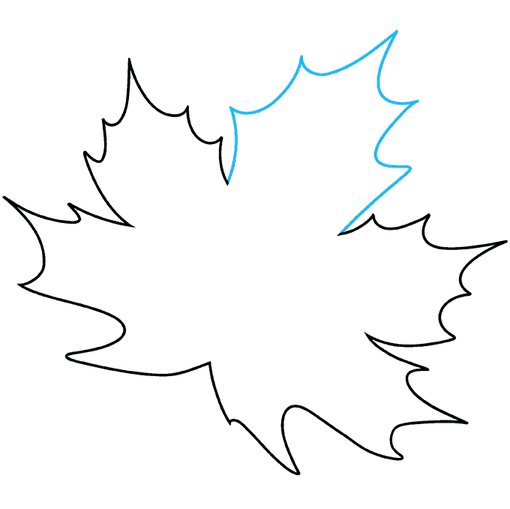
1. Begin by drawing the leaf margin, or the edge of the leaf. Use Curved lines that meet at sharp or gentle points. The maple leaf is lobed or lacerate, meaning it has deep indentations.
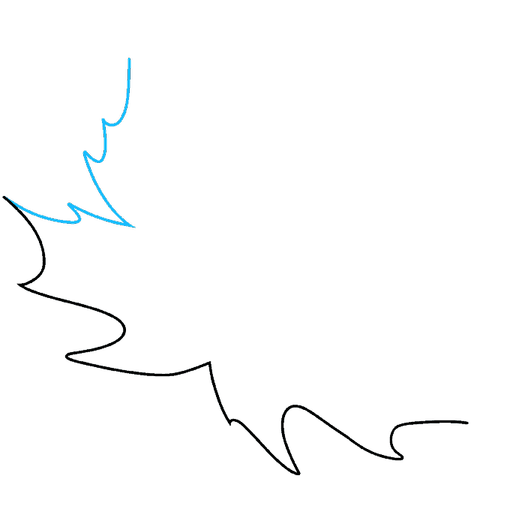
Easy Maple Leaf Drawing – Step 2
2. Continue to outline the edge of the leaf, using curved lines that meet at points to form the lobes. This new side should be a near mirror image of the first.


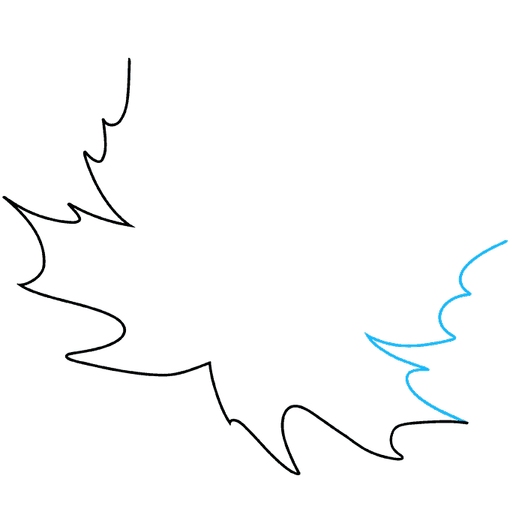
Easy Maple Leaf Drawing – Step 3
3. Continue drawing the side of the leaf begun in the first step. Draw each lobe using curved lines of various sizes that meet at sharp points.
Easy Maple Leaf Drawing – Step 4
4. Continue to draw the opposite side of the leaf. Again, use curved lines that meet at sharp points to form the jagged lobes.
MORE DRAWING TUTORIALS:
How to Draw a Jungle
Easy How to Draw a Palm Tree – Step by Step Drawing Guide for Kids and Beginners
How to Draw an Easy Christmas Tree
Easy Maple Leaf Drawing – Step 5

5. Draw the top side of each of the upper lobes. Use curved lines that meet at sharp points. You can now see the shape of the lobes, and that each lobe is further serrated with sharp points. This is described as double dentate.
Easy Maple Leaf Drawing – Step 6
6. Use a series of connected, curved lines that meet at sharp points to complete the apex or top tip of the leaf. This completes the outline of the leaf blade.
Easy Maple Leaf Drawing – Step 7
7. Draw a series of curved lines in a starburst pattern. The lines should originate near the bottom of the leaf and extend nearly to the tip of each lobe. These are the leaf’s veins. The vein in the center of the leaf is called the midrib.
MORE DRAWING TUTORIALS:
How to Draw a Spooky Forest
How to Draw Falling Leaves

How to Draw an Easter Egg Tree

Add More Details to Your Maple Leaf Picture – Step 8
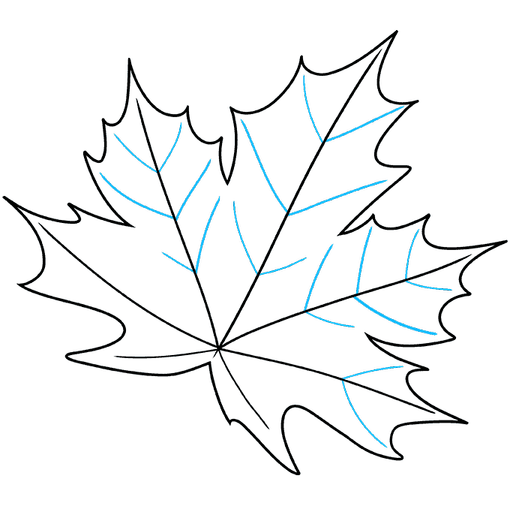
8. Draw short curved lines extending from the veins in “V” shapes. These are called secondary veins.
Complete the Outline of Your Maple Leaf Drawing – Step 9

9. Continue to texture the leaves with secondary veins. Then draw the stem or petiole, the structure that connects the leaf to the tree. From the point where the veins converge, extend a pair of curved lines.
Color Your Maple Leaf Drawing
Connect them at the end with a short curved line. Give the tip a rounded, three-dimensional appearance by drawing another short line across it.
Color your maple leaf drawing. In the spring and summer, the leaves of most maples are bright green. In fall, they turn yellow, orange, red, or brown.
Japanese maples are deep red all year long, and red maples have a reddish stem even when the leaf is green.
For more great Tree drawing tutorials, see the 21 Cute Tree Drawing Designs post.
Easy, step by step Maple Leaf drawing tutorial
Click HERE to save the tutorial to Pinterest!
Maple Leaf Drawing Tutorial – Easy & Fun Printable Pages
Join now and get immediate access to thousands of printable drawing instruction and practice pages!

MEMBER TROUBLESHOOTING
Still seeing ads or not being able to download the PDF?
First, check that you’re logged in. You can log in on the member login page.
If you’re still not able to download the PDF, the likely solution is to reload the page.
You can do this by clicking the browser reload button.
It is a circular arrow-shaped icon at the top of the browser window, typically found in the upper-left side (you can also use keyboard shortcuts: Ctrl+R on PC and Command+R on Mac).


