Since each work is explained for each work, the number of work looks large, but the work being done is the following four types.
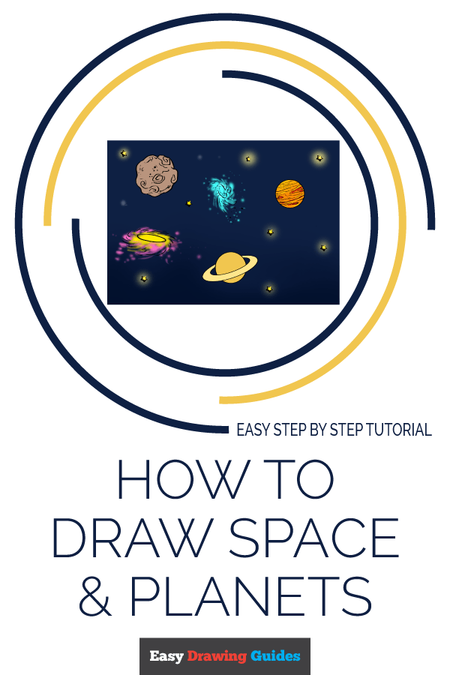
How to Draw Space and Planets
Learn how to draw a great looking Space and Planets with easy, step-by-step drawing instructions, and video tutorial.
By following the simple steps, you too can easily draw a perfect Space and Planets.

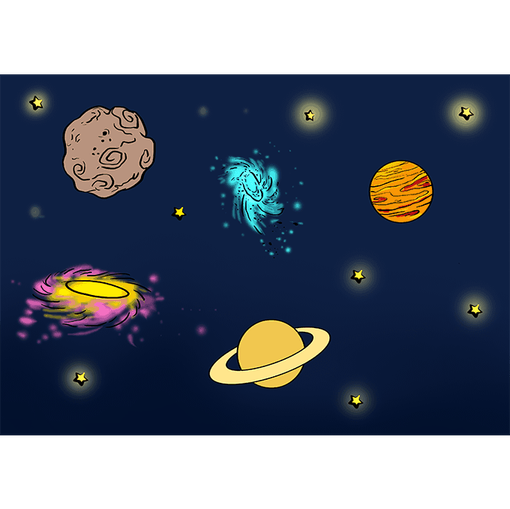
Complete Space and Planets drawing
“Space, the final frontier. ”
– Star Trek
Space exploration has long been of interest to both the scientific and science fiction communities. Since ancient times, astronomers have looked to the heavens and tried to understand their observations.
During the 1600s, Isaac Newton invented the reflecting telescope, which allowed scientists to get their first up-close glimpses of what lay among the stars.
Scroll down for a downloadable PDF of this tutorial.
What they saw amazed them. Finally, scientists could explain the movements of the planets in the solar system. Further advances allowed them to expand their research farther into space.
Not only were there other stars and planets, but entire galaxies – groups of stars and gases orbiting around a central point.
Science fiction added imaginative aspects to space exploration, namely that of people traveling long distances across the universe.
Since the 1960s, space-themed television shows and movies, including Star Trek and Star Wars have been extremely popular.
Would you like to draw outer space, complete with galaxies and planets? This easy, step-by-step astronomical drawing tutorial is here to help. All you will need is a pencil, an eraser, and a sheet of paper. You may also wish to color your finished drawing.
If you liked this tutorial, see also the following drawing guides: Earth, Moon, and Galaxy.
Step by Step Instructions for Drawing Space and Planets
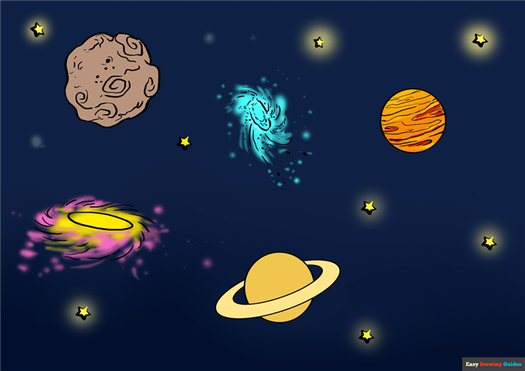
How to Draw a Great Looking Space and Planets for Kids, Beginners, and Adults – Step 1
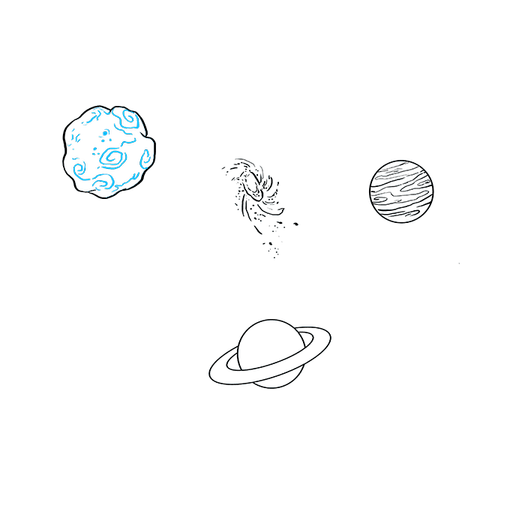
1. Begin by drawing a circle. This will form your first planet.
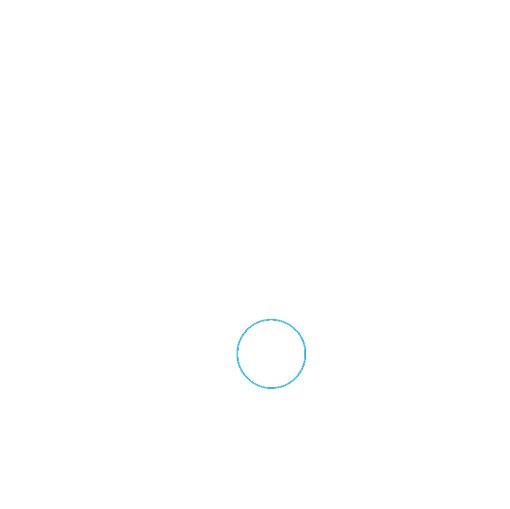
Easy Space and Planets Drawing – Step 2
2. Draw an oval passing through the planet. Then, draw a smaller oval inside the first. This will form the planet’s rings, like those of Saturn.


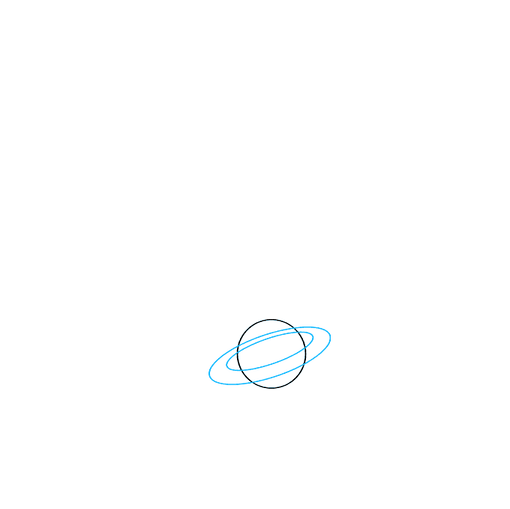
Easy Space and Planets Drawing – Step 3

3. Erase the guide lines from the planet’s rings.
Easy Space and Planets Drawing – Step 4
4. Draw a second circle. This will form a second planet.
MORE DRAWING TUTORIALS:
How to Draw a Space Shuttle
Easy How to Draw a Rocket Ship – Step by Step Drawing Guide for Kids and Beginners
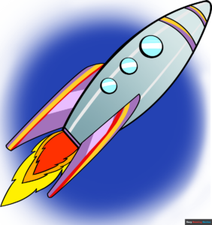
How to Draw a Shooting Star

Easy Space and Planets Drawing – Step 5

5. Draw wavy lines criss crossing around each other on the planet’s surface. Notice the small oval on one side of the planet. This is a gas giant like Jupiter, full of raging storms. The oval is the largest hurricane in the known universe. It has been storming there since at least 1830 – that’s about 200 years.
Easy Space and Planets Drawing – Step 6
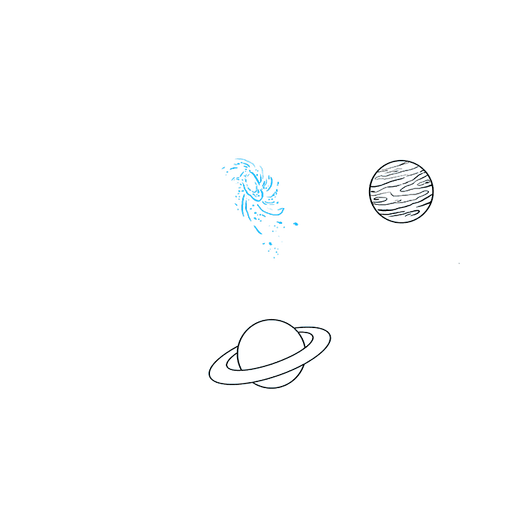
6. Draw a series of curved lines of different lengths emerging from a central point in the shape of a spiral. Add dots as well. This forms a spiral galaxy.
Easy Space and Planets Drawing – Step 7
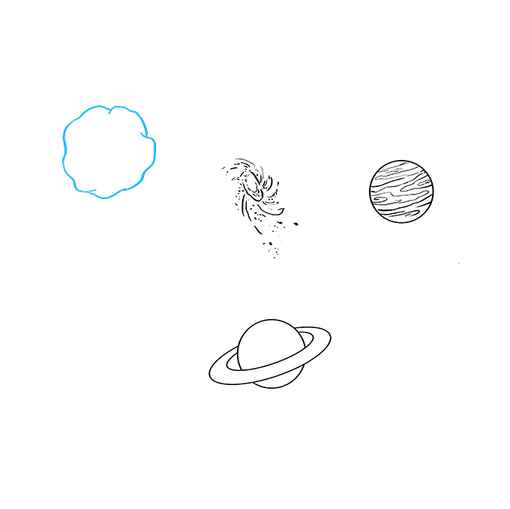
7. Use a series of overlapping curved lines to draw a rounded shape. This will form an irregular planet or moon.
MORE DRAWING TUTORIALS:
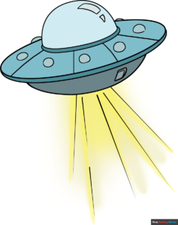
How to Draw a UFO
How to Draw a Galaxy

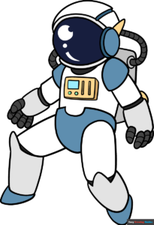
How to Draw an Astronaut
Add More Details to Your Space and Planets Picture – Step 8
8. Detail the moon with spiral shapes, curved lines, and dots.
Complete the Outline of Your Space and Planets Drawing – Step 9
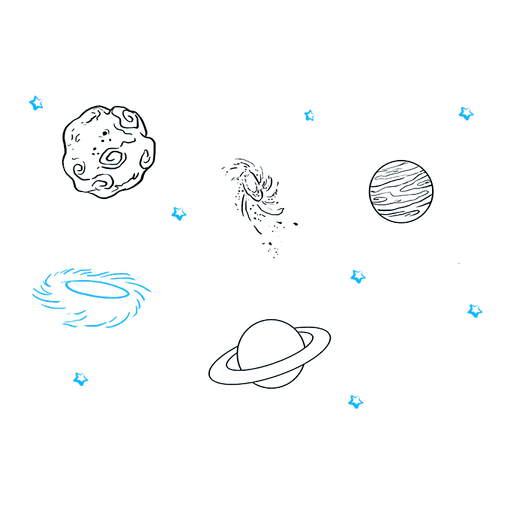
9. Draw an oval. Then, draw curved lines in a circle around it. This forms another spiral galaxy. Then, draw a sky full of five-pointed stars.
Color Your Space and Planets Drawing
Color the universe you’ve just created. The background of such a starry sky is typically dark, in blue or black. The planets, stars, and galaxies can display a range of stunning colors.
Need more space? Check out our manmade objects drawing guides, where you’ll find more cool tech like a jet plane, a UFO, and a robot. Then, set the scene with galaxies, the planet earth, and the moon. You can even populate your drawing with slimey aliens!
For more great Drawing Ideas tutorials, see the 100 Easy and Fun Drawing Ideas post.
Easy, step by step Space and Planets drawing tutorial
Click HERE to save the tutorial to Pinterest!
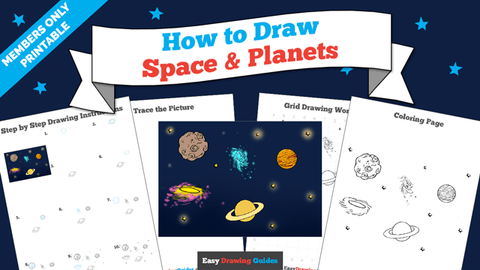
Space and Planets Drawing Tutorial – Easy & Fun Printable Pages
Join now and get immediate access to thousands of printable drawing instruction and practice pages!

MEMBER TROUBLESHOOTING
Still seeing ads or not being able to download the PDF?
First, check that you’re logged in. You can log in on the member login page.
If you’re still not able to download the PDF, the likely solution is to reload the page.
You can do this by clicking the browser reload button.
It is a circular arrow-shaped icon at the top of the browser window, typically found in the upper-left side (you can also use keyboard shortcuts: Ctrl+R on PC and Command+R on Mac).
Base Layer ~ Planet
This time, draw a diagonal elliptical star in the center.
First, create a normal layer and fill it with navy blue.
On the same layer, paint black diagonally from the upper left and lower right using the gradient from “foreground color to transparent color”.
This is the base layer.
Next, draw a light blue haze with the “coarse watercolor” in the real watercolor.
Create a new regular layer on top and create a rough ellipse with a slightly thicker front side.
After that, it will be blurred, so please draw freely without worrying about unevenness.
Next, blur the haze that we just made with “fiber bleeding” and “color mixing”.
The center of the ellipse is blurred as a whole, and the outside fog is blurred with the image that the smoke spreads out to the outside, without much change in the “center side”.
Please work easily here to adjust later.
Next, draw a planet to the center.
Create an “addition (light emission) layer” at the top, and draw a yellow circle with the “airbrush” in the center of the haze you just made.
Layering white on top of it further expresses the shining stars.
- Keep this planet layer on top until the end.
Next, add a haze on the same planet layer with the same yellow color as before.
Draw haze with coarse watercolor only on the lower part of the planet, and blur in the same way with “fiber bleed”.
This is just a little extra.
After that, using “color mixing”, the lower part of the planet is blurred with a blending image.
Draw the stars around
Next, fine stars are scattered throughout the screen.
The stars to be drawn can be roughly divided into three categories: “large stars”, “thin fine stars”, and “bright fine stars”.
Draw all three stars, yellow and light blue.
First, create two “addition (light emission) layers” under the planet layer that you made earlier, draw “thin fine stars” on the lower layer and “bright fine stars” on the upper layer.
The procedure is exactly the same for both, just using different brushes.
“Thin and fine stars” . lightly put on the whole screen with “spray”.
If you draw too much, you will get a messed up impression.
“Bright and fine stars” . Colors are drawn with images that are drawn only in the dark blue parts with “splashes”.
Because it is only an image, we do not mind the protrusion etc., and also apply the color sparingly.
After drawing both, adjust the opacity of the layer.
This time, “Bright and fine stars” have been reduced to 58% and “Thin and fine stars” have been reduced to 70%.
Please adjust this as you like.
Next, draw a “larger star”.
The general method is the same as a planet.
Create an “addition (light emission) layer” on the two types of star layers created earlier.
This time, I will draw yellow and light blue stars on the dark blue part of the base layer using the “strong” airbrush.
If you draw a two-colored star, you will add white and shine.
This is the end of star creation.
Fine adjustment
Since the rough part is completed, fine adjustments will be made by adding haze.
First, add haze in white.
Create a “normal layer” on top of the base layer.
Repeat “coarse watercolor” → “fiber bleed” with the same capacity as before, and add a haze around the planet.
If you make a gap between the haze, the shape will be better and it will be easier to see.
Work effortlessly without thinking too much.
Next, create the “addition (light emission) layer” second from the top.
Using “transparent watercolor”, lighten orange around the planet.
If it is too dark, it will be hard to see the planet.
Finally, we will add the green color to get the depth.
Apply green color with “transparent watercolor” around the orange you just painted.
It’s okay to just make it thin.
This time at the end I felt a little unsatisfactory, so I put a little green on the lower haze layer, created a new layer, and added a few stars only on the planet part.
- If you feel that you have drawn too many fine stars, it is easier to put together by applying a “softer” eraser to the black part of the base layer.


