Make sure you have some white paint and a fork ready for the next step . Take your 1″ flat wash brush and white paint (titanium white) and paint over the brown.
The Best Paints to Use When Decorating Pumpkins
From spray paints to acrylics, experts weigh in on the top tints to turn to for every Halloween gourd project.
Blythe Copeland is a contributing writer with more than a decade of experience as a freelance lifestyle writer.
Updated on August 17, 2022
In This Article
View All
In This Article
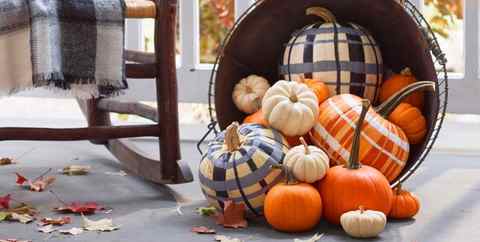
Carving pumpkins may be a traditional Halloween activity, but trading your X-Acto knife for a paintbrush has its benefits: Painting pumpkins is easier and safer for young kids, presents more design freedom for adults, and leaves you with an autumnal decoration that lasts until you trade your fall décor for holiday lights.
“When we carve pumpkins, if we get a week out of it, that’s pretty good—but a painted pumpkin can last months,” says Marc Evan, founder and co-owner of Maniac Pumpkin Carvers. “A carving is going to rot in as soon as three days, sometimes even quicker. The nice thing about a painted pumpkin is it could theoretically last the entire season and look great through Halloween.”
But choosing the best type of paint to use when decorating your pumpkin matters. Some are too translucent, while others are too oily, making them take longer to dry. Here, experts convey the best paints for decorating pumpkins so you can have a festive final product.

How to Pick a Pumpkin to Paint
The first step in designing a painted pumpkin is looking carefully at its shape. “Painting a rounded surface is a little more difficult than a flat surface like canvas,” says Becki Thomas, art manager at Painting with a Twist. “Try and choose a pumpkin with the smoothest surface possible, and plan your design, keeping the pumpkin’s natural ridges in mind.”
Next, clean your pumpkin so that the paint will stick to the surface. “It’s a good idea to wash the pumpkin and dry it really well,” says Evan. “That way, you’re not putting paint on a fine layer of dirt—you’re putting paint right on the skin of the pumpkin.”
Use Acrylic Paint for General Decorating
“I love to paint pumpkins with chalky acrylic paint,” says Roma Stiff, senior creative project designer for Michaels. “The coverage is good, and the matte finish gives an updated home décor look and feel. The paint comes in a variety of home décor colors and is just enough to do a project!”
Choose Acrylic Over Oil Paint
Thomas agrees and recommends acrylic paint instead of oil-based when painting pumpkins. “It’s quick-drying, easy to use, and clean-up is a breeze,” she says. “Because acrylic is water-based, if you mess up, you can wipe it off with a rag and start over! Oil-based paint takes a long time to dry and can be fumy. [With oil,] you’ll also need paint thinner to clean the paintbrushes.”
Work in Layers
Most acrylic craft paints will require more than one coat to prevent the bright orange of the pumpkin rind from showing through, but acrylic’s fast-drying properties—and low cost—let you layer several applications for solid coverage in the shortest amount of time. “It’ll work for big shapes and tiny stencils,” says Thomas. “Have a few different brush sizes ready to go, and you’ll be able to paint anything with acrylic.”
Wear Protective Clothing
One caution from Thomas: “It does stain clothing, so make sure to wear an apron or an old shirt and to protect the table you’re painting on.”
70 Easy Pumpkin Painting Ideas for Every Kind of Gourd
Put down the carving utensils and pick up your paint brush.
By Leah Rocketto and Elizabeth Berry Updated: Jun 28, 2022
Steve Giralt
It’s a tough call between which Halloween tradition inspires more creative brainstorming sessions: Deciding on your family Halloween costume or coming up with the perfect Jack-o’-Lantern design. Sure, you want to look spook-tactular come October 31, but you probably also want to impress trick-or-treaters with your pumpkin decorating skills. And if you want to wow the crowds without spending hours carving intricate designs, you’ll want to choose one of these pumpkin painting ideas.
That’s right: You can say goodbye to cumbersome carving tools and hello to paintbrushes and pens thanks to these no-carve pumpkin designs, which are fun for all ages and make great Halloween crafts for the kids. Without the sharp edges of carving knives to worry about, you can rest assured that these painted pumpkins instructions are kid-friendly and easy to follow. All you’ll need to do is make sure you have the right supplies on hand, including an array of paint brushes and sponges, Sharpies, and acrylic paint. From colorful patterns to spooky faces to funny characters, these creative pumpkin painting ideas guarantee a good time for all this Halloween season.
So this year skip the pumpkin carving and dig into our list of painted pumpkin ideas. Not only will your pumpkin last longer when left uncarved, but you’ll also delight your neighbors with these cute and spooky faces as they approach your front door. They’re some of the easiest Halloween decorations out there!
Advertisement – Continue Reading Below
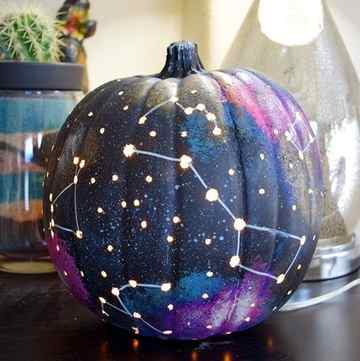
Galaxy Painted Pumpkin
Dream a Little Bigger/Allison Murray
For an out of this world Jack-o’-Lantern, travel no further thank this cosmic design that employs an old toothbrush to add bright stars to your very own galaxy.
Get the Galaxy Pumpkin tutorial at Dream a Little Bigger.
Advertisement – Continue Reading Below
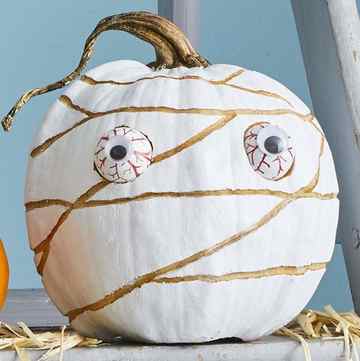
Painted Mummy Pumpkin
Mike Garten
Start by painting your pumpkin completely white, then use a pen to freehand a mummy-style wrap design on it. Etch the lines using a linoleum-cutting tool. To create the eyes, glue googly eyes to two Ping-Pong balls and hand-draw red veins using a red Sharpie, then insert into two carved “eye sockets.”
Materials
- Cadmium Orange Hue
- Burnt Umber
- Titanium White
- Mars Black
- Aqua Green
- Light Green Permanent (optional)
- Plastic cutlery fork
- 1″ flat brush
- 1/2″ flat brush
- Liner brush
- To watch the full length step by step video tutorial, you can watch on youtube.
- Draw your pumpkin shapes onto you canvas.
- Use the directions above for creating the “faux wood” background.
- Now time to paint some orange pumpkins! Using your cadmium orange hue and burnt umber colors, follow the steps in the section above to paint your orange pumpkin. First you’ll fill in the pumpkin with the double loading one stroke technique, then apply highlights to you pumpkin, and finally add the stem and a curly tendril.
- Follow the same steps as above for your teal pumpkin, but instead of orange use aqua green paint.
- Once the pumpkins are done, use your liner brush and some mars black paint to draw on your spider hanging down from a web. Think of your spider in terms of simple shapes: a diamond shaped body, a circle head and 8 long legs Tip: thin out your black paint quite a bit with water before loading it onto your liner brush (like a thick ink consistency). This will make the brush strokes and lines smoother and more crisp.
- The last step is to add some pretty foliage and leaves at below the pumpkins. Take your burnt umber, white, aqua green and another green paint of your choice. Using these 4 colors create a few different hues. This is a great exercise to get you enjoying paint mixing and seeing what interesting colors you can create. You can’t go wrong here, so enjoy! These colors will work well together to create some nice earthy tones. Use a variety of brushes of your choice to make interesting leaves, branches, etc with the colors your created. It will look very 1 dimension and flat at this stage, not to worry- we will bring it to life in the next step!
- Once you have filled in the bottom with your folliage. Take some titanium white mixed with the tinniest bit of any green. This will create a pale, near white color. Thin the paint with water (thick ink consistency) so it flows easier from the brush. Create some more “highlight” folliage with this paint color and a size 0 round brush. This step will add beautiful dimension to the bottom of your painting. I added some interesting curly branches and other leaves like “wheat ears”, but feel free to use your imagination.
- Optional:Feel free to add some handwritten inspiring words or text to the top right hand corner of your painting. I made 2 paintings to show you the difference (one with wording, one without). To get the placement just right, I first used a pencil to trace in my wording onto the canvas, then went over it with some black paint and a liner brush. Alternatively you can used a black Sharpie for more control.
Recommended Products
As an Amazon Associate and member of other affiliate programs, I earn from qualifying purchases.
Winsor & Newton Cotman Water Colour Series 111 Short Handle Synthetic Brush – Round #0
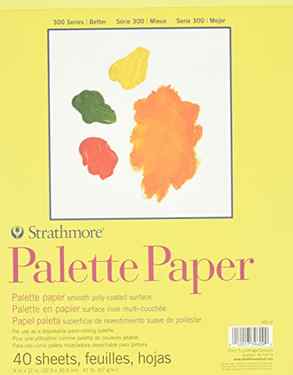
Strathmore 365-9 300 Series Palette Pad, 9″x12″ Tape Bound, 40 Sheets
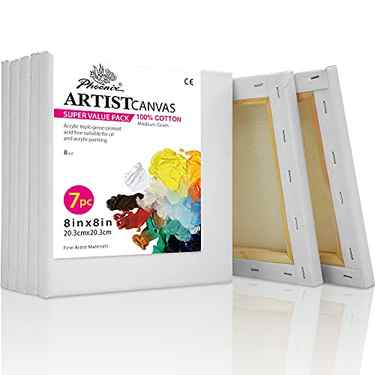
PHOENIX White Blank Cotton Stretched Canvas Artist Painting – 8×8 Inch / 7 Pack – 5/8 Inch Profile Triple Primed for Oil & Acrylic Paints

Princeton Velvetouch Artiste, Mixed-Media Brush for Acrylic, Watercolor & Oil, Series 3950 Wash Luxury Synthetic, Size 1/2
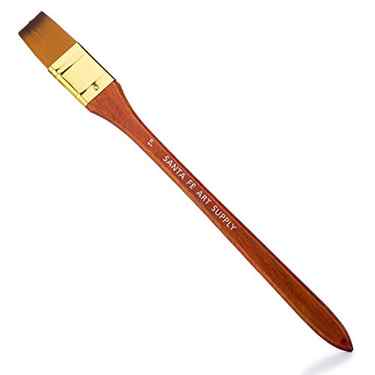
Santa Fe Art Supply Best Quality Artist Paintbrush Flat Wide 1 Inch. Acrylic Oil Watercolor & Face Paint. Long Handle Replacement Paint Brushes with
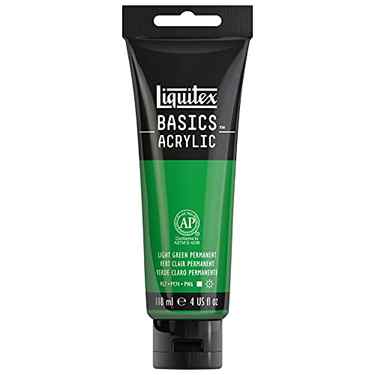
Liquitex BASICS Acrylic Paint, 4-oz tube, Light Green Permanent

Liquitex BASICS Acrylic Paint, 8.45-oz tube, Bright Aqua Green, 8 Fl
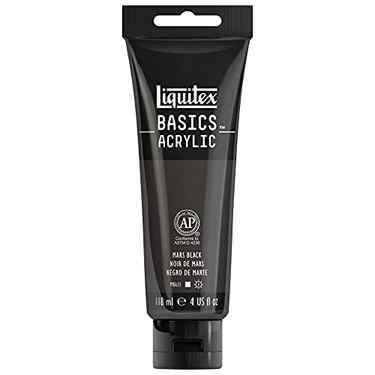
Liquitex BASICS Acrylic Paint, 4-oz tube, Mars Black
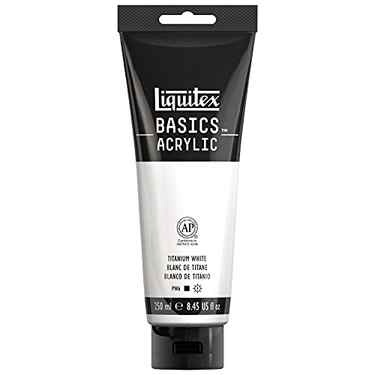
Liquitex BASICS Acrylic Paint, 8.45-Oz Tube, Titanium White
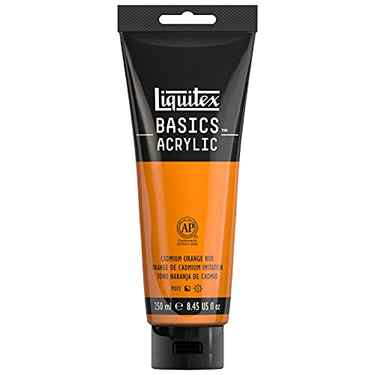
Liquitex 4385720 BASICS Acrylic Paint, 8.45-oz tube, Cadmium Orange Hue
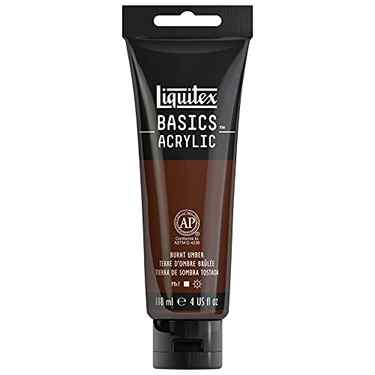
Liquitex BASICS Acrylic Paint, 4-oz tube, Burnt Umber
Did you make this project?
Please leave a comment on the blog or share a photo on Pinterest
© Jasmine K
Project Type: Easy / Category: Acrylic Painting
Enjoy friends, and hope you carve out some time to make this fun fall pumpkin art!


