Follow us
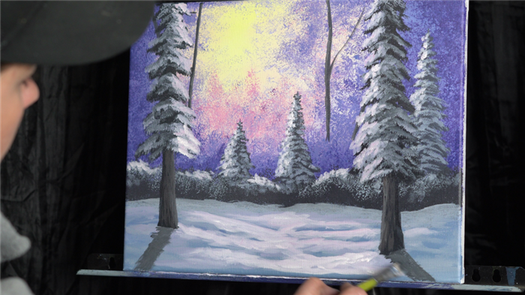
Now let’s learn how to paint this charming Beginner Friendly Winter Landscape Painting
I hope you like this video and share it with your friends. And if you want to know more about the artist, check the links below the video.
See also Christmas Cottage with Paint with Kevin
Why not show the creator some love by heading over to their channel and leave a like or subscribe. That will show them that you want more and makes them want to create even more awesome material. And that is a pure win-win.
On til next time.
Full-length lesson:
- http://paintwithkevin.com/dvd-digital…
For more from KevinOilPainting
Share on Facebook
Tweet

Follow us
Save
You Might Also Like

August 2, 2020
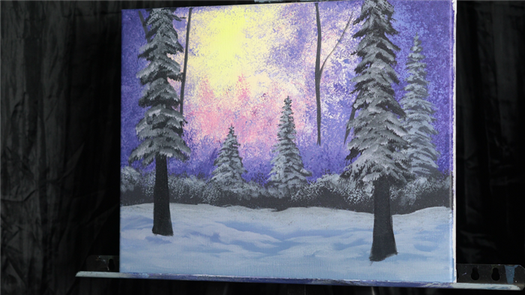
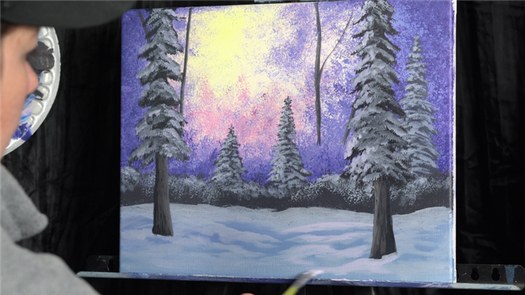
Winter Landscape Painting Tutorial, Purple Haze
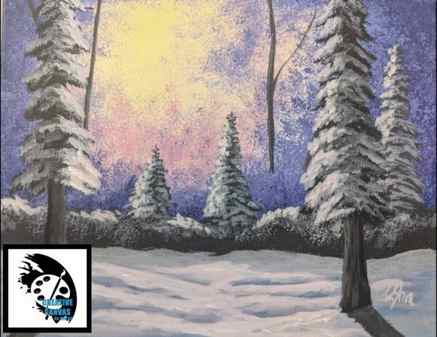
Purple Haze is a beginner friendly winter landscape painting tutorial. Using pastel colors to create the light source, and a sea sponge for almost all of the foliage, the result is loose and soft. These techniques can be used in just about any landscape painting.
The step by step acrylic painting tutorial video is a little over an hour, however it may take you more time to complete. There is also a written step by step guide below, and you’re welcome to print the materials list as well.
– 1 inch Flat
– 1/2 inch Flat
– 1/4 inch Flat
– Detail Brush
– Sea Sponge
– Titanium White
– Mars Black
– Cad Yellow Med
– Bright Red
– Cobalt Blue
– Burnt Sienna

Instructions
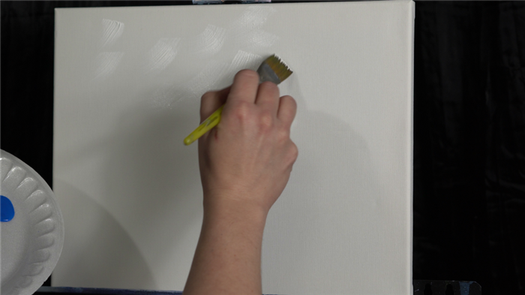
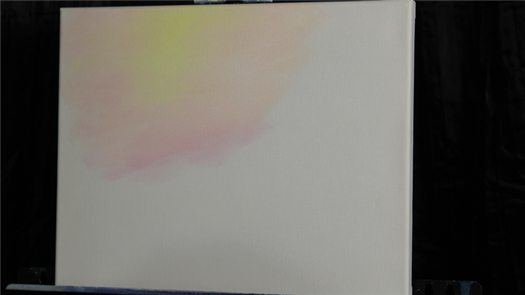
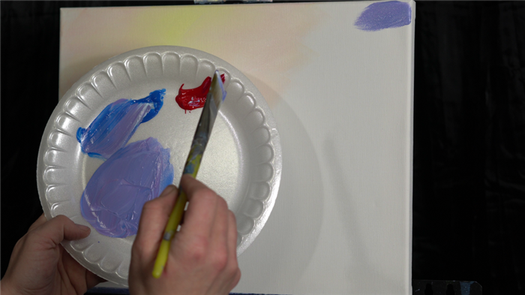
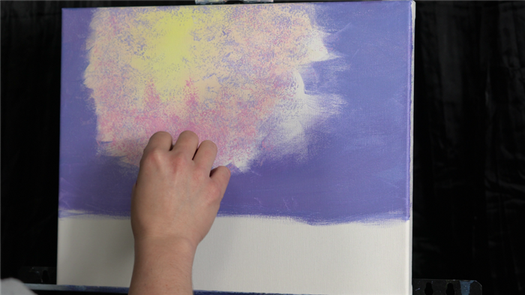
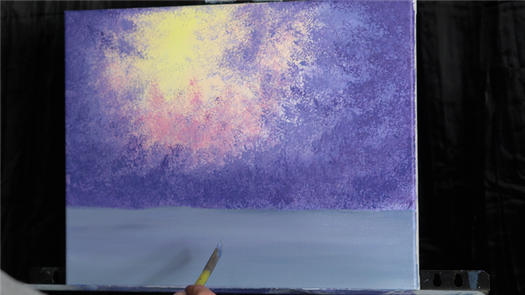
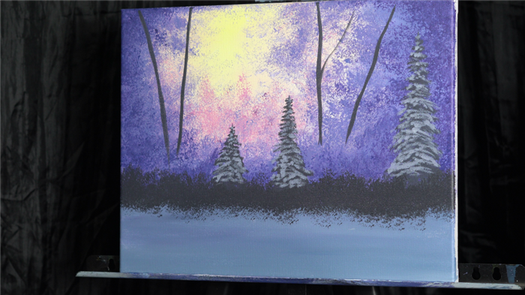
Mix a light pastel yellow using the titanium white and cad yellow medium. Brush it on in the center of your light source.

Mix a light pastel yellow using the titanium white and cad yellow medium. Brush it on in the center of your light source.
Step 2: Creating your base foliage.
Using white, blue, and red, mix a medium tone purple. Using your brush, surround the outside of your light source with this color.

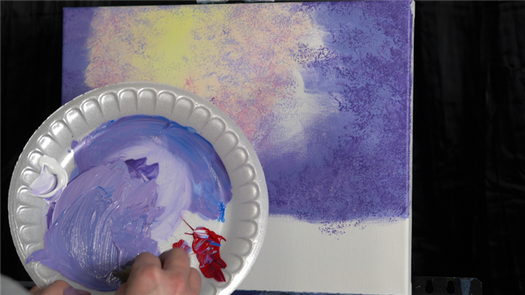
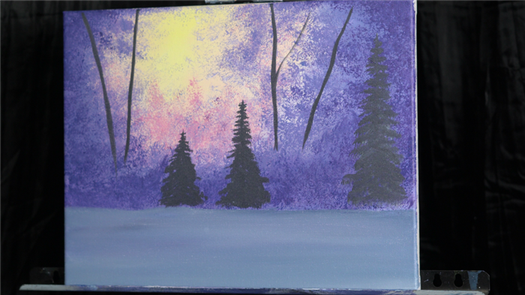
Step 3: Distant foliage
Next, mix a lighter purple. Use the sea sponge to create distant foliage.
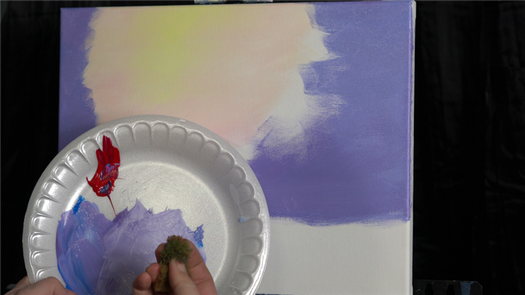
Try not to completely cover your light source, just a little bit.
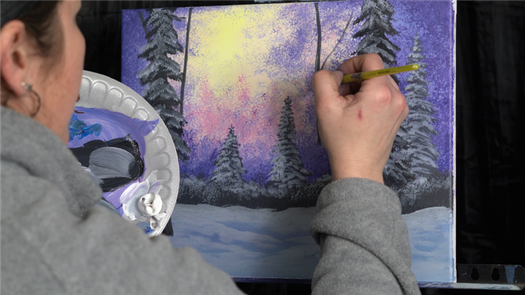
Next mix a mid tone pink, using red, white, and a touch of the blue. Add this to your distant foliage.
Also create the idea of some distant pine trees.
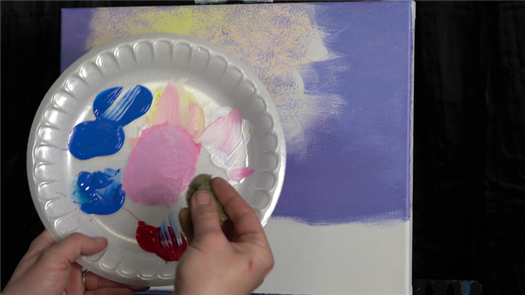
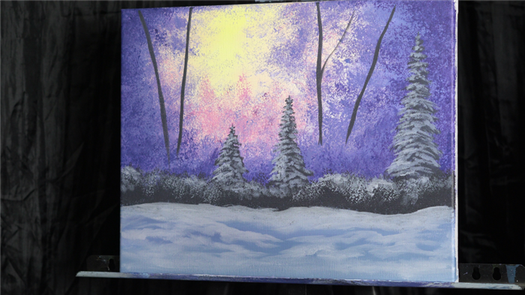
Step 4: Creating closer foliage.
Mix the same mid tone purple we used earlier in step 2.
Using the sea sponge, create the foliage right on the edges of your base foliage from step 2.
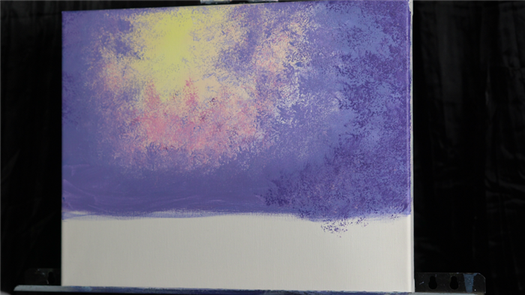
Next mix a darker purple, by adding more blue and red. Add the shadow foliage.

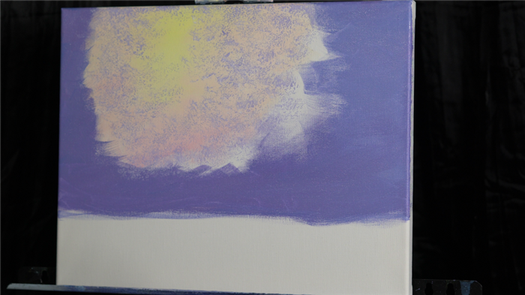
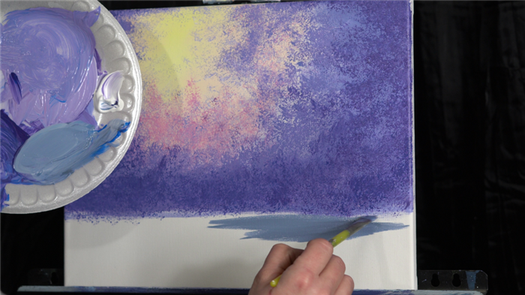
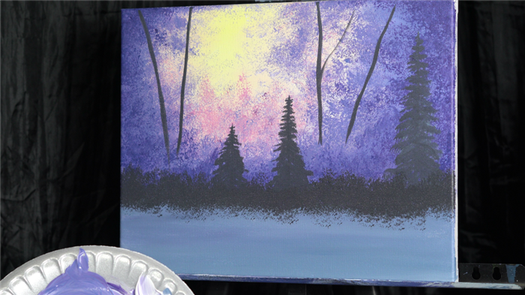
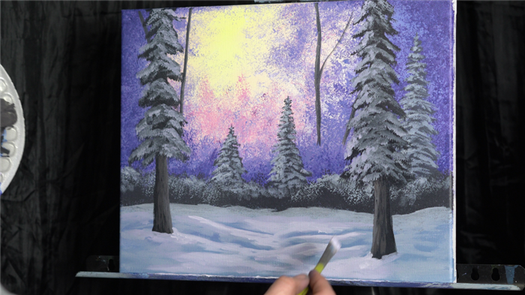
Step 5: Creating the foreground snow.
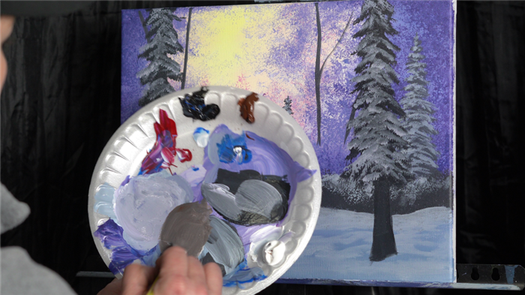
Mix a mid tone, blue grey, by using white, blue, and a touch of black. Fill in the foreground snow.
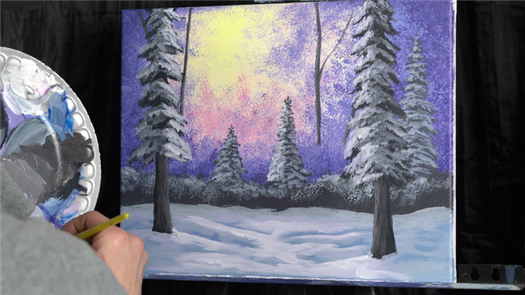
Step 6: Creating distant trees.
Mix a dark blue grey, using black, blue, and a touch of white. Switch to a smaller flat or detail brush to create the tree trunks.
Using the same dark blue grey, create foliage/bushes in front of your pine trees.
Step 7: Adding the 1st layer of snow.
Next mix a light blue grey, using white, a touch of blue, and a touch of black.
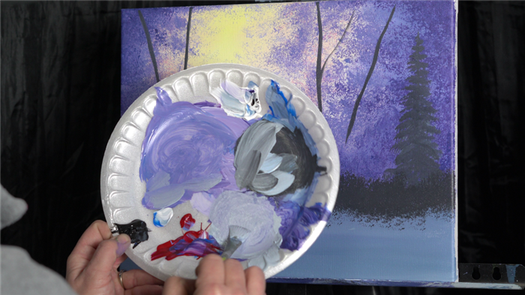
Using either the 1/2 inch or 1/4 inch flat, dab on the 1st layer of snow to your pine trees.
Add a layer of snow to the bushes using your sea sponge.

Switch back to 1/2 inch flat and add the 1st layer of snow to your foreground snow.
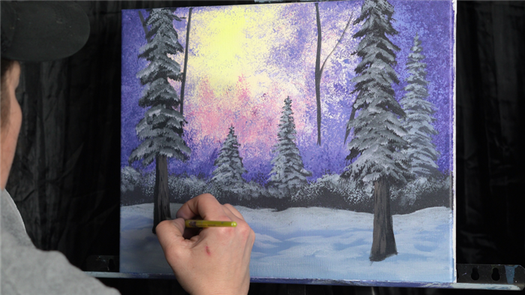
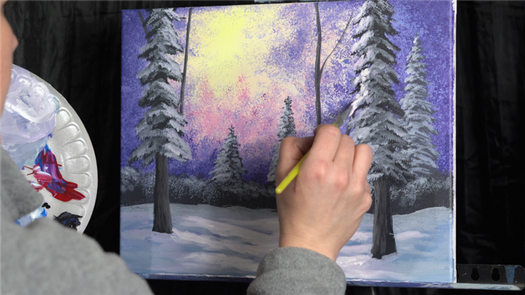
Step 8: Adding foreground trees.
Mix a darker blue grey. A touch darker than the grey your created in step 6. Using your 1/2 inch, add a tree to each side.
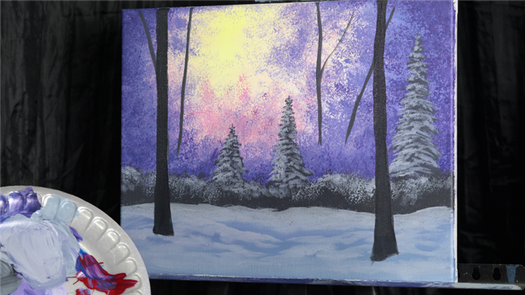
Next add the same 1st layer of snow that you used in Step 7.
Step 9: Adding highlights to your tree trunks
Mix a mid tone grey with white and black, then add a touch of burnt sienna, creating a light brown.
Using your 1/2 inch flat or 1/4 inch flat, whatever you’re comfortable with, add in some light brown highlights to your tree trunks.
Don’t forget to add highlights to your distant tree trunks too.
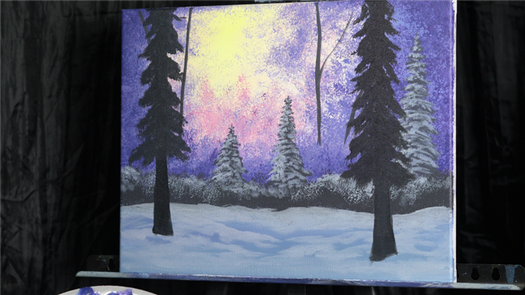
Step 10: Adding more snow highlights
Mix another light blue grey, lighter than your 1st layer of snow. Add a touch of red to it.

Using this new highlight color, add another layer of snow to the foreground snow.
Try not to cover all of your previous highlight, just add a touch more to the edges.
Add a touch more white for another layer, this time add it to your pine trees as well, but only to one side, the side where your light source is coming from.
Step 11: Adding shadows for the trees.
Mix a mid tone blue grey, using white, black, and a little blue. It needs to be lighter than the darkest part of the tree trunks.
Add angled shadows that flow off of the canvas.
That’s it! Don’t forget to sign your name.
Videos » How to Paint Book Red coffee Cup Snowscape Window Fantasy | acrylic tutorial | TheArtSherpa

The Art Sherpa is a participant in the Amazon Services LLC Associates Program, As an Amazon Associate I earn from qualifying purchases.
*** Acrylic Paint Colors ***
***Cadmium Yellow Medium : PY 35
***Cadmium Red medium : PR 108
***Phthalo Green Blue shade : PG 7 –
***Phthalo Blue Green shade :PB 15:3
***Dioxazine Purple: PV 23 –
***Ultramarine blue: PB 29 –
***Quinacridone Magenta ( fuschia ) : PR 122
***Titanium white: PW 6
***Mars black: PBk 11
*Naples Yellow light : py 53
Burnt Sienna PB7 –
My Paint brands of choice are Sennelier’s Acrylique, Golden Artist Color, or Abstract Acrylic. The links lead to the listed color in all 3 brands
These products were hand picked by me. First two links are professional grade and economy Abstract Acrylic that I personal Recommend for student grade.
Discount Code : THEARTSHERPA
Paintings are all beginner friendly but rated in 3 levels of difficulty called Hoots
Follow The Art Sherpa
PLEASE note there are many other places to buy materials and I support you shopping and finding your best deal.
Please let me know if a link is broken. [email protected]
About The Art Sherpa:
Artwork and video is the sole property of The Art Sherpa™ and intended for the students personal education and Enjoyment. For questions regarding using any Art Sherpa painting in a commercial setting contact us [email protected] for all other questions [email protected]
03/05/21 10:35:26AM @olgadedovskaya3570 :
It was amazing tutorial!


