Next, draw two curved lines within the wings, stretching from the body to the opposite side of the wing.
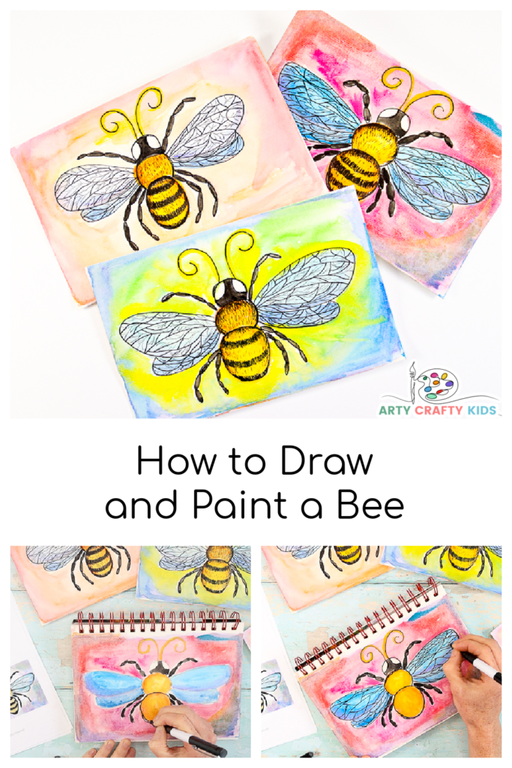
How to Draw a Bee | Drawing and Painting Idea for Kids
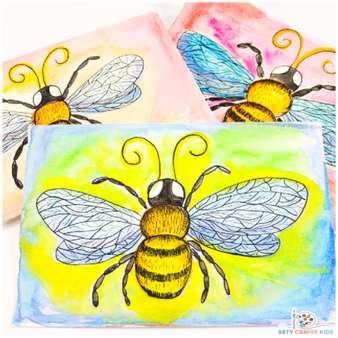
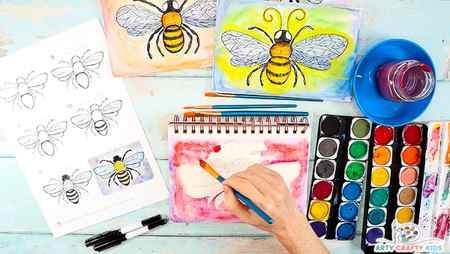
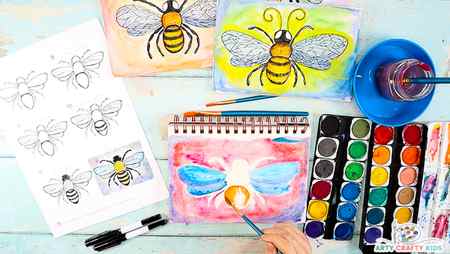
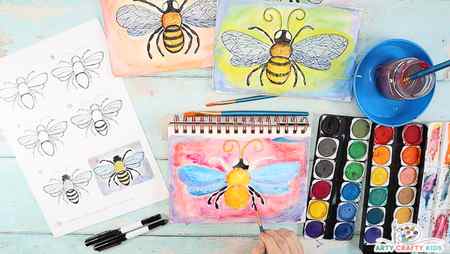
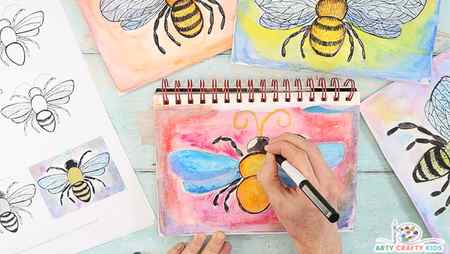
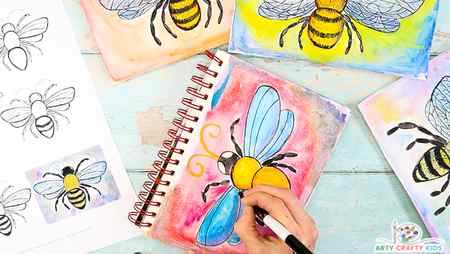
Learn how to draw a bee with our complete drawing and painting tutorial for kids and beginners! Our comprehensive tutorial will teach you how to draw a beautiful bee, framed by an explosion of color, in just a few easy to follow steps!
This buzzy bee has been designed with children and beginners in mind, and is drawn using a series of round shapes.
Combined with a simple and incredibly effective watercolor background, this attractive drawing and painting art project is super achievable for all!
With a printable step-by-step tutorial, written instructions, a complete full sized bee for tracing and a video demonstration; this post will give you everything you need to draw and paint your very own bee, and can be easily adapted to work within a classroom setting.
And if you’re feeling particularly adventurous, why not also draw a rose to accompany the bee!
Watercolor Painting with Kids:
Watercolor paint is a fantastic medium for children who are learning to paint. They’re so much fun to use and are a great way for children to explore and fully experience colors.
Playing with water to paint ratios and mixing colors will create lots of interesting results and textures, which adds an immersive and experimental element to the process.
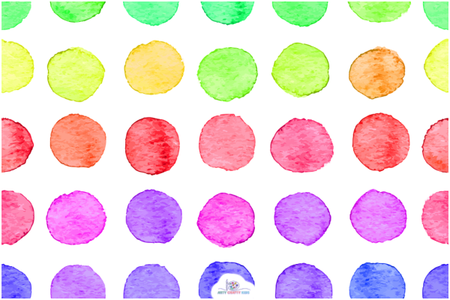
Watercolor Dots
Before delving into this buzzy bee art project, Arty Crafty Kids should spend a few minutes getting familiar with the watercolor paint…
Take a sheet of card stock or watercolor paper and experiment with water ratios.
Start with one color and apply a tiny amount of water to the brush and paint a dot. With such little water, the color will be bold and difficult to spread. The edges of the dot may also be rough and jagged in appearance.
Next, apply more water to the brush and spread the paint onto the inside of the mixing tin or mixing palette.
Paint a second dot. With just a little extra water, the dot should retain the bold pigment of the paint, but will be noticeably easier to spread and the outline of the dot will be smooth.
Little by little, continue adding water to the paint on the mixing palette. Create a new dot with each water addition and observe how the color dilutes with each application.
Challenge – How many new shades can Arty Crafty Kids create of each color on their watercolor palette?
How to Draw a Bee | A Complete Drawing and Painting Tutorial for Kids
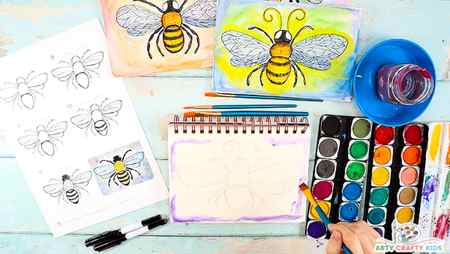
Materials:
- Watercolor Palette
- Watercolor Paper/Pad
- Flat and Round Tipped Paint Brushes
- Black Fine Tipped Pen (0.7+)
- Pencil
Download the How to Draw a Bee Printable Guide:

The printable download includes a step-by-step tutorial and a full sized completed bee for children to color or trace.
Not A Member?

Bumblebee painting with simple steps
In this free art lesson, you’ll learn how to draw a Bumblebee step-by-step.
Stay tuned for more free drawing lessons by:
All of the tutorials on How2DrawAnimals.com are good drawing tutorials for beginners and experienced artists alike. The online tutorials are easy to follow; they teach you the how to draw basics while showing you how to draw animals step by step. Each animal has a video drawing tutorial option, as well as step-by-step photos and written text to follow.
To draw this Bumblebee step by step, follow along with the video tutorial below and pause the video after each step to draw at your own pace. You may find it easier to follow the step-by-step drawings below the video. The new lines in each step are shown in red, so you’ll know exactly what to draw next. You may want to open the video in a new tab and use both drawing methods. Take your time and draw at your own pace.
Below you can watch a Narrated step-by-step video tutorial:
For the first few steps, don’t press down too hard with your pencil. Use light, smooth strokes to begin so that it’s easy to erase if you make a mistake.
Step 1: Start by drawing a circle as a guide for the front part of the bumblebee’s body also called the thorax. To draw the circle, first make four marks to determine its height and width. Then connect the marks using curved lines. If you’re struggling to draw the circle, just trace the outer rim of a circular object like a cup or a lid. For a more detailed guide on the different ways to draw a circle check out this tutorial: Four simple ways to draw a circle.
Step 2: To the right, draw a small, oval-like shape as a guide for the bee’s head. The left side of the this oval will be pushed up against the big circle, so don’t overlap the edges. Pay attention to the size of this oval in relation to the big circle.
Step 3: To the left of the big circle, draw a big curved shape as a guide for the back portion of the bumblebee’s body called the abdomen. The shape of this guide should be similar to a big arc on its side. Make the top edge curved and the bottom edge more flat. The shape should slope down on the lower, left side. Pay attention to how big this shape is.
Step 4: Draw the long, angled lines along the bottom edge of the big circle as guides for the bumblebee’s legs. Draw these line going up and then angle them back down and to the left. Pay attention to how these lines bend as this will determine where the joints on the legs will be. The lengths of the lines should increase the farther to the left they are.
Step 5: On top of the body, draw a long, curved shape as a guide for the bee’s wing. This guide should be similar to a thin arc that’s slightly tilted. Close off the shape of the arc at the bottom using a shorter, horizontal line. Pay attention to the size of this guide in relation to the rest of the body.


