This DIY Rustic Reversible Wooden Easter Signs and Hello Spring is a fun, easy painting project that is perfect for Easter holiday decorating and gifting. Can you believe March is almost gone? Where does the time go? I’m afraid to blink too long because my girl might be going to college and she’s only 6 now. Easter is around the corner and I thought I wouldn’t make it to finish this decoration. I’m so excited.
Easter Crafts for Kids: Painted Wood Bunnies!

If you are looking for some awesome fun inexpensive craft supplies for your kiddos, go to your closest Dollar Tree! The Dollar Tree never fails to have some item very similar to one that can be found at Michaels but for only $1.25. Not knocking Michaels at all here, because you know I pretty much live there… but if you are on a budget the Dollar Tree is awesome, especially for kids crafts! So The kids love going there (probably because they associate it with Kinder Surprise Treats at the check out). We go there pretty much before any holiday, to find some fun kid decorations, and seasonal crafts to experiment with. This week we found these awesome wooden bunnies with a base on them, so that they stand up all by them selves. Super cool! For $1.25 each… how could I pass them up! The kids love painting and I love documenting their creations. LOL… Win, win! We took our bunnies home and made some fun Easter decor. There names are Bunny Charlotte and the Christmas Bunny (I don’t know why he’s the Christmas bunny… he just is!)
So I added a little something to the kiddos creations… of course! Mama always has something up her sleeve! So this is how we made our Painted Wood Bunnies with Easter sayings on them!
PAINTED WOOD BUNNIES WITH EASTER SAYINGS ON THEM
- Wooden Bunnies
- Paint
- Paint brushes (or little fingers)
- Alphabet Stamps
- Ink Pad
- 2 Googly Eyes
- Glue for the Googly Eyes
- Ribbon
- Fabric glue (Hot Glue Gun would probably work better)
- Scissors
- Some Cute Kids
Step 1: Get your cute kids to paint the wood bunnies! And let them dry completely.


Step 2: Gather supplies to add Easter sayings and bows to your painted wood bunnies.

Step 3: Stamp your sayings on your painted wood bunnies. Like this… If you are stuck for Easter sayings just google them! I read a bunch of short Easter sayings out to the kiddos, and these are the sayings that they chose for their bunnies.

Step 4: Make the bunnies bows! So I layered my ribbons and glued them together with fabric glue. No worries if you don’t have fabric glue. Looking back I think it would have been faster, and less messy if I had just used my trusty hot glue gun! So go ahead and create a bow. (see steps below to make bow) I have a short bow tutorial here, or You can find another bow tutorial on my Baby Nylon Head Bands with A Super Cute Bow Tutorial!

first lay your ribbon face down…

Next fold the ends up and down to make 2 small bunny ears, with the tails hanging down, through the center of the bow.

Lastly, take another short piece of ribbon, and wrap it around the centre of the bow like this… Use hot glue between the layers to secure it together!

Step 5: Use hot glue to glue the bow to your Bunny! Like this…

And this… (The Christmas Bunny). (smile).

Step 6: Put them out on display, for all to see!


I hope these little Painted Wood Bunnies inspire you to get creative with your kiddos. My kids love showing off all their creations to everyone and anyone who comes through the front door. Although they never seem to be done painting… Ivy still says her painted wood bunny needs some more sparkle paint on it! Maybe it does… but we can do that to a different bunny… later…. lol… Until next time, enjoy creating with your kids, and creating beautiful things everyday!
P.S. Here are a bunch of our other kids crafts to find creative inspiration!
P.P.S. Here are some awesome Alphabet stamps and the ink that I used in this project!
DIY Rustic Reversible Wooden Easter Signs Tutorial
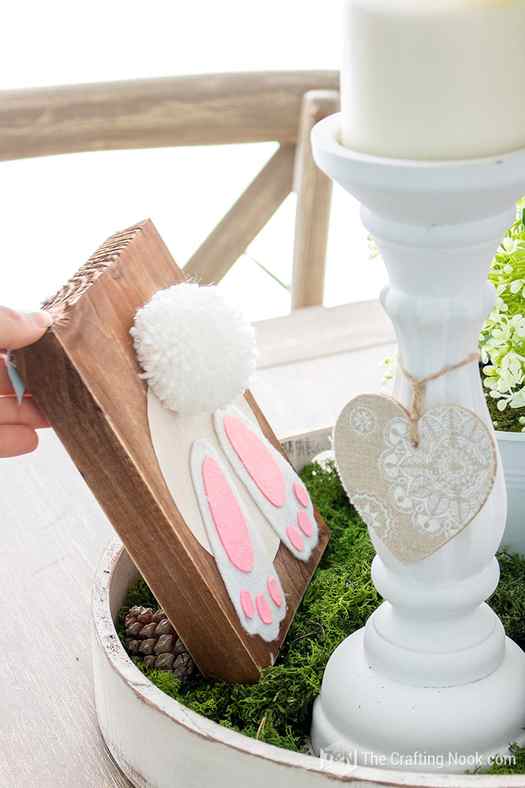
Let’s face Easter is one day so I wanted to make a decoration piece that I could easily turn back into Spring. I’ll be sharing the farmhouse Spring tray centerpiece soon that includes this easy DIY easter decor. I’m in love with how it turned out. This craft is fairly easy to make. On one side you can make it without any cutting machine but on the other, you definitely need one or you can find a pretty self-adhesive stencil. But, of course, imagination is the limit. If you are good at hand drawing or hand lettering then you are a winner. This reversible wood sign can be used as part of a centerpiece as I did, if you make it larger you can put it on your mantel, entryway table decor, as part of your front porch decor, and if we don’t make it reversible you could even use it as a rustic bunny wall art for a kid’s bedroom.
Let’s create this fun Reversible Rustic Wooden Easter Bunny Butt Sign, shall we?
Supplies:
- A piece of wood (size will be up to you)
- Walnut wood stain (or any color you love the most)
- White chalk paint
- White and pink scrap felt.
- Pom-pom for the bunny butt tail (you can variate with something else)
- Washi tape.
- Baker’s twine (or any twine you love the most.)
Tools:
- Hot Glue gun and glue sticks.
- Brush for stain and brush or foam brush for chalk paint.
- Cutting Machine (Silhouette Cameo or Cricut)
- Scissors & pencil.
Instructions
Follow this DIY Easter decor wood sign tutorial to make cute centerpieces or even gifts!
Before we begin, be sure to follow us on Pinterest, Facebook, Instagram, and YouTube, and also sign up for our email list (at the end of this post), so you’ll never miss a post!
Step 1: Prep Work
Clean your piece of wood off prior to staining. This will get rid of any loose dirt, splinters and provide a smoother surface to work with. All you need to do is clean it off with a brush or cloth.
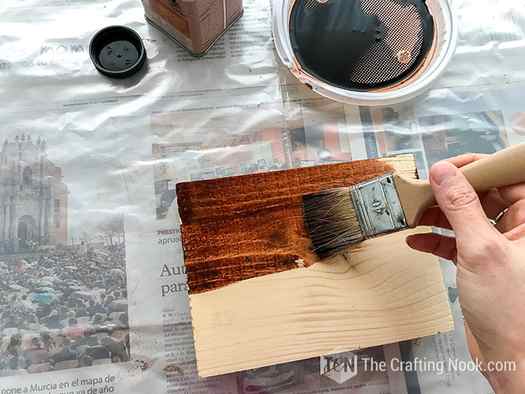
Step 2: Stain the Wood
Stain your piece of wood and let it dry well.
wooden easter signs Free PDF, SVG, DXF, and Studio Files
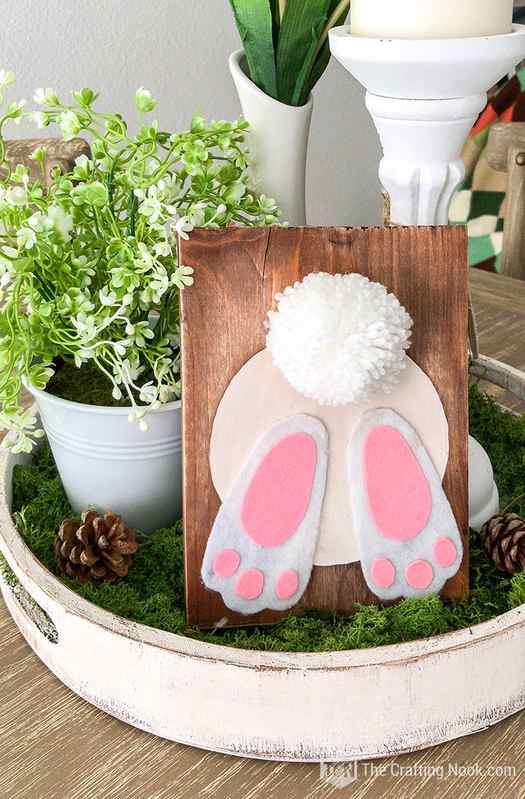
Step 3: Making the Wooden Easter Bunny Butt Sign:
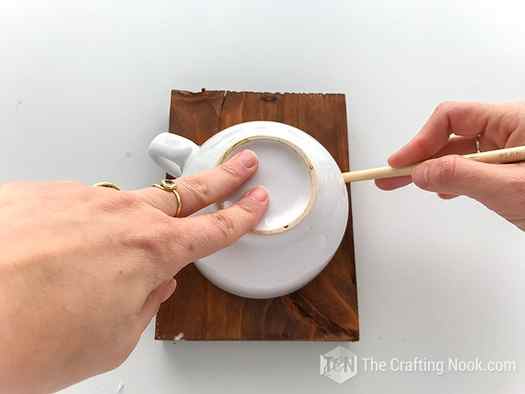
I prepared a file with all the pieces for the bunny easter sign in case it’s easier for you. You can snag files with the links Above. But, I used a cup large enough for the body of the bunny and then cut the shape of the bunny’s feet. You can use a cutting machine if you have one to stencil and for the feet.
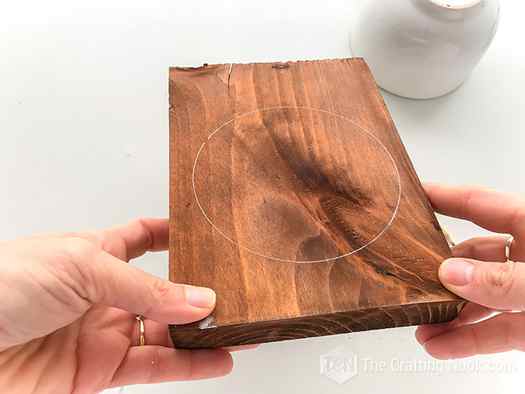
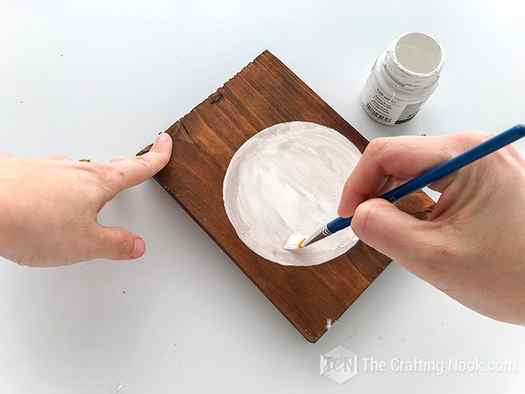
So, draw the circle directly on the stained wood.
Paint the whole circle with white chalk paint. It doesn’t have to be perfect. Actually, bunny bodies are furry so your painted edge doesn’t need to be perfectly straight (wink!).
Let it dry, apply another coat and let it dry well.
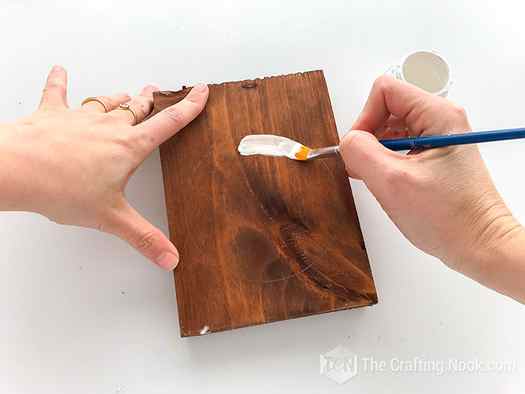
I used white paint because I love the contrast between the walnut stain and the white but you can use your favorite color.
In the meanwhile, let’s create the cute little feet.
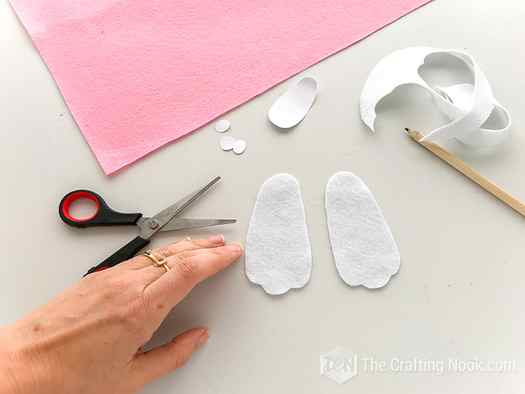
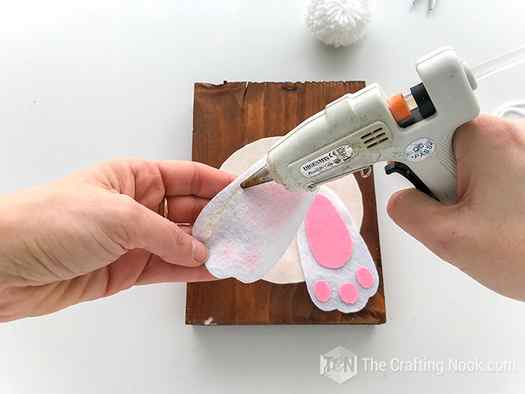
Step 4: Making the Bunny Feet
Cut your feet pattern and let’s transfer them to the felt.
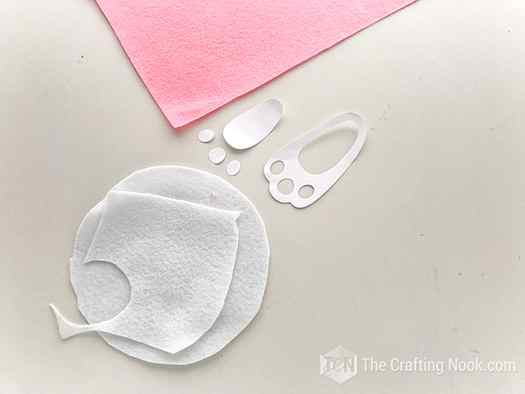
For the main foot shape, use white felt. With a pencil, trace the shapes of both feet and cut them.
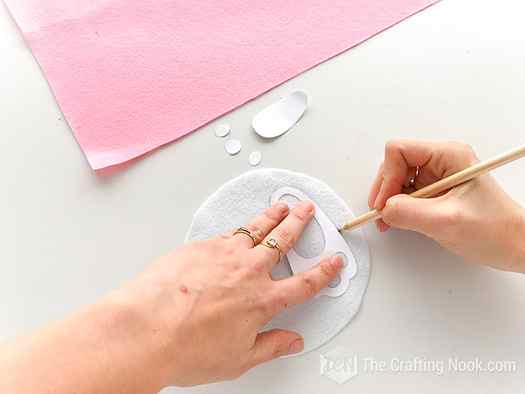
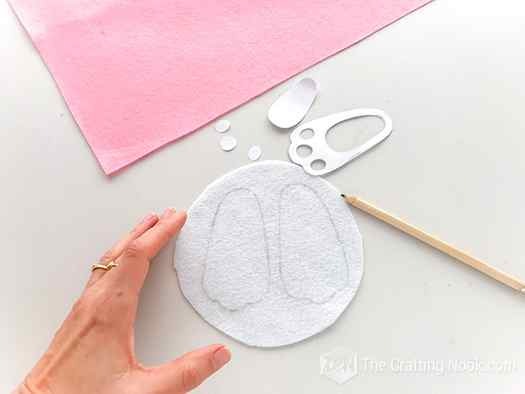
As you can see for this side of the wood sign we can easily do it without an electronic cutting machine. Woot!
Then trace the pads on pink felt.
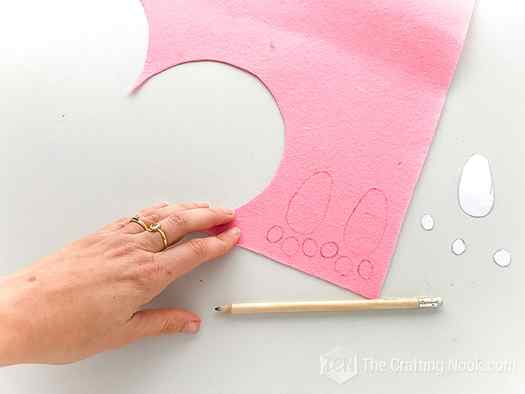
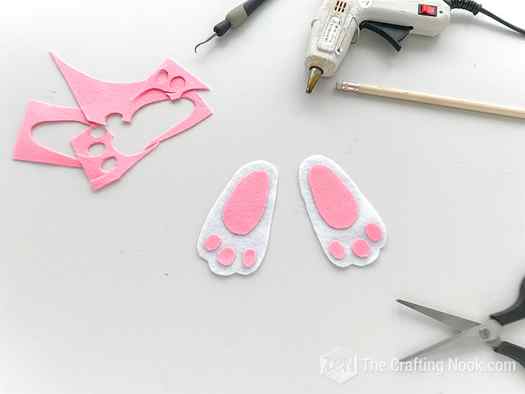
Cut and glue them onto the white felt.
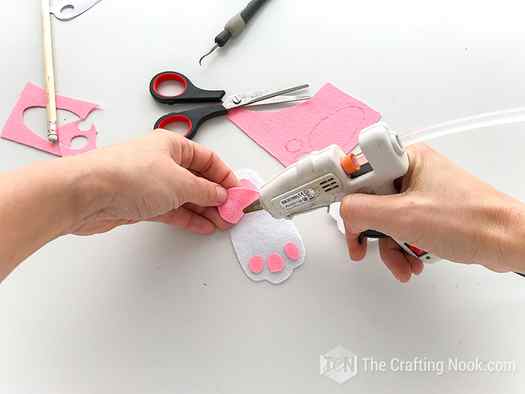
There you go. Cute aren’t they?
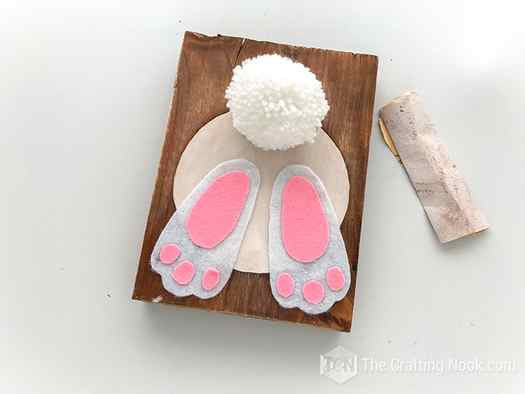
Step 5: Assembling the Bunny Butt Wooden Easter Sign
Once your wood piece is dry, Sand it. It’s important that you don’t make my mistake LOL. I only remembered to sand it when the sign was completely done. Duh.
After sanding, clean your wood piece well and then glue your cute bunny feet.
Lastly, glue your pom-pom bunny tail (Actually leave this for the last if you are actually planning on making it reversible and haven’t done the other side)
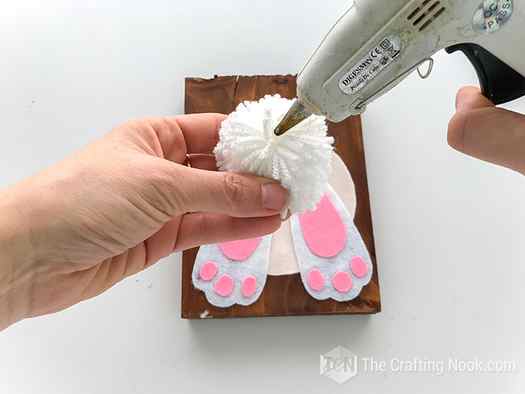
There you go. Your Easter Bunny Butt Wood Sign is almost done!
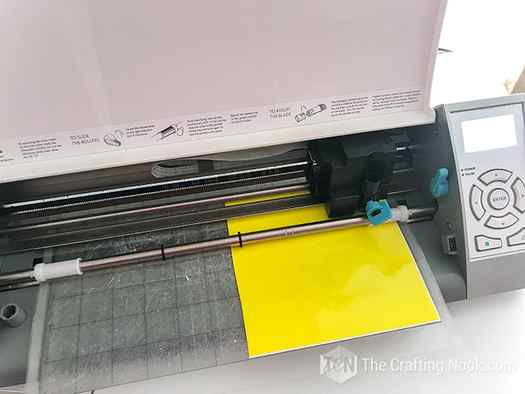
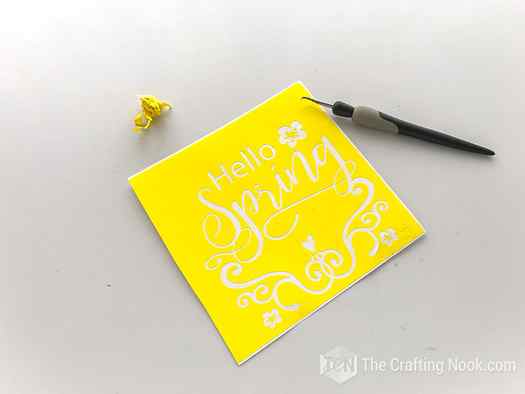
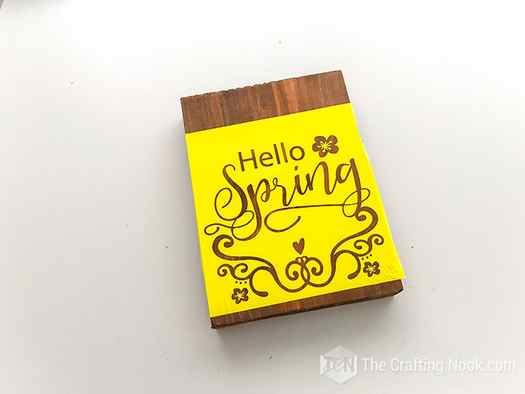
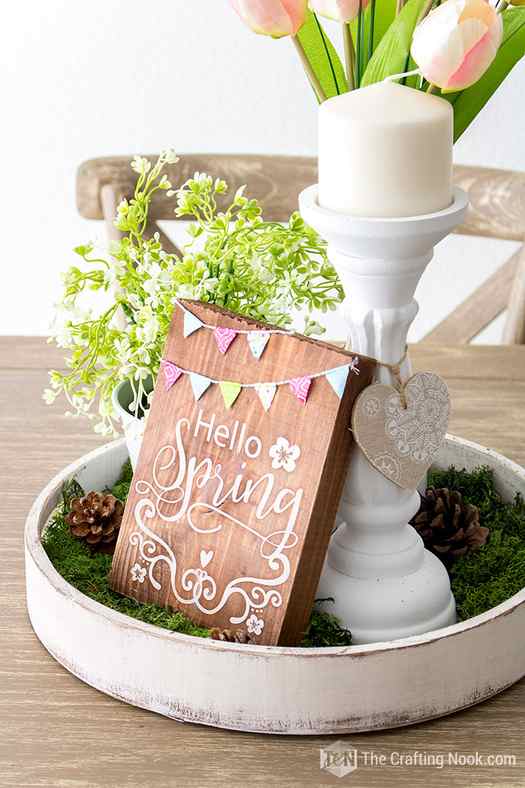
Step 6: Cutting the Hello Spring Wood Sign:
Using your cutting machine cut out the template for this project (you can get it on links above) with the vinyl on your mat.
Remove the vinyl from your mat, and peel off all the inner designs that you will be painting.

Step 7: Transfering the Stencil onto the wood
Once you have removed all your vinyl pieces apply your transfer paper.
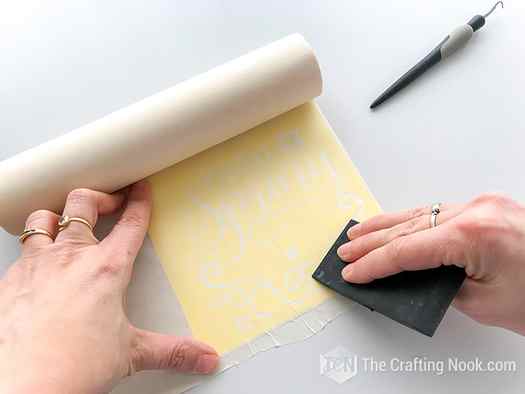
Remove the backing from your vinyl very carefully making sure everything is staying on the transfer tape.
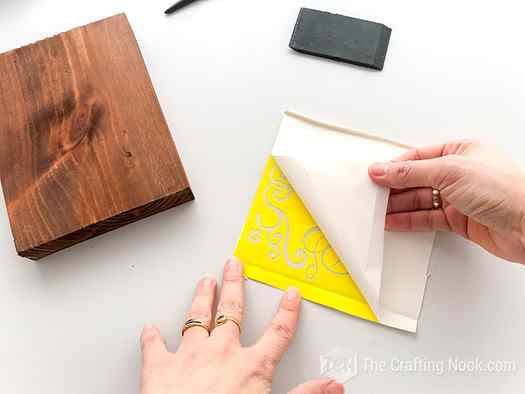
Now time to apply to your prepped signboard. If your vinyl is heavy-duty I recommend sticking it quickly on a fabric first to reduce a little bit the adhesive, otherwise, it will happen to you like did to me, I got some adhesive left on the wood later.
Line up your vinyl with your board so it will be applied evenly, and using your scrapper firmly push it down.
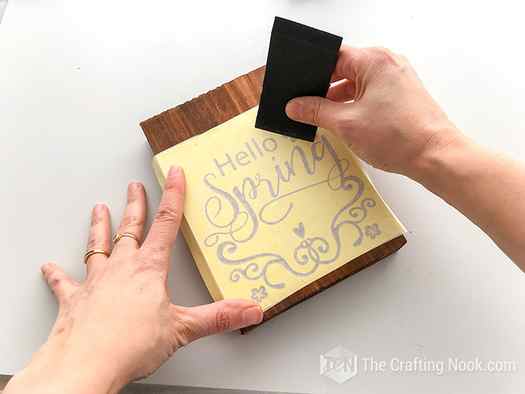
Next, slowly remove your transfer tape so that only your vinyl is on your board.

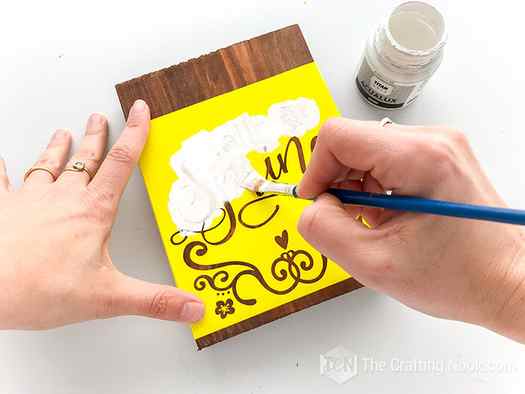
Step 8: Painting the design
Paint your design. Allow it to dry and then apply your second coat. Repeat this step until your desired color has been achieved.

Once your paint has completely dried remove your vinyl.
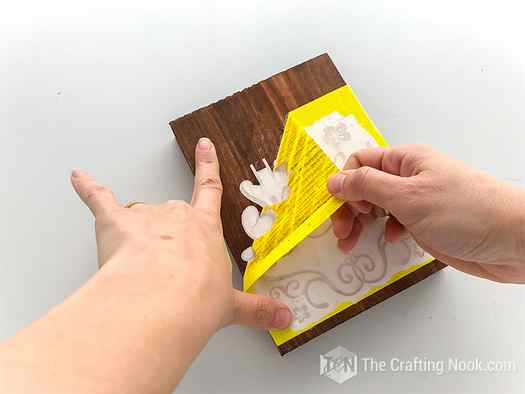
Let it dry a little bit more and sand it. Here again, you will see that I sanded it after gluing the bunting. You know what to do, right?
Step 9: Final touch, decorating the Spring Wood sign
Now, cut a couple of strips of baker’s twine and create some buntings with your washi tape.
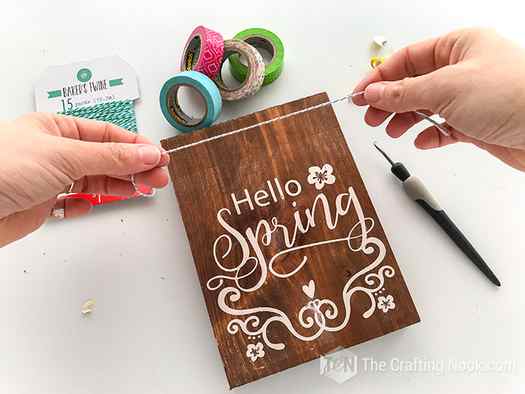
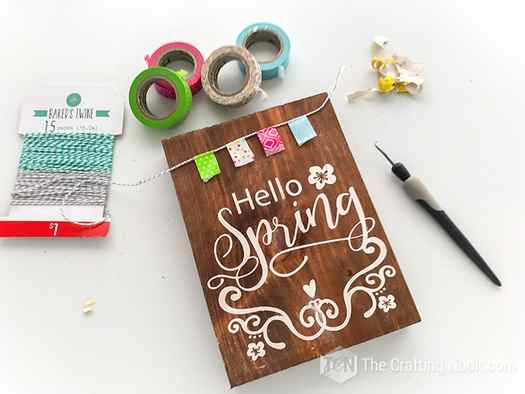
Cut them into your favorite shape. I cut them like a triangle.
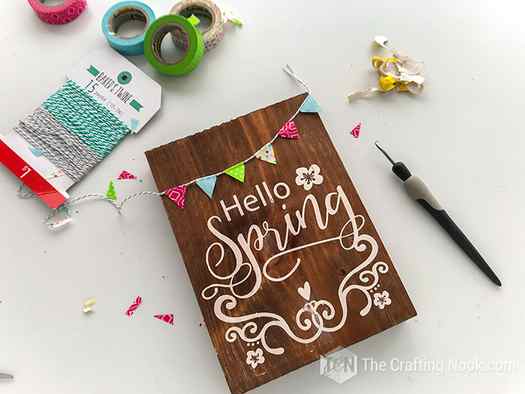
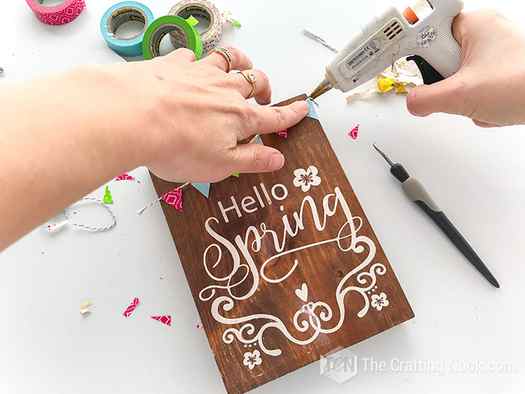
Glue the bunting ends to the edge of the board.
There you go! It’s all ready.
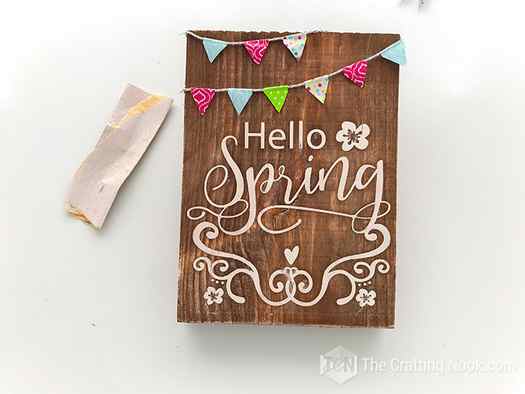
Now you have pretty Wooden Easter Signs with a bunny butt and also a Hello Spring wood sign. Just turn it over and you get a Spring sign too! How fun!
Crafting Tips
If you cut the stencil with a cutting machine, remember to remove the excess vinyl and transfer your design. Once you’ve cut the vinyl, you’ll want to “weed” the design with your weeding tool, which means removing the negative space to reveal only your letters and design.
Don’t forget those small spaces inside the letters, especially when working with script fonts. After your design is ready to go, you’ll use transfer tape to “pick up” the letters from the carrier sheet and then place them on your sign.
If you don’t have a cutting machine, you can still make this project using the pencil transfer method or use a sheet of carbon paper.
Print your design on computer paper. Turn the paper over, and scribble pencil marks over the areas where the text is printed. Place the paper on your surface (design facing up) and trace an outline of the printed letters with a pen.
The pencil on the other side will make faint marks on your wood. Remove the paper and fill in the traced letters with a permanent marker, Chalk paint marker, or black paint.
I love how my Reversible Rustic Spring Easter Bunny Butt Wood Sign turned out! What do you think, I would love to hear your opinions in the comments.
Frequently Asked Questions
What kind of wood do you use to make a sign?
The best wood for your wood sign projects depends on your purpose for the wood sign. Generally, the best wood for wood signs is pine and plywood.
However, depending on the purpose, I just use whatever I have around. For example, for this project, I used a scrap wood piece I had left from another project.
What machine do you need to make wooden signs?
If you are looking to buy a cutting machine, then it will come down to the purpose. For small scales, I recommend looking into Silhouette and Cricut. I personally own a Silhouette and love it. But I’ve heard really good things about Cricut too. For large-scale projects then you should look into more professional cutting machines but I don’t have experience with that.
How can you make this wood sign without a cutting machine?
You can take the files to a shop where they can get them cut for you, or you can buy a stencil that you like instead of using the one in this tutorial.


