Are you interested in more How to Paint tutorials like this? I’d love to see your original artwork paintings. Share with us on social media with #familyfocusblog!
How to Paint a Cardinal Bird [Easy For Beginners]
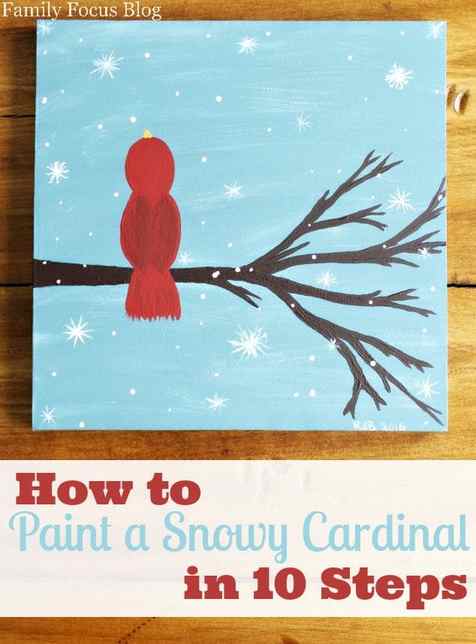
Have the “Coffee & Canvas” type learn to paint classes hit your area yet? Those painting tutorials are really the “in” thing here these days whether it is for a girls night out or a date night (make that wine & canvas) or for your child’s birthday party. These events take a painting that looks great on the wall, that seems like it would be challenging to create, and break it down into simple to follow steps that show you how to create your own that will look equally great on your wall! You can try to follow this step-by-step tutorial as closely as possible or get a little more creative depending on your comfort level and abilities. Today I’m going to show you How To Paint a Cardinal Winter Scene in 10 Steps.
Painting this red cardinal bird will be similar to the way you would learn at one of these classes but you can follow along at home! So, grab a cup of coffee and your canvas and let’s get started!
Tutorial For Painting a Cardinal With Winter Scene
Art & Craft Supplies:
- Canvas – size of your choice
- Acrylic Paints – grey, white, red, brown, and orange
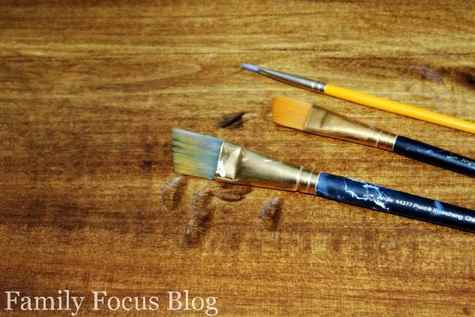
- Paint Brushes – several sizes are helpful as are a flat brush and a round brush
- Plates, Cups, and Bowls – for pouring your paint out
- Bird Template
- Pencil
- Water – for cleaning brushes
- Newspaper – to protect your surface
- Paper Towel
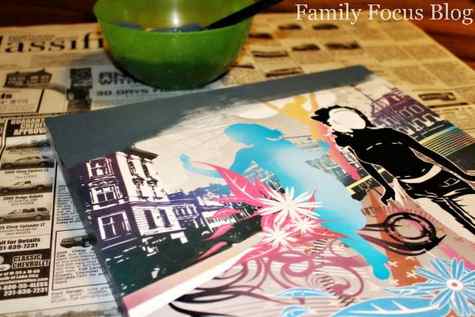
Tip: I bought several canvas prints at a dollar store a while back for just $1 each. They were not anything I ever planned on putting up as decor but I knew that I could paint over them and they were much cheaper than buying plain white canvas from the craft store or craft department.
These are the brushes I used for this project. When you wash them well after each use, your brushes can be used over and over.
How To Paint A Cardinal In The Snow [Step By Step Instructions]
Begin by covering your work surface with newspaper to protect it. Note that I did not put an easel on the supply list. You certainly can use one if you like but it is not necessary.
Fill a couple of cups with water and when brushes aren’t in use or between colors simply place brushes in the water. Dry them on paper towel before painting with them.
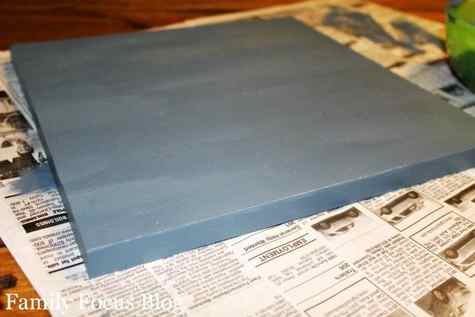
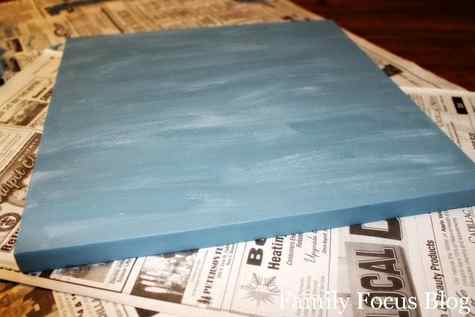
Step 1- Prepare Canvas
Using your largest brush, approximately a 3/4″ wide brush, cover your entire canvas with the grey paint. You should cover the sides as well as the face. This will allow you to display your finished piece without having to frame it. This first layer of paint should be smooth but does not need to be perfect or cover completely.
Here you can see that I am using one of my dollar store canvas finds.
Step 2- Second base layer
After the entire canvas has been covered and has dried for several minutes put a second layer of paint on. The first layer of paint should be dry to the touch before starting the second. This is important or it will just pull the paint off of the canvas.
The 2nd layer of paint is especially important if you’re covering a canvas like I am rather than using a new white canvas to be sure the original image is covered.
Step 3- Add white streaks
Using the same brush add a small amount of white to the tip and brush on light strokes of “snowy wind” across the grey canvas. While the white is still wet dip the same brush into the grey and blend the white a little bit. Work in small sections, from top to bottom until you’ve covered the canvas.
Step 4- Print included bird template
Print the free printable bird template. Then cut out the bird and trace it onto the canvas where you want it to “sit” with a pencil. You can click the image below and select print to print your free bird template or drag it to your desktop and then use file to select print.

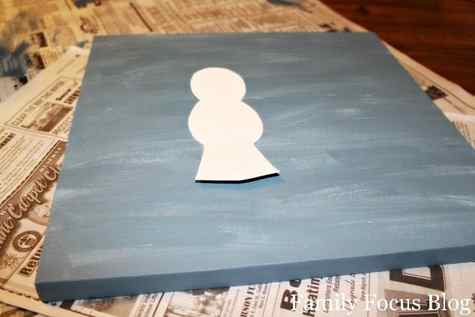
Step 5- Outline cardinal bird
For the first step in how to paint a cardinal, use a medium size brush, approximately 3/8″ brush, with red paint to outline the cardinal you traced in thin line.
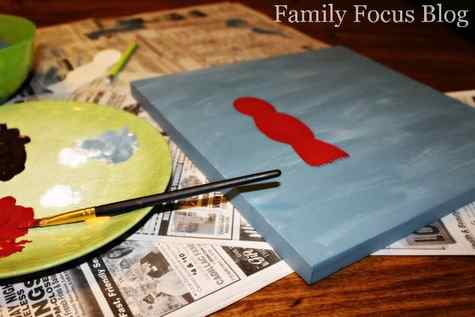
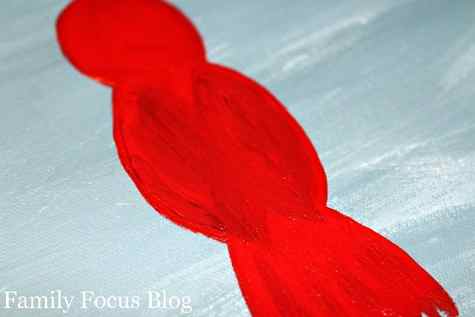
Step 6- Fill in bird
Using the same brush fill in the bird. Cardinals are beautiful birds with color variations but dark reds are the best place to start.
Holding the brush almost up and down and pulling it downward helps to create the tail feathers like you see above.
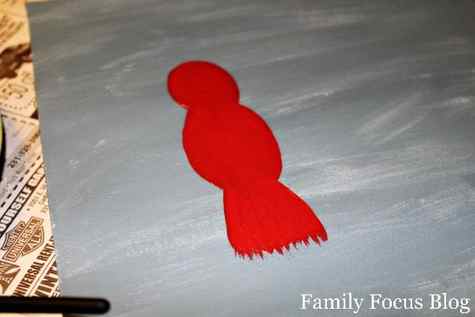
Step 7- Add detail
For the final step in how to paint a cardinal, you will add a detail and depth. Dip the same brush into the brown paint, adding just a small amount of brown, and then back into the red. Add a “wing” to each side of the bird’s back by brushing an oval shape on. You can repeat the downward brushing onto the tail to add a little of the brown to it’s tail as well.
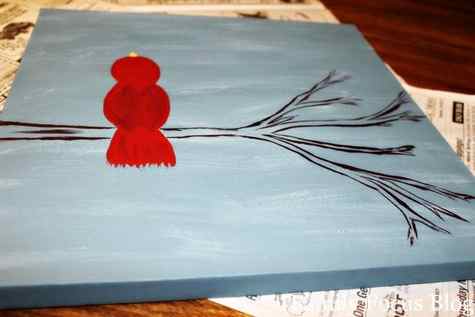
Step 8- Add tree branch outline
Using the medium brush begin outlining the tree branch onto the canvas with the brown paint. The brown is very, VERY dark. You can always make your branch wider but once it is there you can’t really go smaller so start thin if in doubt. You could sketch it on with pencil as well if you feel more comfortable. Be creative with your tree branch. This can be as detailed as you like.
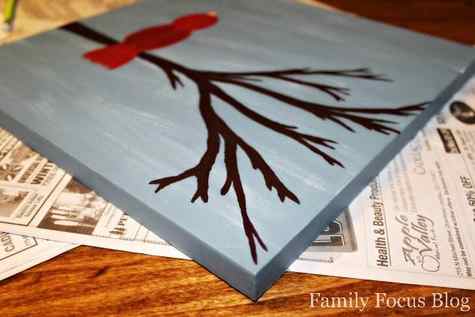
Step 9- Fill in tree branch
Use the medium and small brush to fill in the tree branch with the brown paint.
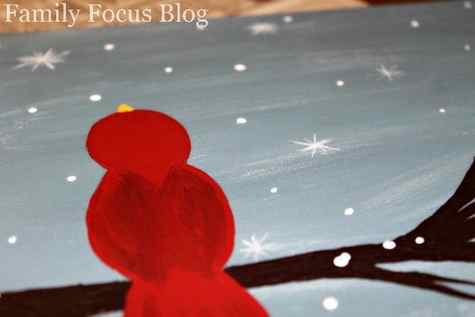
Step 10- Add snowflakes
For the last step, using the smallest brush and white paint add snow and snowflakes to your canvas. The snowflakes are brushed on and again can be as simple or as detailed as you like. The snow is added by dipping the back end of the brush into the paint and dotting it on. Add just a little snow or a lot. This is your creativity at work!
17 Easy Bird Feeders Kids Can Make For Fun
Birds are beautiful creatures, and watching them while they eat is fun for kids of all ages. If you’re looking for a way to get into bird watching or want to add a new element to your current routine, why not try making your own bird feeder?
There are many different designs that kids can make, and it’s a great project for getting creative in the kitchen! Plus, you’ll have a nifty new addition to your yard or garden when you’re finished.

Notice: This post contains affiliate links. To learn more, read our Disclaimer Here.
So, whether you’re a beginner or an experienced bird watcher, check out these 16 DIY bird feeders kids can make!
Materials to Make Easy Bird Feeders
Below are some craft materials you’ll need to make these easy bird feeders for kids. This list isn’t all-inclusive, but it’ll be a great start for many bird feeders kids can make!
Follow along and try one of these 17 bird feeders crafts for kids!
1. Toilet Paper Roll Bird Feeder
You’ll love this simple DIY toilet paper roll bird feeder for kids! Grab a toilet paper roll, bird feed, twine, peanut butter, and a skewer. Then let your child create their own DIY bird feeder!

2. Mason Jar Bird Feeder
Do you have a mason jar sitting around your home? If so, this would make the perfect bird feeder for your tree. Tie a string around the handle and secure a stick for birds to land on.
Add bird feed, and watch, and birds come to enjoy.

3. Popsicle Stick Bird Feeder
What is it about popsicle sticks that kids love crafting with? Have your child paint popsicle sticks in various colors and then fill them with birdseed.
This craft stick bird feeder will be the highlight of their day!

Related craft ideas:

- 20 Pretty Spring Flower Crafts For Preschoolers
- Unicorn Ring Craft (Your Kids Will Love This)
- Creative Ice Cream Cone Craft For Preschoolers
- Super Fun Mermaid Popsicle Project
4. Pinecone Bird Feeder
Every child has to make at least one pine cone bird feeder as a child. Have your child go collect a pinecone outdoors. Tie a string or twine to the top, cover in peanut butter, and roll in birdseed.

5. Coffee Container Bird Feeder House
This is a great winter bird feeder! Use an old coffee container, cut out a small door, and add color and birdseed. Your child will have a cute bird feeder to which the birds will continue returning.

6. Canning Jar Lid Bird Feeder
This unique canning jar lid bird feeder is a genius idea for kids. Follow the steps in the link below the image to make your own.

7. Egg Box Bird Feeder
Egg cartons make the best crafts! Next time you have an egg carton lying around, this is a great craft idea. All you need is an egg box, birdseed, and some yarn.

8. Bird House Bird Feeder
Doesn’t this birdhouse bird feeder look like so much fun to make? If you have some extra cardboard and twine, this birdhouse would be a great outdoor addition.
Your kids will be asking to make one of these every year.

9. Orange Peel Bird Feeders
Who would have guessed that you can make a DIY bird feeder out of an orange peeling? Follow along using the link below to make your own.

10. Apple Bird Feeders
These apple bird feeders are so cute! Kids love crafting with fruit, so they will definitely love these apple bird feeders.

11. Paper Roll Bird Feeder
You can make such a wide variety of crafts with toilet paper rolls. These toilet roll bird feeders are so fun to make. Your child can make one or a handful at a time. Then go outside and hang them from tree branches.

12. Tin Can Bird Feeders
This birdseed feeder is made from a tin can. Let your kids use paint and lace to decorate their own tin cans. Fill them with birdseed and pick a tree to hang them on together.

13. Paper Bowl Bird Feeder
This paper bowl with fruit loops is a fun, creative way to create a bird feeder. Have your child decorate their bowl and then have them string cheerios on each string.

14. Bird Feeder Wreath
What a fun way to make a bird feeder! Your kids will thoroughly enjoy making this bird feeder wreath.

15. Cereal Bird Feeder Ornaments
Birds love cheerios! So, what better way to make a bird feeder ornament than these fun heart-shaped fruit loop feeders? All you need is pipe cleaners, twine, and some cheerios, and you will be on your way to making your own.

16. Sequined Jug Bird Feeder
Who would have thought you could make a bird feeder from a milk jug? Let your child get creative making this bird feeder milk jug.
Cut out a hole on each side of the milk jug, add some sticks, and fill it with bird food.

17. Coffee Mug Bird Feeder
Do you have a coffee mug or two to spare? If so, let your child try making a coffee mug bird feeder. This unique feeder will last the test of time. Grab a coffee cup, plate, twine, and glue to get started.

Summary- Homemade Bird Feeder For Kids
I hope you enjoyed these 16 different easy-to-make bird feeders kids can make at home! Hopefully, at least one of these ideas caught your child’s eye! Now start crafting! =)
Let’s read about birds!
Let’s keep the fun going with these fun reads! There are so many benefits to reading aloud to kids. It’s even been found that reading books to toddlers can help build their empathy, aiding in social-emotional development.
Furthermore, one study found a direct correlation between being read to as a child and higher academic achievement later in life! Regardless of age, the advantages of instilling a love for reading early on are vast and should not be overlooked.
This book is a must for someone with a little explorer who loves birds! This is also my son’s favorite bird book!
This bird-watching book pairs perfectly with the above DIY bird feeder! See if you can determine what kind of birds live in your very own backyard.
Follow along as this cute bird leaves the nest for the first time!
Fun activities:
- How To Make Homemade Bubble Solution
- Fun Baking Soda And Vinegar Science Experiment
- Free Printable Road Trip Games
- 21 Super Cute Bug Crafts To Make
For more kids’ craft ideas, make sure to save this post for later and follow us on Pinterest.


