This step isn’t absolutely necessary but I think it really makes the lettering pop. Allow your canvas time to completely dry and the paint to harden. Grab your favorite paint pens. I used the .7mm Posca Paint pen in white and black and traced over those letters that are etched in with the black pen. You don’t necessarily have to stay in the etched grooves. You can go outside of it a little. Then, let those black pen tracings dry.
How to Add Lettering to Your Artwork
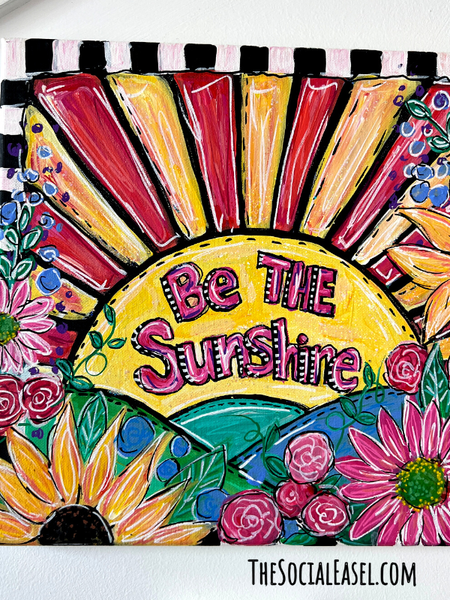
Add lettering to your artwork using these four easy-to-follow, step-by-step tutorials. Lettering is a simple way to add character and charm to your painting and canvas.
* This post may contain affiliate links. If you purchase, I could make a small commission at no charge to you. Please read my Disclaimer and Privacy Policy HERE.

Are you ready to add the pretty, personal touch of lettering to your artwork? Adding lettering to your creations can bring depth, meaning, and a unique artistic flair. Whether you’re a seasoned artist or just starting out, incorporating words into your artwork is a great way to express yourself. I’m going to walk you through the following four methods for adding lettering in simple and fun ways.
- Freehand
- Tracing paper
- Font tracing
- Etching and paint markers
Adding Lettering Freehand
This method for adding lettering is probably the least cumbersome of all the techniques. And the truth is, there isn’t really a technique for it. You need to pick what verses or words you would like to add to your art first. You can get inspiration from your devotions, quotes from Pinterest, or even work in someone’s name or initials. The sky is the limit with inspiration. Once you get that nailed down, gather a few supplies and you will be ready to get started!
Materials Mentioned
- Canvas
- Number 2 Pencils
- Paint Pens (Tracing method)
- Extra Fine Point Paint Pen(Tracing method, Etching & Paint Markers)
- Tracing Paper(Tracing method)
- Tape (Tracing method)
- Graphite Paper(Tracing method)
- Black Acrylic Paint( Etching & Paint Markers)
- Brushes( Etching & Paint Markers)
- Black Acrylic Paint( Etching & Paint Markers)
- Brushes( Etching & Paint Markers)
- Heavy Body Acrylic Paints for your background( Etching & Paint Markers)
Here are a few steps I like to follow, but you really don’t have to follow a specific tutorial with the freehand method. It really is a “free” hand method meaning you are free to do this however you want.
Here are a few steps I like to follow:
Step 1
Gather my inspiration, pencil, and pen. Then, I lay the inspiration down next to my canvas. You want to make sure your canvas is completely dry.

Step 2
I like to look for open space in the canvas where there isn’t a painted item or image. I then start to work in letters with my pencil. If you mess up, you can easily just erase the pencil markings and start over.
Step 3
Once you have your lettering where you want it, you will trace over the pencil markings with your black or white paint pen.
Step 4
Let that paint pen dry. Come in with your opposite color and highlight one side of each letter (the same side on each letter) to create a drop shadow look and make those letters really pop. And, that’s it! This is a super simple and forgiving technique to use when adding lettering to your paint project.
Step-by-Step Guide for Tracing Paper Method:
Step 1
Begin by getting your desired lettering traced onto tracing paper. Feel free to experiment with different fonts and arrangements. Adjust it until you’re satisfied with the look.
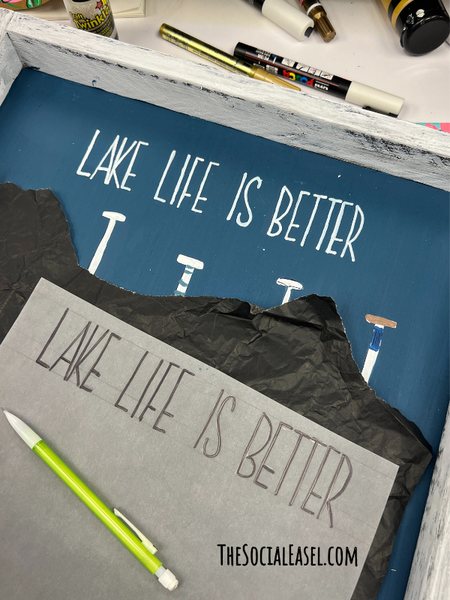
Step 4
Take a piece of graphite paper with the shiny black side facing down. Trace over the letters, and the pressure will leave a light graphite mark on your canvas. Remove the tracing paper once the letters are transferred.
Step 5
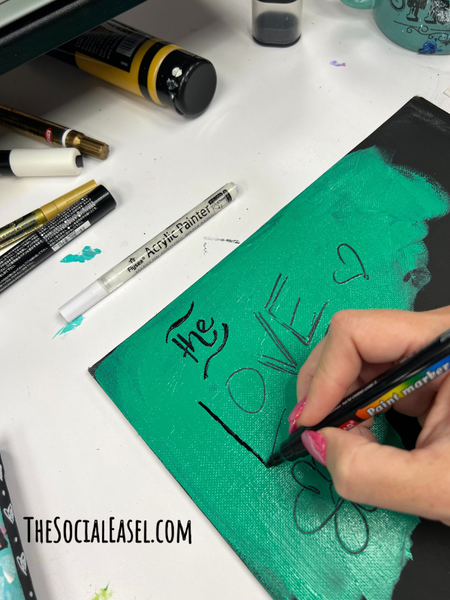
Take a fine-point paint marker, preferably a 0.7mm extra fine point for detailed work, and begin going over the traced letters. I recommended this fine-point paint marker instead of Sharpies. Sharpies tend to leave a finish that isn’t great for these types of projects. This fine-point paint pen allows you to create super thin lines and easily add thicker strokes, depending on the pressure you apply.
Step 6
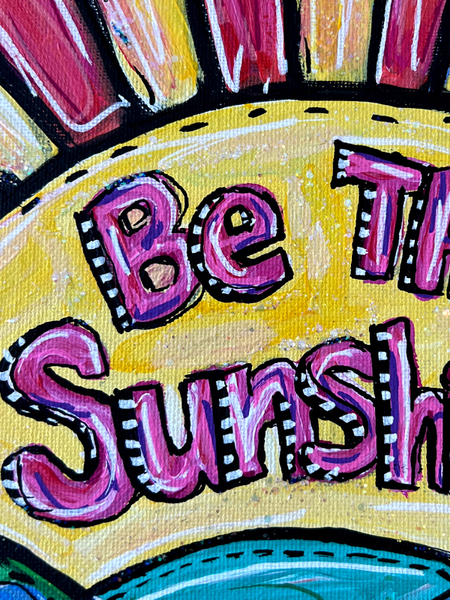
Allow the black paint to dry completely on the canvas. For added flair, I like to use a different color paint pen to add accent marks or details to the lettering. This step can make your design stand out even more.
I hope you loved this tutorial on how to add lettering to your artwork. I love how this really brings the canvas to life and allows you to show your true personality. The beauty of this technique really lies in the freedom to let it reflect you, your style, and your emotions. So, grab your supplies, let your creativity flow, and enjoy the process!
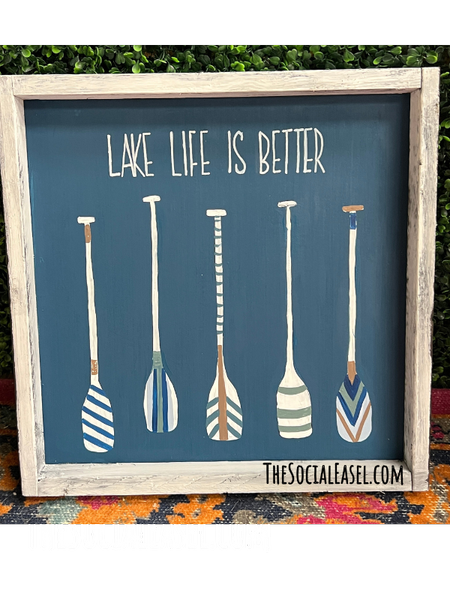
And there you have it! A step-by-step guide to creating beautiful lettering on your canvas using tracing paper. Enjoy experimenting with different styles and colors to make your artwork truly unique.
Pick the right brush
To determine if your chiseled-edge brush is the right size, hold it against the thickest part of your letter to see if they are the same width.
It’s very important to pick the right brush for the letter strokes you’ll be using—go too big and it will be hard to get consistent strokes, go too thin and you’ll have to use multiple strokes to fill the space, making it difficult to get a smooth line.
Prepare your paint
You can use any brand of high flow acrylic paint. Because it has a very thin consistency, mix it with matte medium to add viscosity and give it a matte finish. Mix at a ratio of about 70% paint to 30% matte medium.
To make sure your paint is the right consistency, dip the brush in your paint pot and scrape the flat edge of your brush against the container’s lip to evenly distribute the paint.
Take your palette or a scrap of paper and apply a few strokes of paint to test the consistency. Depending on if it’s too watery or thick, you can add either more matte medium or paint.
Think about the direction of your stroke
Before you apply any paint, take a moment to look at the shape of the letter you’re about to fill so that you can figure out the direction of your strokes.
Brush lettering is characterized by thick downstrokes and thin upstrokes. What that means is whenever you pull your brush downwards, you apply pressure to get a thicker line. When you move your brush upwards, you only lightly apply pressure, which will create a thinner line. Thus, all the thick lines you see will be downward strokes, and all the thin ones will be upward strokes.


