Filters
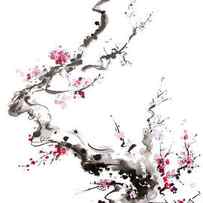
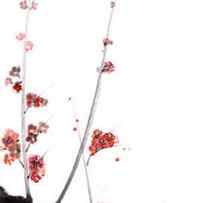
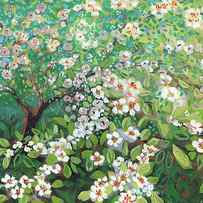
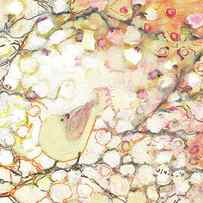
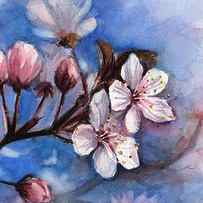
Cherry Blossom Paintings

1 – 72 of 8,653 cherry blossom paintings for sale

Filters
- Men’s T-Shirts
- Men’s Tank Tops
- Women’s T-Shirts
- Women’s Tank Tops
- Long Sleeve T-Shirts
- Sweatshirts
- Kid’s T-Shirts
- Baby Onesies
- Face Masks
- iPhone Cases
- Galaxy Cases
- Portable Battery Chargers
- Yoga Mats
- Tote Bags
- Weekender Tote Bags
- Carry-All Pouches
- Coffee Mugs
- Jigsaw Puzzles
- Beach Towels
- Round Beach Towels
- Weekender Tote Bags
- Carry-All Pouches
- Portable Battery Chargers
- Tote Bags
- Weekender Tote Bags
- Carry-All Pouches
- Original Artwork for Sale
- Gift Certificates
- Sample Kits
- Create Your Own Products

Target Threshold: Painterly

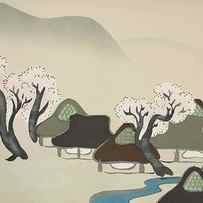
Mariusz Szmerdt – Calligraphy and Ink Painting
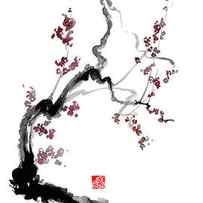
Mariusz Szmerdt – Calligraphy and Ink Painting
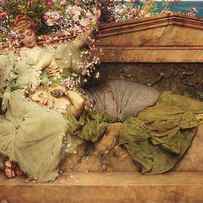
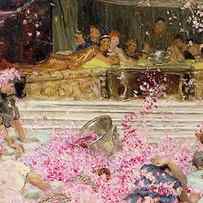
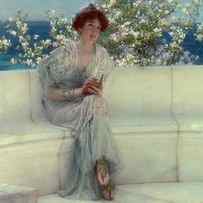
Sir Lawrence Alma-Tadema


Hailey E Herrera


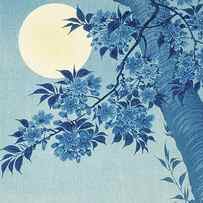
Bentley Art Publishing
More from This Artist Similar Designs
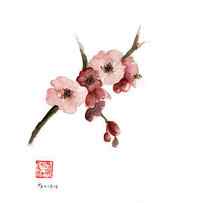
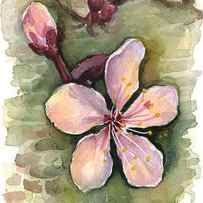
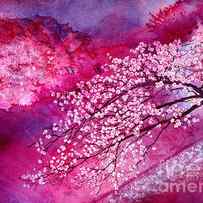
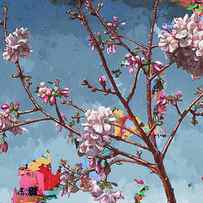
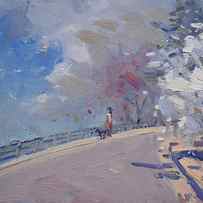
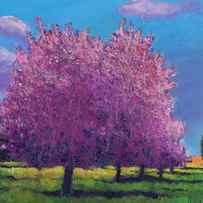
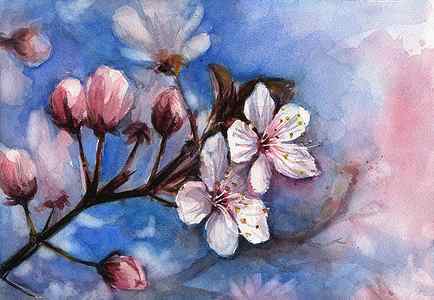
Cherry Blossom Painting
More from This Artist Similar Designs
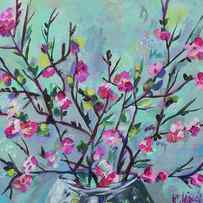
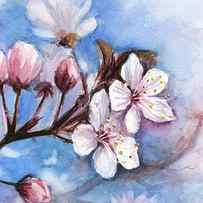
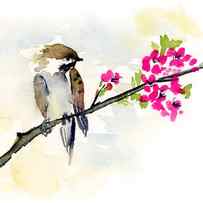
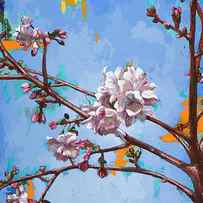
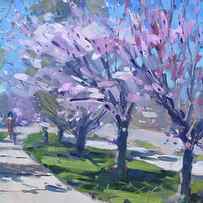
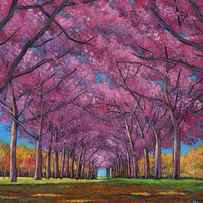
Cherry Blossoms Painting
More from This Artist Similar Designs
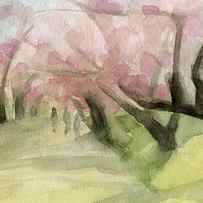
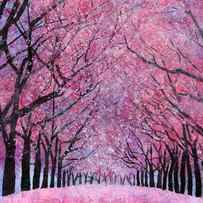
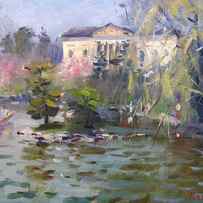
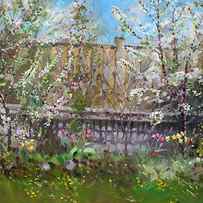
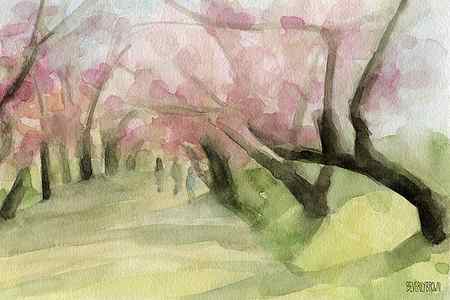
Watercolor Painting of Cherry Blossom Trees in Central Park NYC Painting
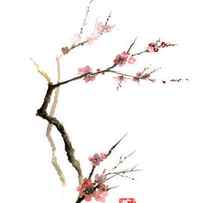
Simple Cherry Blossom Design

Cherry Blossoms are a fun classic flower design. This one is great because it can go on the cheek, frame the eyes, or on the arm. It’s also pretty simple to do. Double dip flower petals are a fast and easy approach to producing nice looking flowers.
Tools:
paper towels or cloth
water container
(optional) Fine Mist Spray bottle with water
(optional) Baby wipes
1. Starting with the round brush and the black face paint, start to paint jagged lines to make the tree branch.
2. Continue to add more branches
3. Next using the double dip flower method, add flower blossoms to the design. You will want to start by loading the brush as much as you can with the neon pink paint. Then wipe away the tip of the brush. Next dip only the tip into your white paint. You may want to add water beforehand to make sure the white is good and activated. The white needs to be a little thicker than normal. Then before you start adding petals, dap the brush on a paper towel, cloth or the back of your hand to release excess paint. Now you are ready to make your petals. Hold the brush at a 90 degree angle to your surface. Then push the brush down on one side to make a petal shape.
4. Add more petals, starting at the same spot, then pushing down the brush on a different side. Experiment to see if you can push only halfway down, and make a smaller petal. This will greatly help you to master these types of flowers.
5. Continue all around.
6. Fill the branches with lots of pink flowers.
7. Add dots of white and hot pink in the middle of the flowers. Add just white dots around the flowers to fill in.


