First dip your 1″ flat brush in the titanium white. Paint up and down strokes on the canvas but don’t let the white dry yet.
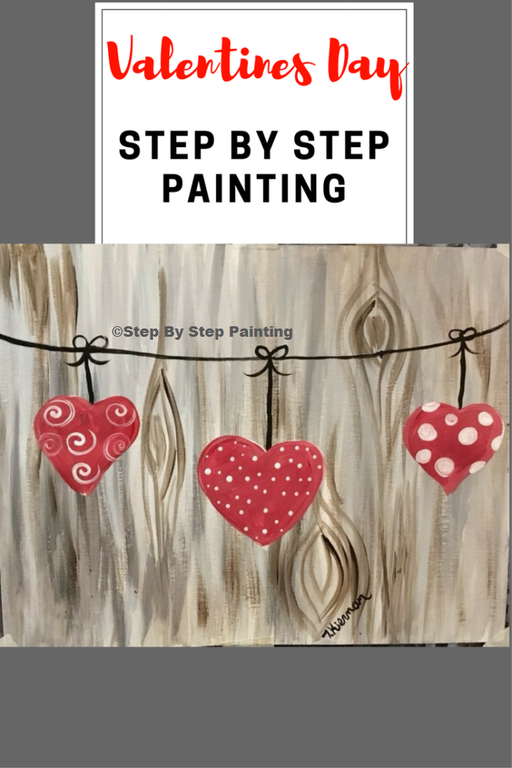
Heart Painting

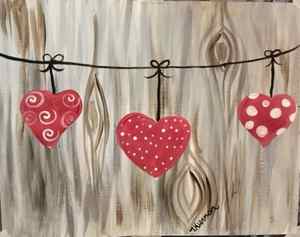
These are three cute hearts hanging on a string in front of a faux wood background.
In this tutorial, you will learn how to apply colors to a canvas to make it look like wood texture.
I will admit, however, that this painting is a bit tricky because of the wood texture! Please don’t get frustrated at the wood step!
Actually…I recommend getting a separate piece of paper and practice some dry brushing techniques before you tackle it on your canvas.
If all else fails, you can improvise and make it your own!
Those three whimsical hearts are super easy and adorable! Enjoy!
See other paintings with faux wood background:


Yield: One 16 x 20 Canvas
Heart Painting

Learn how to paint three hearts on a string with a faux wood background.
Active Time 2 hours
Total Time 2 hours
Difficulty Easy, Medium
Heart Flower Painting step by step:
Step by step photo tutorial showing you how to paint a heart flower painting
Total Time: 45 minutes
1. Lightly sketch out a heart shape
Then, start by mixing white + magenta and marking out the centers of your flowers
2. Paint different flowers
Vary the shape and sizes of your flowers- have some larger than the others and some darker than the others. Mix the red, magenta, and white colors to create different tints for each flower.
3. Add in the leaves
With the green color, start by adding outlines. Then add more smaller leaves and vary the types of leaves and the directions of leaves to bring more interest to the illustration.
4. Add more smaller flowers and leaves

Start filling in heart shape by adding smaller flowers, partial flowers and more leaves
5. Fill in all the white space to define the heart shape

Now, fill in all of the background area of the heart with small green patterns- add lines, dots or any other tiny shapes!
6. Add darker finishing details.

Mix the magenta and green to create a darker shade of color and using a smaller paint brush add details onto each of the leaves and flowers. Then use some of the white and add more details. This creates a nice contrast!

heart flower painting video:
Pull out your sketchbook and paints and come paint with me! Watch my latest YouTube tutorial – Heart Flower Painting Tutorial using Bombay inks. Click the video box below or head here to watch it on YouTube!

Supplies used:
- Bee Paper Mixed Media Sketchbook ( I have the 9 by 9 inch size) https://amzn.to/2Z7yLZr
- Bombay Inks 12 pack https://amzn.to/3aWkPHd
- Paint brush https://amzn.to/3d6DD9v
- Palette https://amzn.to/3tEZavA
- Ink dropper came from this set https://amzn.to/2NjdZTN

- The Bombay inks behave basically like liquid watercolors. Except the white and black- which are opaque!
- Try not to dip your paintbrush into the bottle, as this will contaminate the Bombay inks. Instead use a paint dropper.
- Though these Bombay inks are in liquid form, they come highly pigmented. I was highly impressed at how vivid the colors are. A little ink goes a long way.
- Try diluting your inks with water on your palette to create lighter shades.
- If you mix in the White Bombay ink with other colors of the Bombay ink you will create a translucent/ opaque mixture as the white is opaque in nature.
- In step 5, instead of using the green color, you can swap for a black or any other color for a different look in this heart flower painting.
- While adding outlines to the flowers and leaves, make sure that your first layer of paint is dry or tacky to the touch at least. If the paint is still wet, the outline will bleed.
- For the darker fine details in step 6, switch to a smaller 00 or 1 round paintbrush. If you feel that is too fine of a paintbrush to control- you can switch to a fine black pen instead!
Hi I’m Smitha! I live in Minnesota with my husband and two daughters. You’ll always find me painting florals in my sketchbook. And I love the sheer joy of making something with just my hands! But my bigger love is capturing it all on camera Read more.
Thanks for stopping by today! If you learnt something from this tutorial, do share this post with a friend or on social media! Tag me @smithakatti #smithakatti I’d love to see what you create!
DIY Abstract Heart Painting and a Fun Paint Party
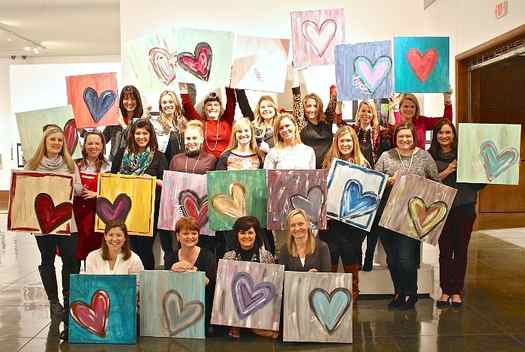
Last week, I hosted a paint party for the Museum of East Texas along with my friends- Emily, Anita and Susan. The “Girls Night Out Paint Party”, was an auction item for 20 ladies that we donated in support of a museum fundraiser event this last summer. We had such an fun night painting these easy beautiful abstract heart paintings, I wanted to share the tutorial with you guys today (and also share pics of the party).

I was seriously blown away by how amazing the paintings turned out! Each of of the ladies really jumped right in, got creative and as you can see, they really did such a great job.
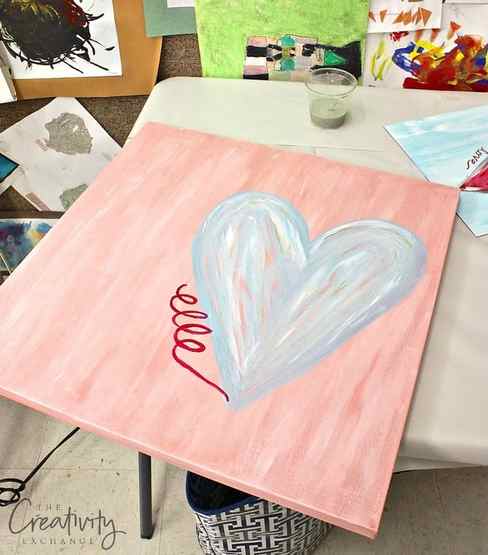
I wanted to come up with an easy painting for the ladies to do and most importantly, I wanted them to create a something that they would love to hang in their home when they were done. Watching these ladies do it with so much ease, I thought it would be fun to share with you guys because this is a great project for both adults and kids. The possibilities are endless! In fact, one of ladies painted the sweetest heart for her daughter “Elle’s” room in light blush and blues:
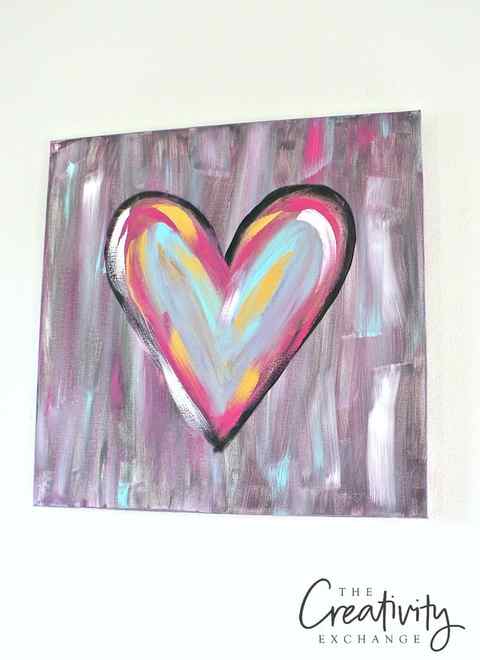
Another lady really got her creativity on and painted this gorgeous colorful heart:
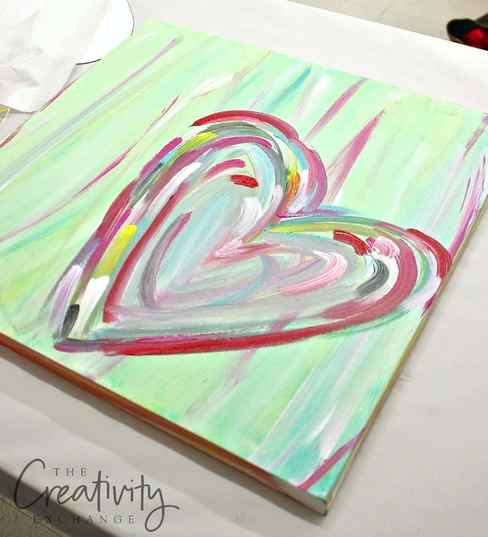
My friend Susan, who was so awesome to be my helper with the painting part of the party, painted a fun green and red combination (love the color mix):
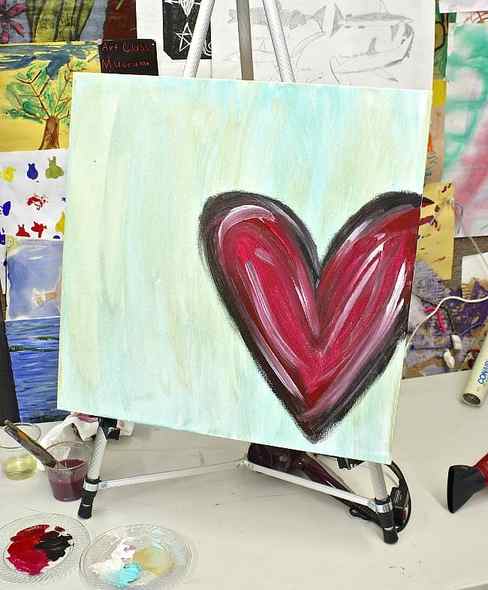
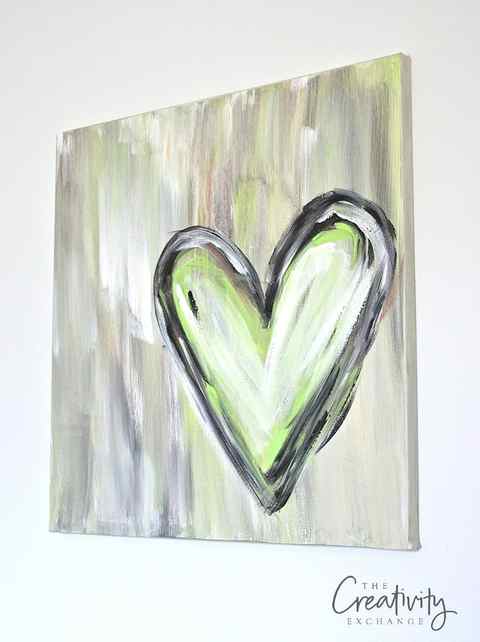
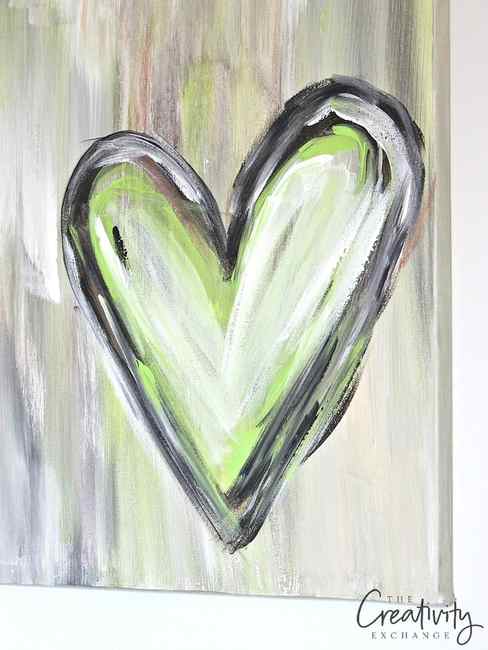
I painted this lime green,black and bronze as an example so I could show the ladies what to do each step:
This is a basic acrylic layering technique that could be as abstract or as blended as you would like. Also, keep in mind, you don’t have to do a heart, you could do anything you wanted with this technique. I’m sharing very detailed instructions to walk you through and tons of pictures, so you got this!
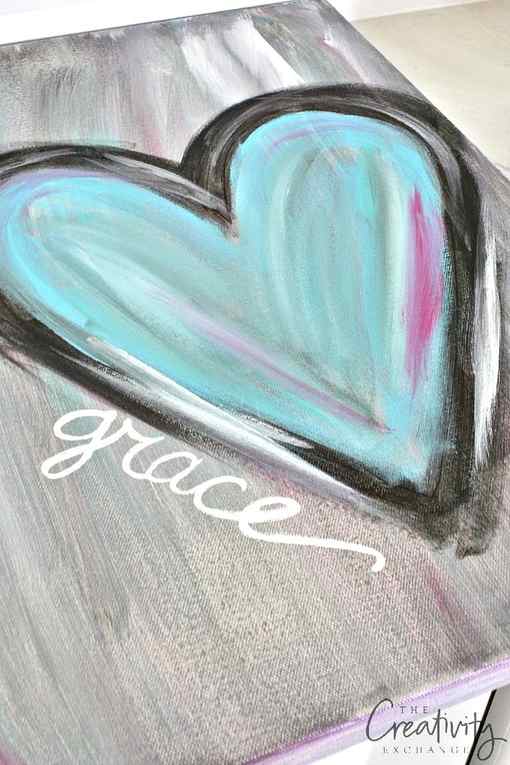
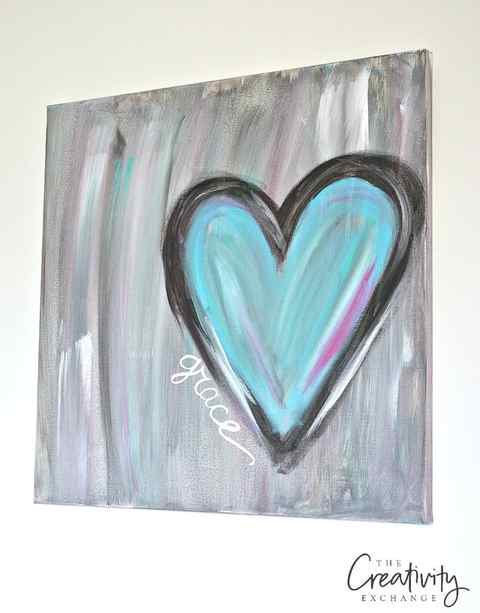
These paintings can be done on any size canvas, canvas board, water color paper or even on a notecard for Valentine’s Day. We used a square 20 x 20 canvas for our paint party. You can also see that some of the ladies opted to write a word on the side of the heart like grace, hope, love, etc.. and others decided to leave theirs without any writing. Both look amazing.
So on the the tutorial;
First Layer
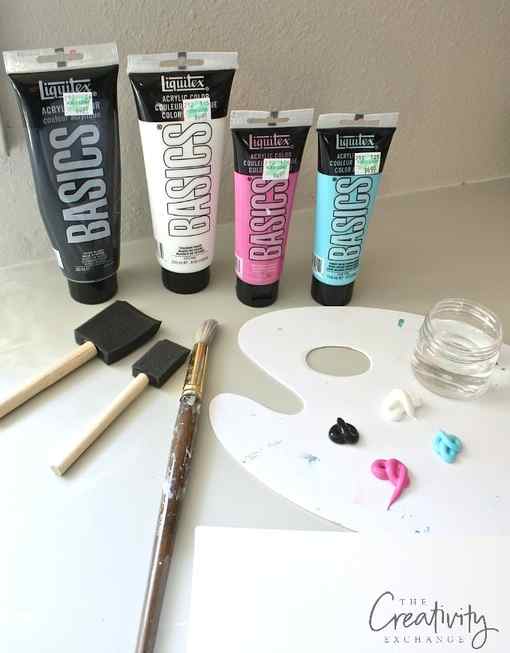
- Begin by choosing your canvas and paint colors. We used a mixture of Basics and Masters Touch acrylic paints found at Hobby Lobby. We also used 20 x 20 square canvases that we ordered from Dick Blick Art. Any size canvas could work for this project. You will also need a medium and small size foam brush and a bigger round brush:
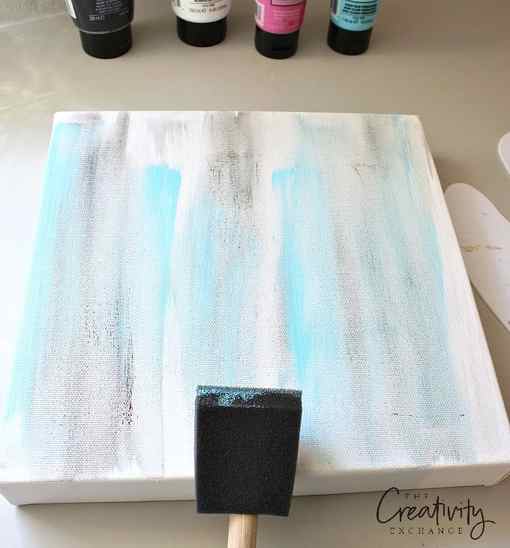
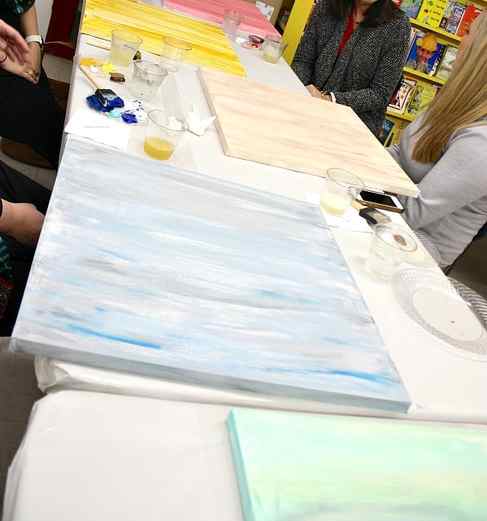
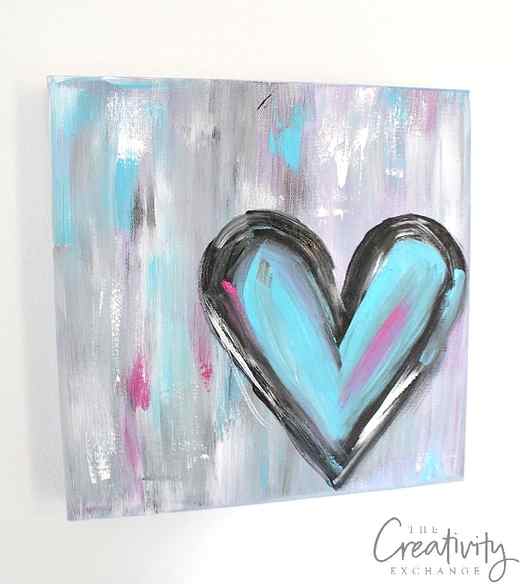
Because the first layer is a color wash, you can either opt for one color like this turquoise first layer:

Or, you could chose 3-4 colors for your first layer wash like this one that Michelle painted that has black, white, turquoise and magenta in the base:
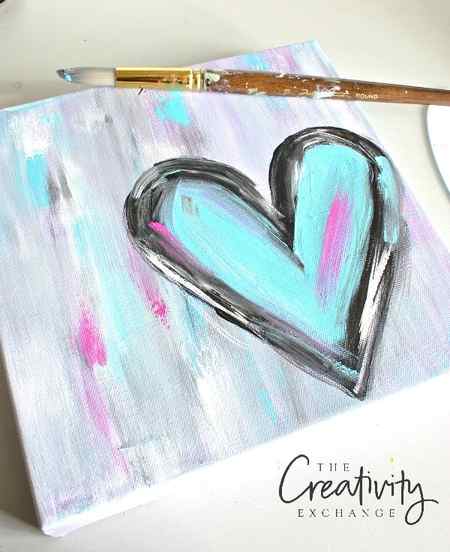
For my sample board today, I am using a 10 x 10 wide gallery wrapped canvas (this is a great size to slip into a bookshelf).
Begin by using your medium size foam brush and put just a little paint on your canvas. If you are using multiple colors, it’s best to go dark to light because you will have a chance later to tweak.
Put just a little paint on the canvas like this below. When you do an acrylic wash, a very small amount of paint goes a long way.

Next, immediately dip the tip of your foam brush into water (not too much water but not too little), and come over your canvas and paint and brush. You can also start adding very small amounts of your next color and just brush up and down. You can continue to slightly add very small amounts of water just on the tip of your brush:
The key to your first layer is to get your base wash on the canvas. You don’t really want to blend the color too much because you’ll just end up making a solid new color. You’ll want to blend it enough to cover wash the canvas but you can still see brush marks.
At this point, add the rest of your paint colors in just swiping them on to the canvas and brushing up and down. Again, in the second layer, you will really tweak your base and enhance, so don’t worry if it’s not what you have envisioned yet
As you can see above, I didn’t really blend the colors too much I just swiped paint on and added a small amount of water for blending. I just brushed went up and down. I also “glopped” (is that even a word?) paint for fun texture. You do this by adding a small amount of paint to the tip of the brush and drag your brush on the canvas.
Here are some other examples of base washes that the ladies did:
Second Layer
For the second layer, use a hair dryer on cool setting to quickly dry your canvas because it will need to be dry.
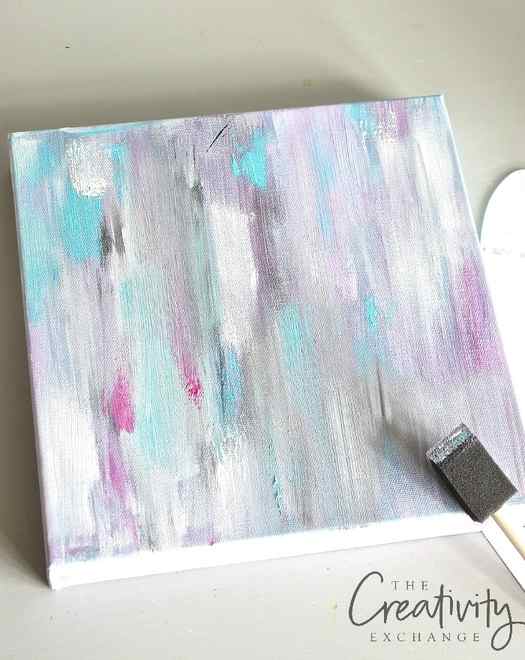
Next, take a good look at your base so far and determine what color you need more of but this time, use your narrow small foam brush by adding swipes of your color (no water this time). You can make it abstract by just swiping paint onto the canvas without blending, or you can blend if you like.
You can see below, I just started layering more swipes of all color. I’m going for a more abstract look but if you want your canvas more blended, work a little water into your brushing.
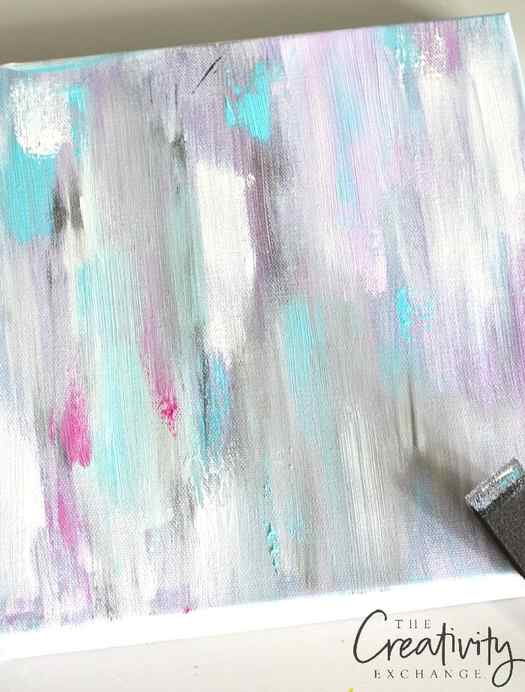
When you get your base to where you want it, dry your canvas again with a hair dryer or wait a couple hours until your canvas dries . If you’re still not where you want to be on your base, you can always come back and add more tweaks when the painting and heart are done. Sometimes that is a great way to better help you see what your painting needs.
Next, cut out a heart the size that you want either on poster board (for larger canvases) or card stock for smaller sizes- to use to trace on a heart. You can do a long and whimsical heart, or a traditional heart and you can place it anywhere you would like on your canvas (lots of possibilities).
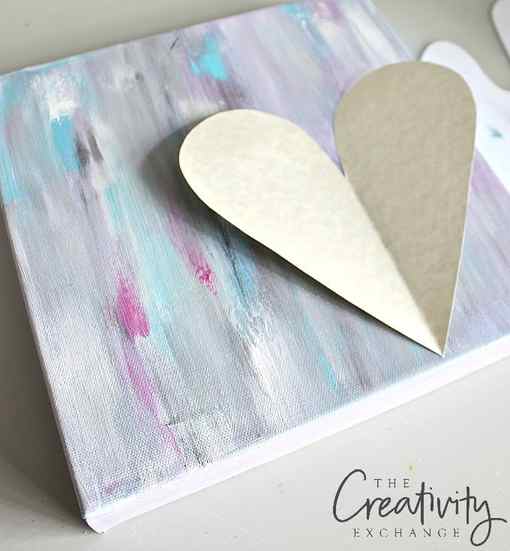
Trace your heart with a black sharpie- don’t worry, you will be covering up the marker with paint. Your canvas needs to be completely dry for the sharpie to show up.
Last Layer
After you’ve stenciled your heart onto the canvas, take your large round brush (I think a a big size long round brush works the best on any size canvas) and begin to outline your heart with the color you want on the outside of the heart. It helps to go fast and know that this heart does not have to be perfect and in fact, it looks best messy and using a fast sketching type motion. Like you’re sketching with a pencil:
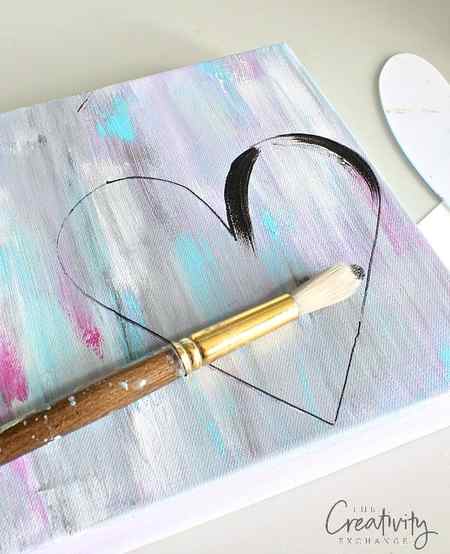
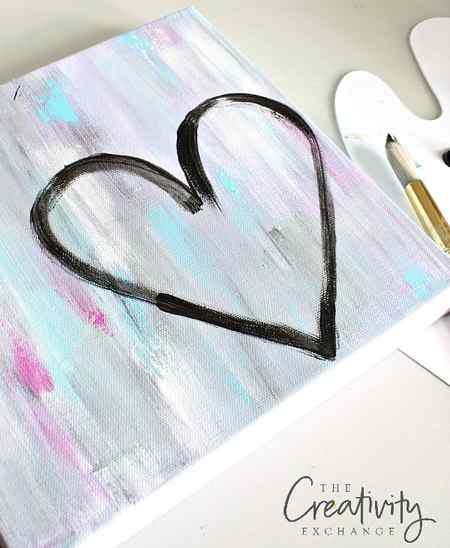
Just lightly brush around the line of your heart and again, you will come back to this exterior line in just a moment. Next, do a second row of the same color and fill the middle in with a second color like this:
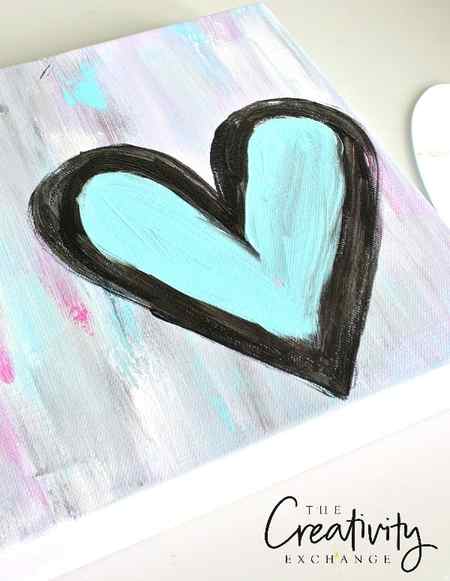
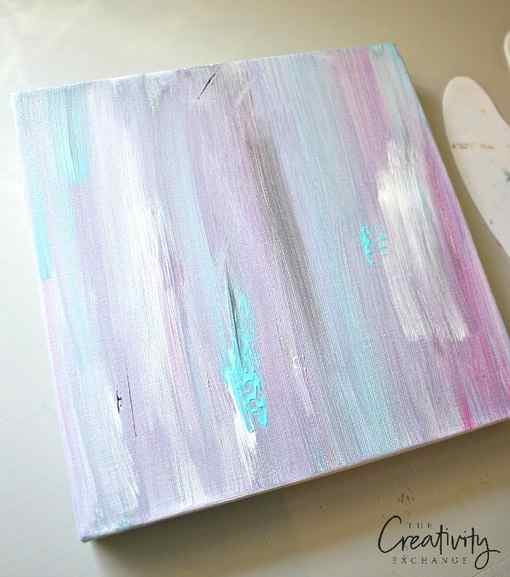
The last step is to lightly swipe white lightly around your heart and add in hints of your other colors. When I say swipe, that means to lightly swipe just a tad of paint with the top of your round brush. You will NOT want to do full pressure of the whole brush.
Don’t panic here! You can’t mess this up, trust me! If you get too much of a color, go back over and swipe it with your main color. For instance, adding white to the edge of my black heart really added contrast but if I swiped too much white, I went over it with black. It’s also fun to blend just a little too (I did that along the outer rim of the heart with black and white to get a little gray).
You can see a different way that I blended a heart and instead of two layers on the base of my heart, I added three to this fun lime green one I did:
When I finished my sample painting, I looked at it closely to see what it needed and I added some light “globs” of white by just add a small amount of white dragging my foam brush in a couple spots:
So there you go! I know I have written a novel here but I really wanted to give you as much information as possible just in case you’ve never painted before, or ran into any problems. It will help for you to look through all of the pictures closely to determine your color combinations, how much blending and heart design. If you have any questions, you can always leave a comment on this post and I’ll be happy to answer
Ok, so are you gonna try this? It’s so fun and I hope you do! You can so do it!
Thanks for stopping by friends


