Get access to 1 million+ FREE, PRO, template bundles with professional written original content. Advanced AI, design, document editing tools
Paint the Roses Hints & Tips
In Paint the Roses, it’s important to use your head or risk losing it. To finish the Royal Gardens, you’ll need to work as a team to solve a constantly changing logic puzzle. In any deduction game, information will be missed, and mistakes will be made, but we’ve put together five hints and tips to help you outsmart the Queen of Hearts in no time. Looking for more in-depth strategy tips? Check out our Paint the Roses Strategy Guide.
While each turn gives opportunities to learn more about all player’s Whim cards, only the active player chooses the Shrub tile to place on the Garden board. A reasonable starting assumption is that the active player will use their turn trying to communicate the Whim card they hold, which allows you to consider the clues they reveal on a deeper level. After a player has placed a Shrub tile into the garden and the Clue tokens step is complete, review all the available colors and shapes their Whim card could show. Players will usually look to share their Whim card in the clearest way possible, so consider eliminating options if they would have been better shown elsewhere.
Pick Which Whim to Guess Wisely
Continually sharing information in Paint the Roses is key to finishing the garden. Starting a turn holding a Whim card that the other players are confident on the solution to makes it more challenging to reveal new information. As a player’s turn is the best time to share new information about the Whim card they hold, consider prioritizing guessing the next active player’s Whim card, which, if correct, will give them a brand new Whim to share information when their turn begins. Note: It is rarely a good idea to guess two Whim cards in a turn. Your main goal is completing the Royal Gardens by staying ahead of the Queen, so try to save knowledge for upcoming turns, ensuring you are less likely to make incorrect guesses.
In Paint the Roses, four unique colors and four unique shapes can be used to describe a Whim. The Greenhouse gives you four random Shrub tiles to choose from made up of these, but rarely will every color and shape option be available.
Try to keep the Greenhouse as diverse as possible by only selecting the last tile of a particular color or shape if you need it to best show your Whim card. This will give the next player more choices when it’s their turn to place a Shrub tile.
Garden for the Future
This is a more advanced Paint the Roses tip, but along with giving information about your Whim card, when you place a Shrub tile, you can also try to create spaces in the garden that can be used to uniquely identify a shape or color match.
Note: It is easier to give clues when all combinations are available on the Garden board, so avoid blocking access to the last of any symbol or color for as long as possible.
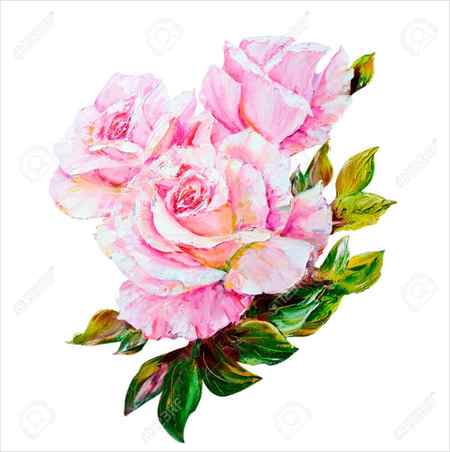
Acrylic Rose Painting


Pink Rose Painting
La Vie en Rose
A life in rosy hues, how wonderful would that be? Imagine a field filled with different roses, colors so vibrant exuding fairy-tale–like ambiance, something so beautiful you can consider magical—a painter is able to preserve such beauty with a stroke of a paintbrush on a canvass.
The rose is a woody perennial flowering plant of the genus Rosa. There are over a hundred species and thousands of cultivars. It is mostly found in Asia and smaller numbers in Europe, North America, and northwestern Africa. Roses are known for its beauty and sweet scent, and over time, each colors of roses bring different meanings: white rose for mourning, red roses for the significant other, yellow roses as a get-well-soon gift, and pink roses for mothers. For such a plant to bring such meaning to one’s life, a rose can be so amazing. It is even more amazing when an artist and rose makes an encounter.
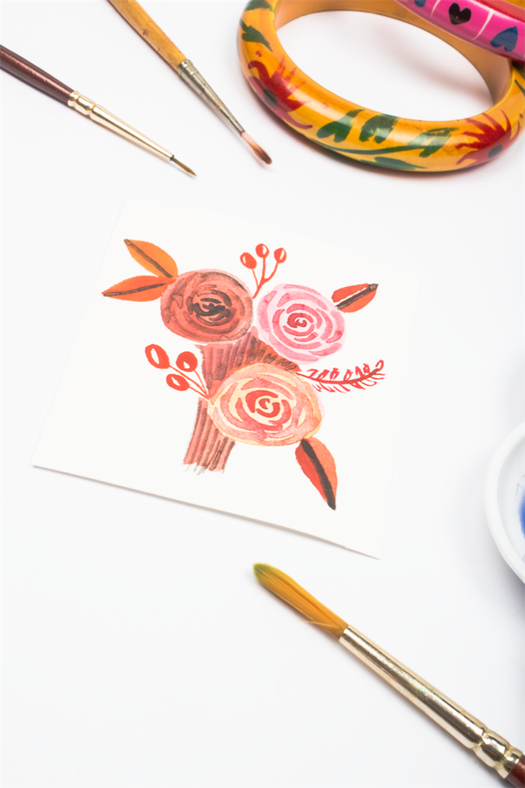
An Easy Way To Paint Rose Blooms (with Video)

Hello everyone. This post actually started off as a little challenge. A lot of people are so intimidated by drawing roses. A lot of people I know can’t even fathom drawing one because of the fear of failure- which is pretty bad. I mean, roses are gorgeous! It’s like an insult not to draw them.
So, here I was, with brush pen in hand and a drawing book, and I was doodling with watercolours. (I do that a lot, actually). And I tried this little rose bloom- and it was so easy, and yet looked good too! So I decided to make a little tutorial for all you peeps out there- who want to try drawing roses but are just not getting the groove of things. This is an easy technique, and by all means- a humble and basic interpretation of the rose- but it’s the starting step if you want to draw/paint a rose! And it’s fun. Like, really fun to paint. So get your brush / brush pen out and watercolours, and let’s begin!
An Easy Way To Paint Rose Blooms (with Video)
-brush pen/ paint brush (I like using a brush pen because you can get different shades by moderating the water in the brush directly, but a regular paint brush works just as well)
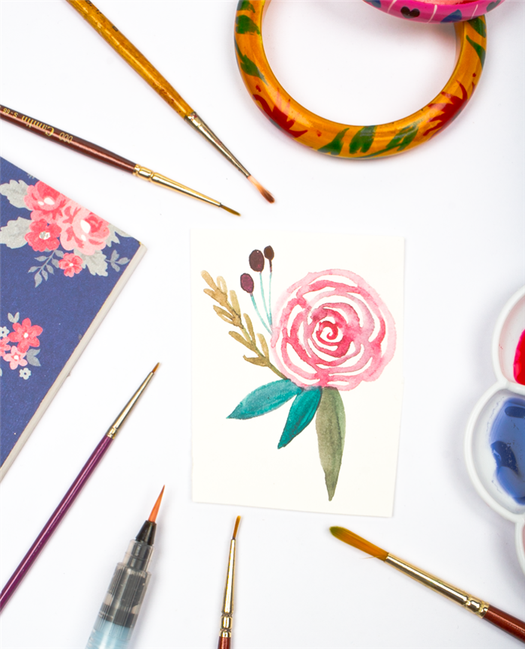
First off, here’s the way to make a rose:
Okay, easy enough, right? The beauty of this is that there is no fixed rule- you just have to find your own style and practice. You’ll get it. And no rose you’ll make will look exactly the same- so even more fun!
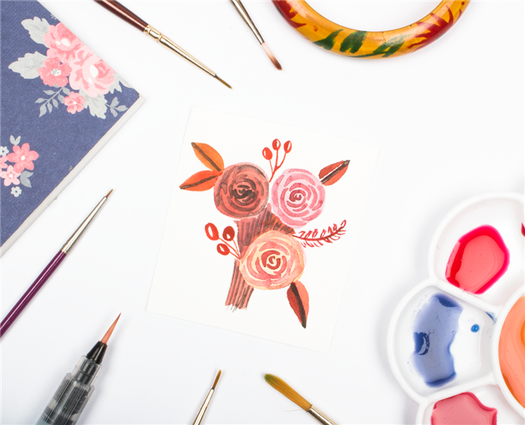
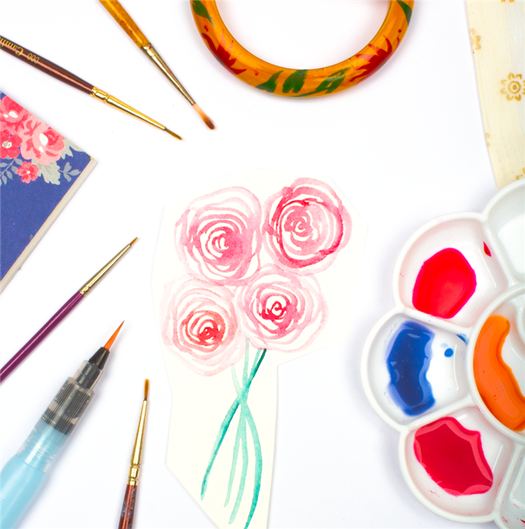
To make a rosy bouquet:

1- paint how many roses you want near each other and add two lines in green vertically at the end
2- fill in the green with vertical strokes to look like stems
3- fill in the gaps between the roses with green
4-add heather/ leafy details here and there
5- add little buds here and there
6- you’re done! Add a ribbon too, if you like.

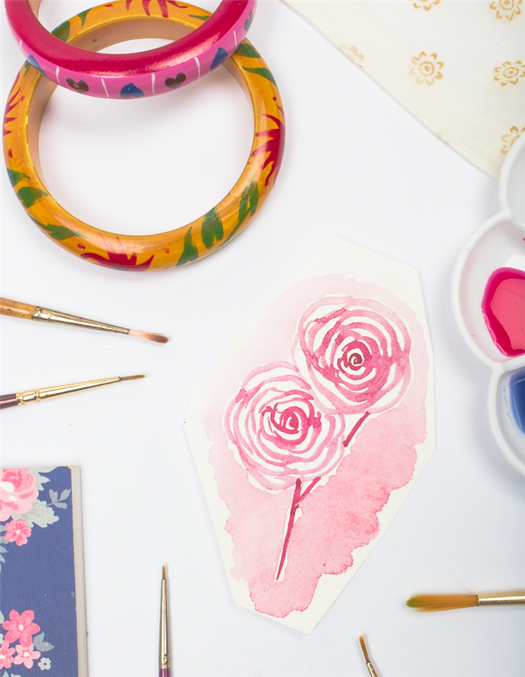
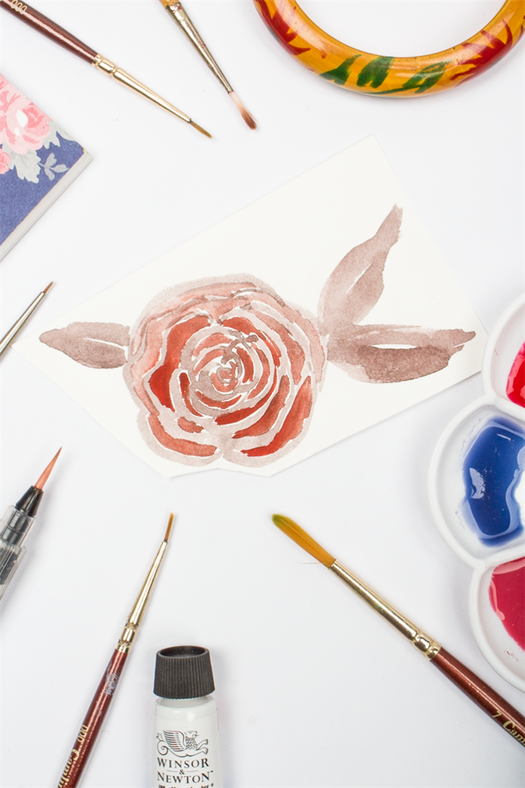
There’s another way to paint the rose- add a base to it first:

1- make a circle
3- make some more with different colours
4- while waiting for them to dry, paint some buds
5-add some leaves too

6- paint a solid section for the stem
7- add a little curve in the centre , a ‘c’ shape
8- add adjacent curve shapes on either side of the first centre shape
9-add vertical lines for the stem
If this looks a little familiar, I used the same technique in this freehand floral art too.
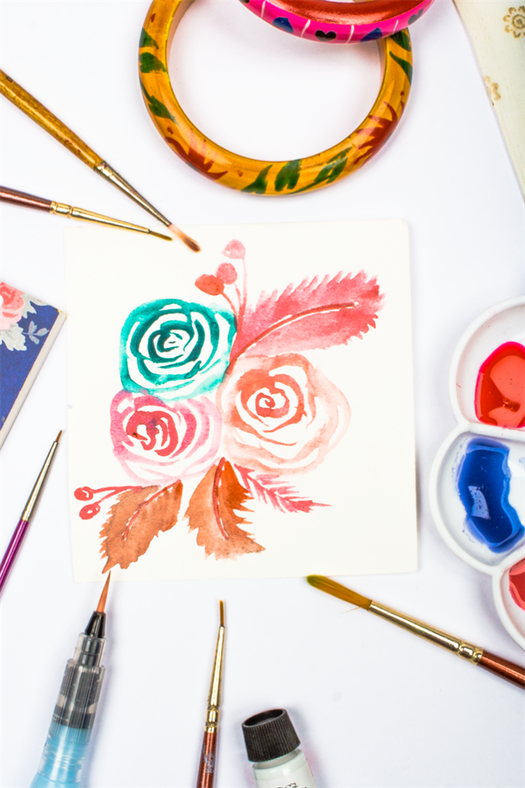
Okay- so in this little technique the possibilities are endless! Here’s some I came up with-

Some more roses.
Roses with a little background wash.
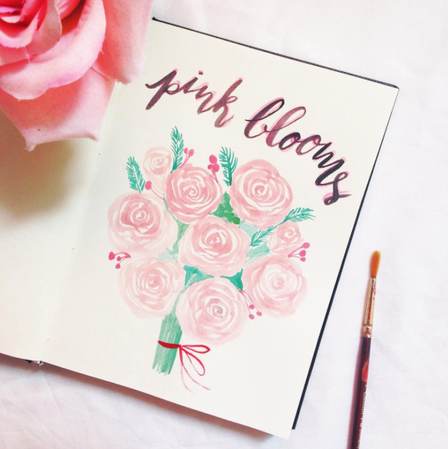
Light pink blooms.
A sweet little arrangement.
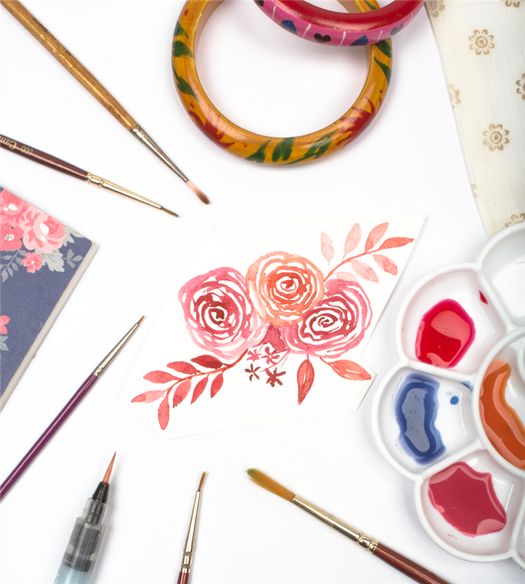
Now come some roses in shades of blue/black/brown (that’s what happens when all the colours mix in together)-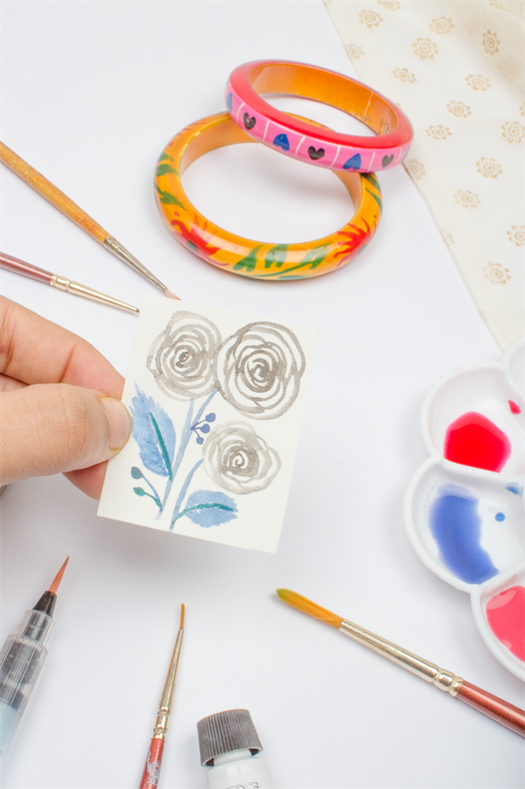
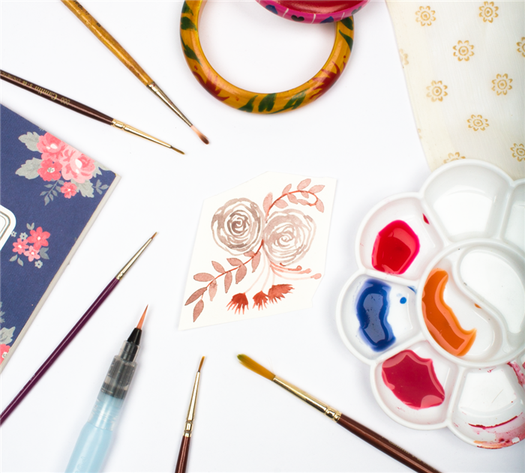
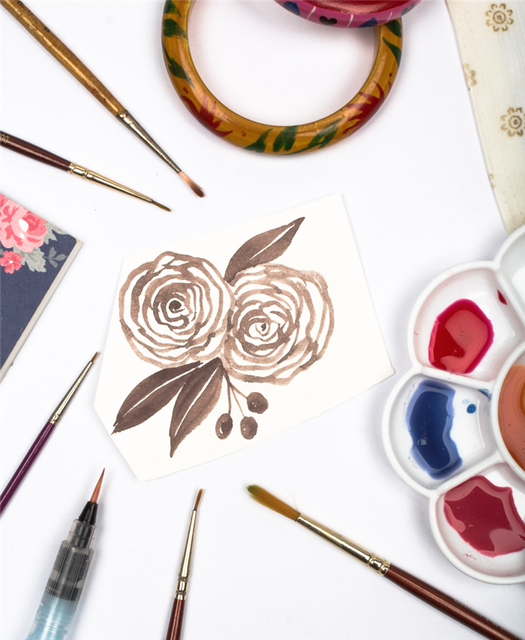
This rose has the opposite of the base effect. I made the lighter lines first, and then filled in the gaps with a darker brown.
You can play around with letters too!
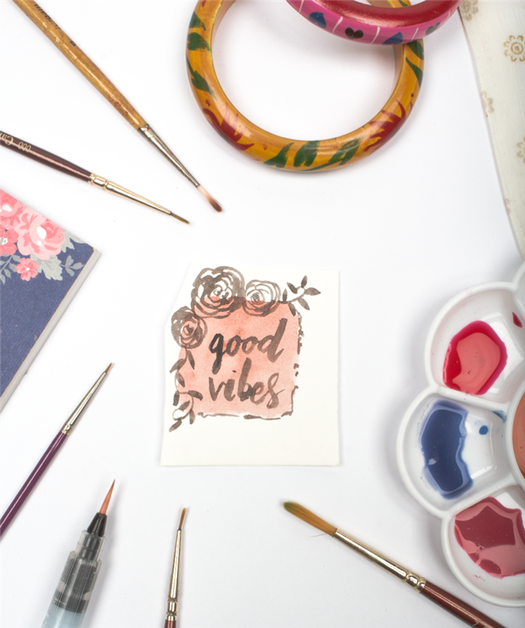
You can add a shape, flowers on one side and text!
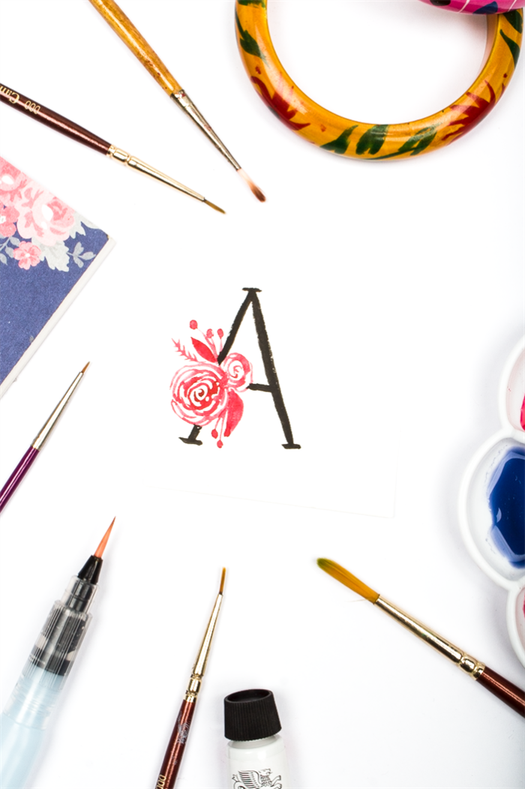
And you can also create a lovely initial with flowers on it- I’m planning to do all the letters of the alphabet with this!
And. If you’re trying and trying, but it’s difficult to get the look of the roses- don’t worry. Keep practicing, and meanwhile, try a messy and bolder look for the rose (with less lines), something like this:
It still looks just as captivating!
And now, I’m slightly ‘rosed’ out if you know what I mean. Switching to a new flower, because after all these roses, I need a change. So, I think I’ll try sunflowers or peonies next. Meanwhile, here are some leaves I made recently and posted on instagram:
 And..finally, we come to the end of this post! I hope you liked it and hope it inspires you to try making your own roses – in art, for making invitations, just doodling- whatever you like! Roses aren’t that difficult after all, right? If you make a rosy drawing inspired by this, please do tag with #surelysimple on Instagram! Would love to see how you interpret the rose! -Aaria