The water jar is where you will clean your paintbrushes in between colors.
In this blog I’m going to explain what paint works best for pumpkin painting, and share my best painting tips.
I get this question every fall from my students parents and teachers, what paint works for pumpkin painting?
The answer is Acrylic Paint works best for painting pumpkins.
Why acrylic paint works best for pumpkin painting!
- Acrylic paint is made with a polymer resin that dries like plastic, making it water proof.
- It will stick to a pumpkin for the life of the pumpkin.
- It usually has a semi shinny finish.
- If you put your pumpkin outside during the autumn season it will withstand weather and rain, no paint will drip off or wash away.
- Acrylic comes in safe student grade for kids.
So there you have it, five good reason why acrylic paint is the best choice for painting pumpkins. Acrylic can come in safe non-toxic student grade. Just check the bottles. Please do not use adult grade acrylics with small children. Adult grade paints may have dangerous chemical only adults can handle with care. Student grade will have a Conforms to ASTM D 4236 on the bottle, his means the paint is safe for kids to handle and has been tested by a toxicologists and is not harmful for kids.
Pumpkin Painting Best Tips:
So here’s some of my favorite tips on painting with kids. I paint hundreds of pumpkins with kids in my fall art events and classes.
Prep Your Pumpkin before painting.
Pick pumpkins that have no blemishes to keep them from rotting.
Pumpkins should be wiped down with soap and water or wiped off before painting.
Even take off those stickers!
Be sure pumpkin is dry before painting.
Where should you paint pumpkins
I recommend outdoors if it’s not too cold yet.
It’s much easier the handle any keep messy paint from moving around.
You can place a drop cloth on the ground in the back yard or garage.
Be sure small kids can move around the space.
If you have no drop cloth use old newspapers to catch paint drips.
Lastly, be sure to wear clothes that can get messy and withstand stains.
Even if you think you’re not going to get paint on them, you and kids should still wear art clothes or a painters smock, just be prepared!
Pumpkin Painting Prep
Any size pumpkin will work.
Try to pick pumpkins that have no blemishes to keep from rotting sooner.
Clean pumpkin gently with soap and water or wipe off with baby wipes.
Let pumpkin air-dry or wipe down with dry cloth before painting.
Prepare a space were kids can get messy without worrying about paint spreading.
It’s much easier for kids to paint if the pumpkin is at the eye level on a table or sturdy flat surface.
Use a drop cloth or recycled old newsprint to work on top of.
Everyone working in this area will get messy so you and kids should dress in clothes that can truly get messy. Some paints do not wash off clothes.
Clothes to get messy in, artist smock or an apron cover-up.
Small paint brushes for little pumpkins and large brushes for the bigger pumpkins.
Sponge and fingers also work besides paint brushes.
Water jar for washing brushes and easy clean-up.
Napkins for paint brush and paint spills.
I love to have baby wipes handy for quick clean-ups. Baby wipes clean all paints off skin even acrylic.
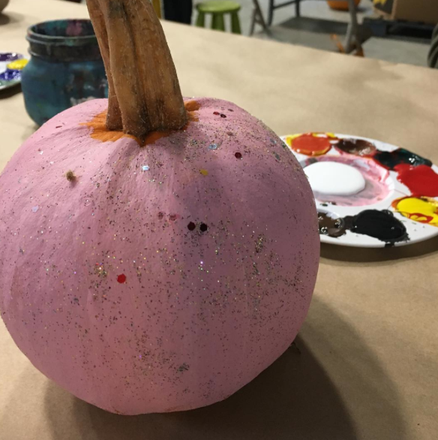
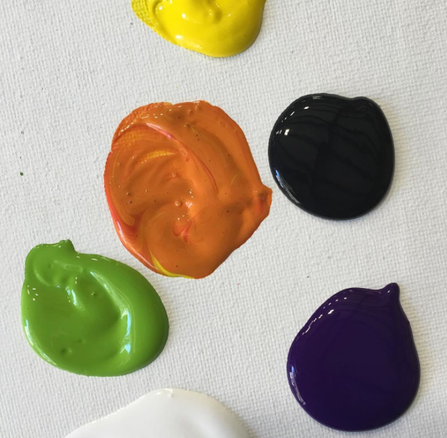
Palette to hold paints, paper plates work good for holding paint and egg cartons work great to if no palette is available.
Paint the perfect Halloween pumpkin

Put the carving tools away and pull out the paint for the most spooktacular pumpkins!
What’s more fun (and safer) than carving a pumpkin? Painting one! Here’s how to create a spooky masterpiece.
- pumpkin(s)
- acrylic sealer
- acrylic paint
- brushes
- Start with a pumpkin that’s free of bruises. Wipe off any dirt.
- Coat the entire pumpkin with an acrylic sealer to keep the decorative paint from peeling. Coat the top half of the pumpkin and let it dry. Flip it over and repeat for the bottom half. You can use either a spray- or brush-on sealer. Modge Podge works well.
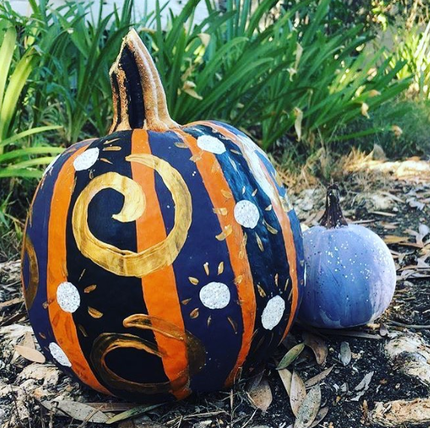
- While waiting for the sealer to dry, decide how you’d like to paint your pumpkin. For inspiration, google “painted pumpkins”.You’ll find countless ideas—from classic scary faces and pigs to haunted houses and whimsical motifs. Or, create a design of your own.
- Paint your pumpkin. If your design covers the whole pumpkin, paint half and allow it to dry. Then paint the other half.
- Protect your painted pumpkin with another coat of sealer. Again, seal one half, allow it to dry then seal the other half.
- Optional embellishments: You don’t have to stop with paint! Accessorize your pumpkin with googly eyes, gauze, glitter or anything else that completes your haunted masterpiece.
When your pumpkin is done, share a picture with us!
Federally insured by NCUA


