Fold the candy corn and black paper in half and cut a slit through the center. Open the sheets and pattern back up and insert the scissors into the center. Trim out the center of the candy corn, using the pattern as a guide, leave about 1/4″ border on the pattern.
Easy How to Draw Candy Tutorial and Candy Coloring Page

Candy Drawing
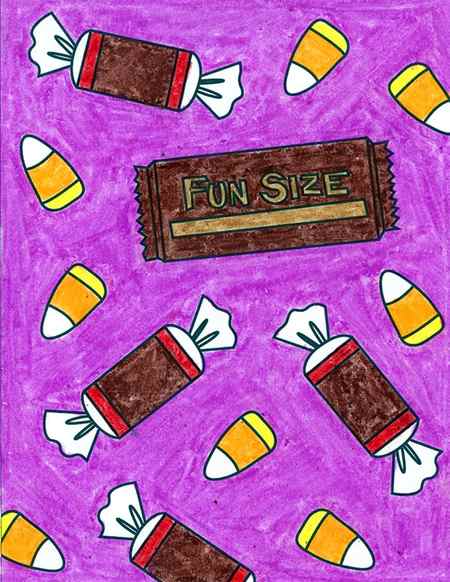
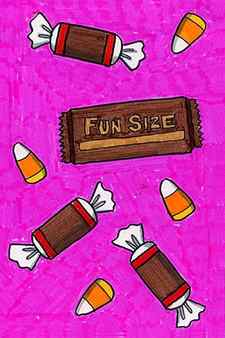
Drawing candy from real life might be a good exercise, but comes with some obvious distractions and expense. Why not skip all that, and have your students draw some very familiar looking candy with a simple tutorial? This one shows a candy bar, a Tootsie roll, and candy corn. The shapes will probably already be familiar to them, it just helps to have a guide to refer to.
If you want to adapt this for some older students, then trying using markers. A couple of extra strokes of color will make any shade of color look a bit darker, and is an easy way to create a more 3D look. And any light gray color added to the folds will always make a nice shadow.
Pin me to your Pinterest Board

Stained Glass Candy Corn Paper Craft
This cute little candy corn looks so pretty hanging in the window! Make several to decorate your windows for Halloween.
By Amanda Formaro
What You Need:
- Heavy weight self-stick laminating film (i.e. Con-Tact paper)
- 2 sheets black construction paper
- Tissue paper: white, yellow, orange
- Glue stick
- Scissors
- Pattern [click for pattern]
What You Do:
Print the pattern but do not cut it out yet. Expose about 15” of laminating film by removing the backing (leave the film on the roll), leaving the sticky side facing upward. Fold over the edge and adhere it to itself, just so you have an end to grab without sticking to your fingers.
Place the pattern underneath the laminating film, positioning it toward one end. You will be folding the sticky side onto itself when you are finished, so you need enough room on the other end to do so. You can tape the pattern in place if you like to keep it from sliding around.
Cut or tear a handful of each color tissue paper. Using the pattern underneath the film as a guide, begin by placing yellow tissue paper squares onto the middle section of the candy corn. Overlap the pieces as you go, completely covering the center portion of the candy corn.
Next, use orange tissue paper to cover the bottom section of the candy corn. Again, overlapping as you work, don’t be concerned about staying in the lines.
Finish off the top of the candy corn with white tissue paper squares. Use scissors to cut the film off the roll.
Take the empty side of the laminating film and fold it over on top of the tissue paper candy corn, sandwiching it between both sticky sides. Smooth out and press out any air. Set aside.
Stack two pieces of black construction paper on top of one another. Take the pattern and cut out the candy corn. Place the candy corn pattern on top of the two sheets of black paper. Use glue stick to tack the center of the pattern to the paper to keep it from sliding around. You can also tack the top of the two sheets of black paper together if you like. Use scissors to trim through both black sheets simultaneously leaving about 1/2″ border around the candy corn pattern.
Fold the candy corn and black paper in half and cut a slit through the center. Open the sheets and pattern back up and insert the scissors into the center. Trim out the center of the candy corn, using the pattern as a guide, leave about 1/4″ border on the pattern.
Remove the pattern and you should have two identical black frames for your candy corn.
Take the tissue paper candy corn and trim close to the edge of the tissue paper border. Place the frame onto the tissue paper candy corn. Trim more if needed. When ready, use glue stick to attach the frame to both sides of the candy corn.
Tip: To hang on the window you can use a glue dot or a piece of double sided tape.
Tags gluepaper
Join Our Club

You are currently on the KinderArt.com site which features lots of free art activity ideas for kids (I hope you are enjoying them!) HOWEVER, if you are looking for more detailed art lesson plans, drawing lessons, printables, sketchbook starters (and more) provided monthly, you will LOVE The KinderArt Club – a membership portal designed for parents, homeschoolers, classroom art teachers and studio instructors.
Inside the club you will find hundreds of printable PDF art lessons designed to work in small or large group settings, with a range of ages (from 5 to 12 years).
Get creative teaching kids at home, instructing students in a classroom, leading workshops in a studio, or sharing online, as you explore artists, art periods, science, nature, history, cultures and themes, with creativity and flexibility in mind.
WELCOME!
We are daughter/mother artists/teachers Andrea and Jantje and we’ve been leading the way in art education on the Internet since 1997. For 25 years, our goal has been to make art lessons accessible to those who need them. More than 80 million visitors have used our free collection of ideas in their homes and classrooms and hundreds have joined our premium art lesson membership club. We make teaching art easier and we’re so glad you found us!


