Using another curved line, start the second ghost shape on the right side of the page.
Easy Ghost Drawing

Let’s learn how to make an easy ghost drawing. Create along with these clear 6 drawing steps. You will learn the fundamentals for drawing a ghost. This lesson only takes about 20 minutes and has a PDF near the bottom of the lesson you can easily print or download. The pdf packet even contains a “coloring book” page with just the line art. This pairs perfectly with crayons, colored pencils, or markers. It’s ideal for very young kids looking for some extra guidance and are looking to shade in a ghost. Get a thrill out of creating a colorful easy ghost drawing and remember to add some personal aspects. It’s time to get creative!
Materials
- Pencil
- Drawing Paper
- Crayons or Colored Pencils
- Black Marker (optional)
- Easy Ghost Drawing Printable PDF (see bottom of lesson)

In this tutorial, we will learn how to make an easy ghost drawing on paper. To look the best, we will pay attention to the various sizes and shapes of each part of the ghost. The new lines in each step is made of blue so you can observe the current lines that you will be drawing.
Time Needed: 20 minutes
Start The First Ghost

On the bottom left of the page, draw a large curved line for the main shape of the ghost.
Add The Bottom

Draw four small bumps for the bottom of the ghost shape.
Draw The Second Ghost

Using another curved line, start the second ghost shape on the right side of the page.
Complete The Second Ghost

Finish the ghost shape using the same method as the other one.
Add The Faces

Give each ghost a cute or scary face.
Color It In
It might be difficult to color white ghosts on a white page, but you can always make them whatever color you want.
How to Draw a Ghost
- our printable template (optional)
- paper
- pencil or black marker
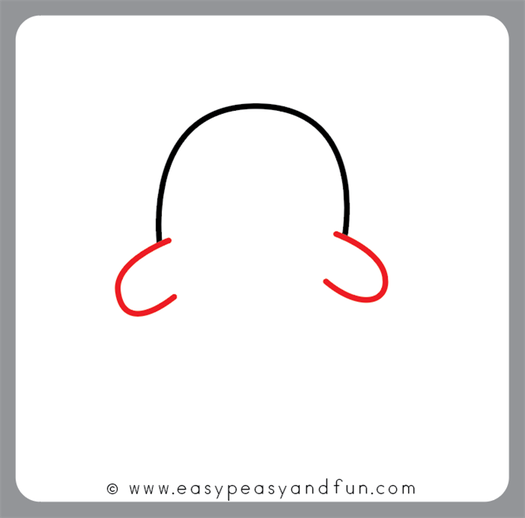
Step 2
Draw hands – you can keep them simple, with drawing “U” shapes, or make them more detailed.
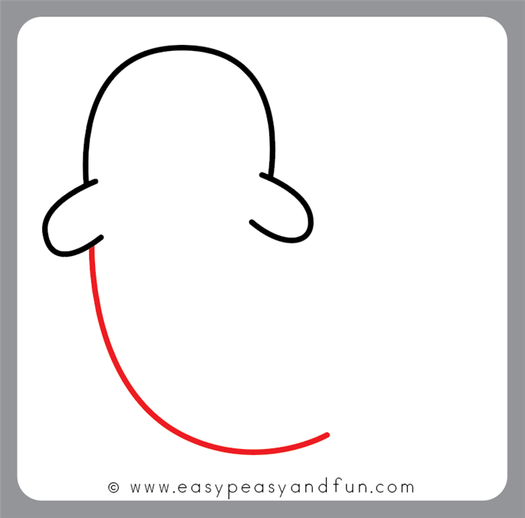
Step 3
Let’s start working on the body. Start on the left side, drawing a curved line from the hand downwards.
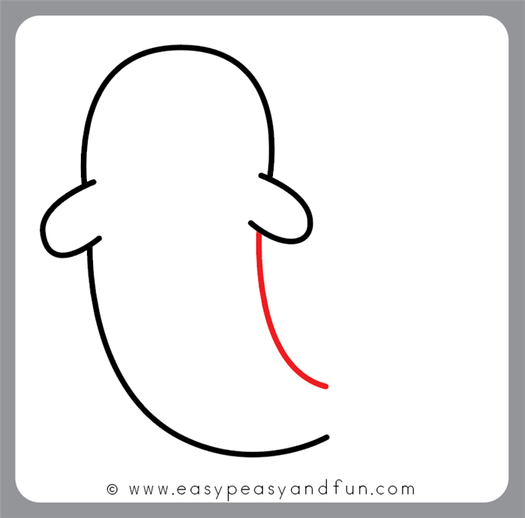
Step 4
Now move to the right side and draw another curved line, ending it above the first one.
Step 5
Complete with the wiggly “tail”.

Step 6
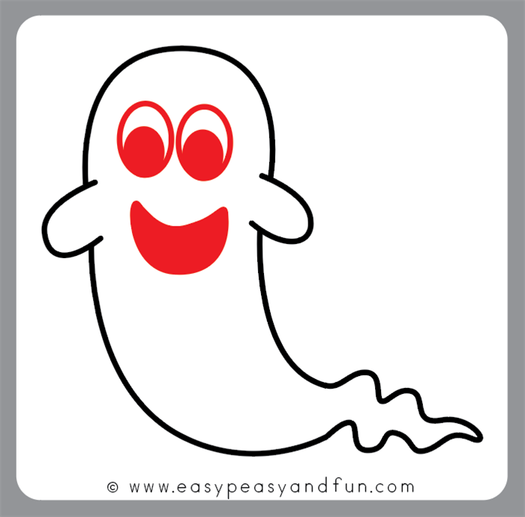
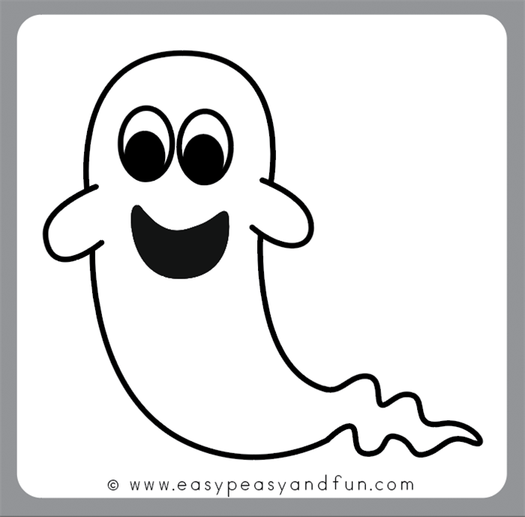
Now comes the face. If you want your ghost to look happy, draw “normal” eyes, and a “moon” shaped mouth. This way your ghost won’t look scary at all.
If you want a scary one, color the eyes all black and draw the “moon” shape with it’s end points turned downwards. You can even add a diagonal line on top of the eyes to make the ghost look angry. Scary isn’t it.
All done, you have learned how to draw a ghost!
Get Printable Ghost Drawing Guide
Want instant access to all of our printable crafts, activities, and resources?

With thousands of crafts, activities, worksheets, coloring pages, and drawing tutorials to print, you will always have just the resource you need at your disposal. Perfect for parents and teachers alike!


