For painters who enjoy the strong, fast-drying qualities of acrylic, you can always make acrylic earth paint that is more luminous than tube acrylics because there are no fillers or preservatives.
5 Paints You Can Make Yourself
By Jennifer Noonan | Updated Mar 18, 2021 9:25 AM
We may earn revenue from the products available on this page and participate in affiliate programs.
The next time you’re faced with a painting project, don’t head to the hardware store straight away. Whether you’re coloring a piece of furniture or an exterior wall, there are plenty of homemade options available for you to consider—many of them cheaper than store-bought counterparts and chemical-free. But that’s not all: Mixing up your own homemade paint offers more control over the finish so you end up with one that’s more in tune with your décor needs. Check out five varieties you can craft to brush up your DIY game.

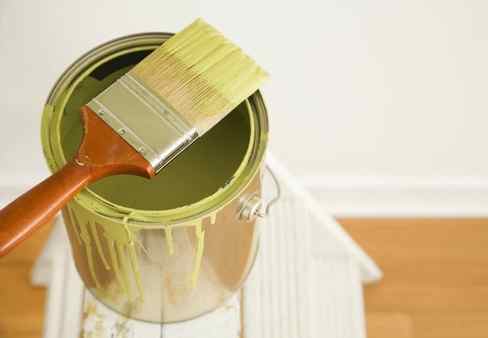
Photo: etsy.com via brasshipposhop
Homemade Chalk Paint
If you want to achieve an easy-to-distress matte finish and you like the sound of less work—no primer or sanding required before your first coat of paint—check out chalk paint. It’s slight grit and forgiving texture make it a prime candidate for painting wood pieces in a distressed style.
To make your own, simply stir up 1/3 cup of Plaster of Paris in 1/3 cup of cool water until it’s completely smooth. Then mix that solution with 1 cup of flat latex paint. Keep in mind that you shouldn’t store and reuse chalk paint, so, depending on the project, adjust the amount you mix up accordingly and use it as soon as it’s ready.
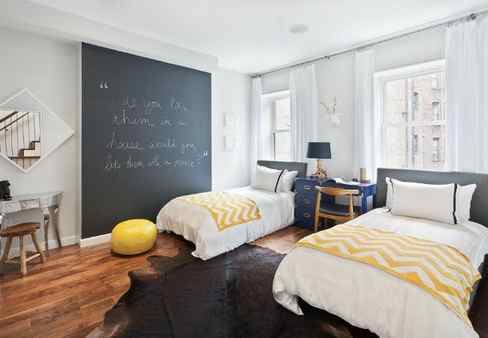
Photo: Zillow Digs home in New York, NY
Homemade Chalkboard Paint
Not to be confused with chalk paint, chalkboard paint turns any old wall into a fun way to jot reminders to self and notes for family or guests—an especially trendy upgrade in the kitchen or entryway. No need to limit yourself to black here! This recipe works for any color of your choosing.
To mix up your own paint, fill a plastic bucket with a ratio of 2 tablespoons of non-sanded tile grout to every cup of flat-finish latex or acrylic craft paint, depending on the scope of the project. (You might choose the latex for a wall but mix up a smaller batch with acrylic to paint on smaller housewares like the inside of a medicine cabinet, for example.) Mix thoroughly to remove any and all clumps. Apply with a roller or paint brush in a nice, even coat, then—after it dries—smooth the entire wall with a fine sandpaper and wipe away the dust with a slightly damp cloth.
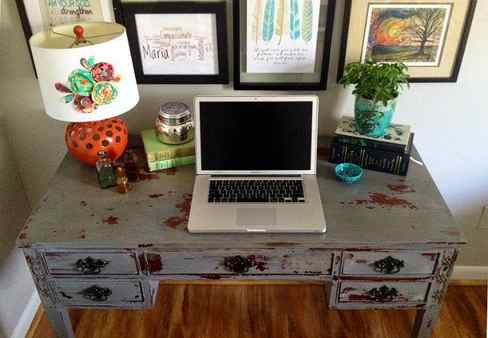
Photo: etsy.com via GreenhillLaneDesigns
Non-Toxic DIY Paint Recipe For Kids
These homemade paints are so quick, cheap, and easy to make – you can literally create these non-toxic paints from basic pantry items in less than 10 minutes! The colour options are near endless, and because these paints are safe to ingest, they are perfect for finger painting too.

This homemade non-toxic paint recipe is great for quickly whipping up on an afternoon when the kids are bored – it’s quick and easy to make, and you probably already have the ingredients in your pantry! Made from all edible ingredients, you won’t need to stress about someone eating (or pets licking) the paint either.

These DIY paints can be made in just 5 minutes! Simply blend the flour and salt together, and then whisk in cold water until dissolved.

It’s then just a matter of mixing in the colouring of your choosing. I like to put the paints in these squeezable sauce bottles $1.50 from Kmart, because it makes them easier to store and results in less mess and wastage. You will need to give them a shake before using.

These homemade paints are pretty easy to clean, however, I’d avoid getting them on the carpet or couch if you’re using food colouring, it may stain. A big waterproof tablecloth is great for backyard painting, but a canvas and paintbrush at the kitchen bench whilst mum is prepping dinner also works a charm!
This non-toxic DIY paint recipe is a definite crowd pleaser! You may also like my home-made playdough.
Professional Watercolors

Watercolor Base:
- Mix 1 cup hot water with ½ cup Gum Arabic Powder
- Add in 1/5 cup honey (a little less than ¼ cup)
- Add two drops of clove or thyme essential oil to help preserve it
(If you want a stronger preservative you can use sodium benzoate – a food grade preservative – 1/2 – 1 tsp.)
-In separate bowl, mix 1 Tbsp. honey with 9 TBSP of above mixture (1:9)
Mixing in Pigment:
Mix 1 part mixture with 1 part earth pigment (adjust as necessary)
- For example, 9 tsp. mixture and 9 tsp. pigment
- Note: Each pigment has completely different properties and behaves differently so determine what each pigment needs. For example, I found that blue needed a little more pigment than 1:1. And yellow ocher needed quite a bit more pigment.
Store in airtight jars or let dry into cakes (add a few drops of glycerin to prevent cracking if drying into cakes – optional).
Earth Sand Painting

History: The ancient art of sand painting among Native American tribes in the Southwest was a form of religious expression. In its original form, sand paintings were created to exist only a few hours. Toward the end of the 20th century, many Native Americans began creating more permanent sand paintings by using glue under the colored sand.
Ingredients: 1 cup of a fine, craft sand. 1 tsp. earth pigment
Prep Time: 3 min. per color
Process:
- Place sand in a glass jar, and add the desired amount of pigment. The amount we suggest above is only an approximation.
- Shake vigorously to coat the sand particles with pigments. Since pigments are not dyes, their fine particle size mixes with the sand to coat it, but the pigments do not actually dye the sand. Therefore this is not a colorfast application. However, coloring sand by hand and choosing single or combinations of pigments gives you an infinite range of colors that cannot be matched by store-bought craft sand.
Tips for sand painting:
- Work with only one sand color at a time. Finish all areas of your painting with that color before proceeding to a new color.
- Use dark colors before light ones when possible.
- For more permanent sand paintings, draw with glue on a hard surface, and “paint” the sand onto the glue.
- Upon completion of all colors, you may notice some colored sand has invaded other areas of a different color. Wait until all ares are completely dry. Then use a can of compressed air, such as that used to clean computers, to blow this excess off.
Renaissance Painting Varnish:
Ingredients: One egg white
Instructions: Whip one egg white until it thickens. Place the whipped white in a glass container and cover it with water. Cover container and allow it to sit overnight. Remove the liquid that accumulated and use as varnish.
Note: Other varnish options are the Natural Acrylic Medium and Natural Varnish


