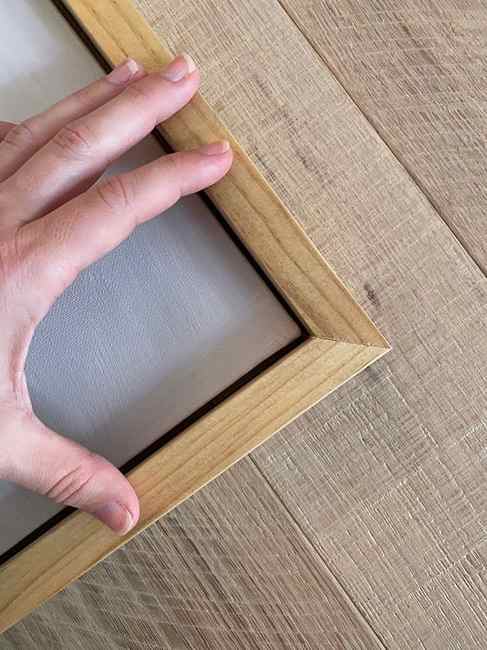
The edges were cut at 45º, and the length really didn’t matter too much since these would be hidden. Ours ended up at around 6-7″ at the longest point.
DIY $10 Canvas Floating Frame
Back with Part 2 of my DIY landscape art project—make sure to check out yesterday’s post first if you missed my painting tutorial!

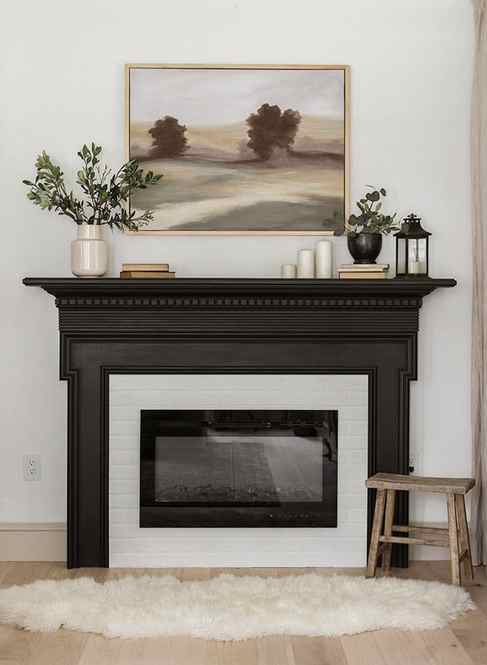
Once the painting was dry, we got to work building the frame—don’t skip this part! Art looks unfinished without a frame, in my opinion. I love the look of floating frames and set out to come up with the simplest plan to make one, using what we had in the garage.

Materials needed (for a 30×40″ canvas):
- (2) 1x2x8 pine wood
- Scrap wood
- Wood stain
We used our miter saw, nail gun and table saw for this project, although you don’t need a table saw unless you want your canvas to be recessed back from the frame (more on that later).
We already had scrap wood and wood stain, so this project cost under $10 for the 1×2’s!
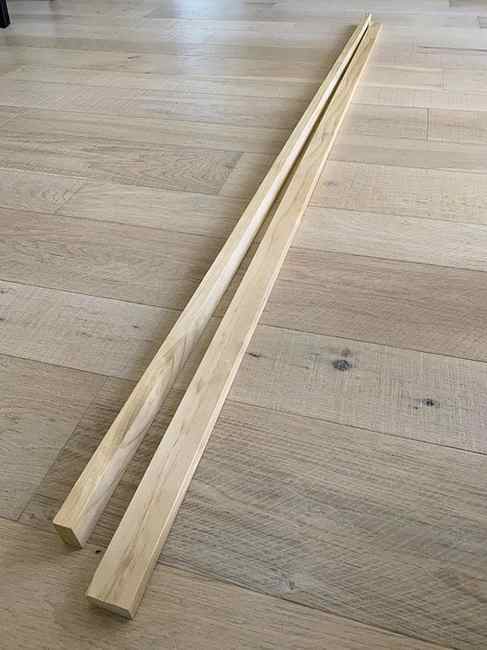
Step 1: Cut the 1×2’s
Determine how long you want the overall frame to be and cut the sides to that length. I wanted an 1/8″ gap around the canvas, so I added 1/4″ total to the length, plus the thickness of two boards (3/4″ x2) to get the measurements.

For my 30×40″ canvas, that came to total frame size of 41 3/4″ by 31 3/4″ (measuring from outside to outside). You don’t have to miter cut the edges, but I think it looks more professional that way.