Are you ready to immerse yourself in the enchanting world of watercolor tree painting? Join me on a creative journey as we delve into the step-by-step tutorials that will unlock your artistic potential.
Easy Watercolour Forest Tutorial for Beginners (With Pine Trees)
Are you looking for an easy watercolour forest tutorial that’s beginner-friendly?
If so,, you’ve come to the right place!
In this easy step-by-step watercolour tutorial, you’ll learn:
- How to apply the wet-on-wet technique to create a simple blue sky background.
- How to paint easy pine trees by applying the wet-on-dry technique.
- How to layer the trees multiple times to create the watercolour forest.
Without further ado, let’s get started!
Table of Contents
How to Paint an Easy Watercolour Forest for Beginners: Video Tutorial

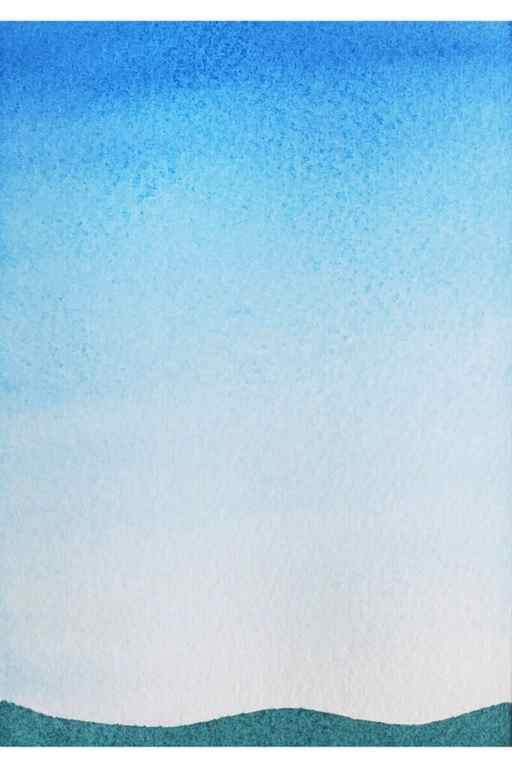
Dilute Phthalo Blue (or another blue of your choice) into a mixing well by combining the pigment with water. Then, load up your mop or large flat paintbrush.
Next, use the wet-on-wet technique to paint the blue sky background. Start at the top of the page (where the pigment is most concentrated) and work your way down the paper.
Add more water as you progress down the page so that the blue pigment becomes fairly light by the time it reaches the bottom of the paper.
Wait for the layer to dry.
Step 2: Paint the Background (2nd Layer)

Next, use the wet-on-dry technique to paint the blue sky background. Switch to a round brush this time and don’t worry about making the sky perfectly smooth.
So, start at the top of the page (where the pigment is most concentrated) and work your way down the paper. Add more water as you progress down the page so that the blue pigment becomes lighter.
If you need to, add a bit more pigment to the top to make the sky appear more vibrant.
Wait for the layer to dry.
Step 3: Paint the Forest Ground
While the first layer is drying, dilute Forest Green (or another green of your choice) into a mixing well. In the paint-to-water ratio, there should be equal parts paint and water.
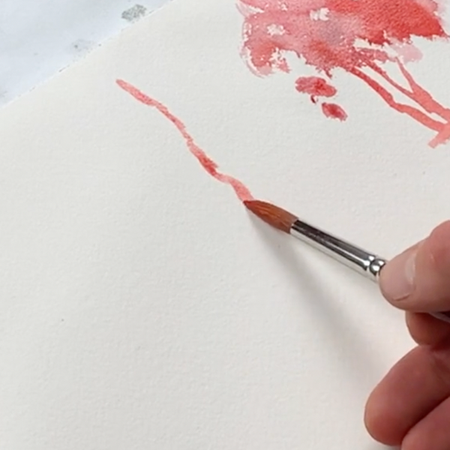
Switch to your round brush and paint an uneven line near the bottom of the paper. This line represents the ground.
To make it look realistic, the ground should be uneven and somewhat sloped. Fill in the entire area with pigment at the bottom of the page.
Wait for the layer to dry.
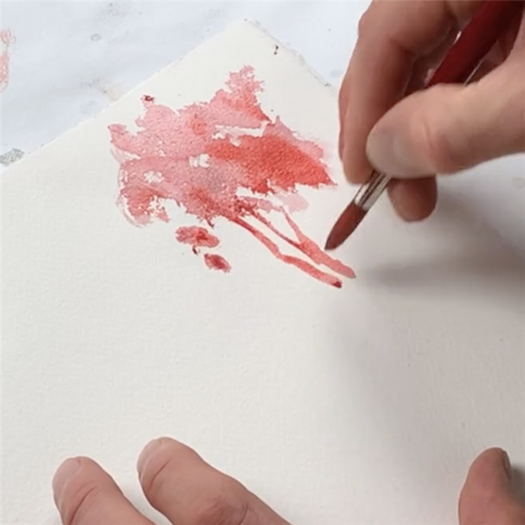
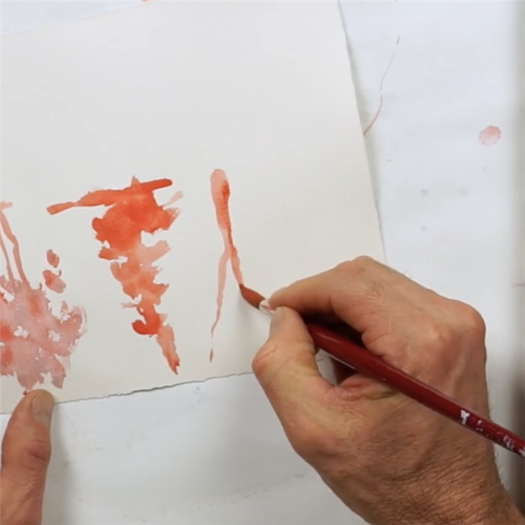
Step 4: Paint the Pine Trees in the Background

Load up your round brush with lightly diluted green pigment and draw several thin lines along the bottom third of the paper. These think lines represent tree trunks.
Then, use the tip of your brush to create small dabs of paint at the top of the trunk. The top of the tree trunk should be lighter and more sparse.
As you work your way down the tree trunk in a zigzag, the dabs of paint should become darker and fuller to indicate more volume at the bottom.
Wait for the layer to dry.
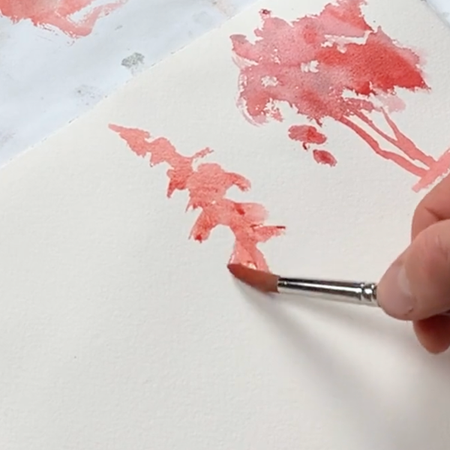
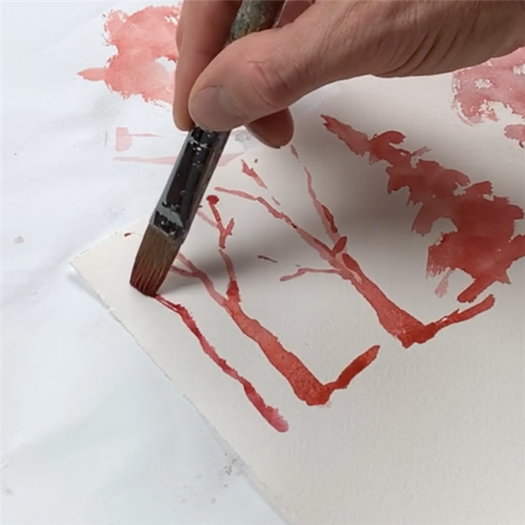
Step 5: Paint the Pine Trees in the Foreground
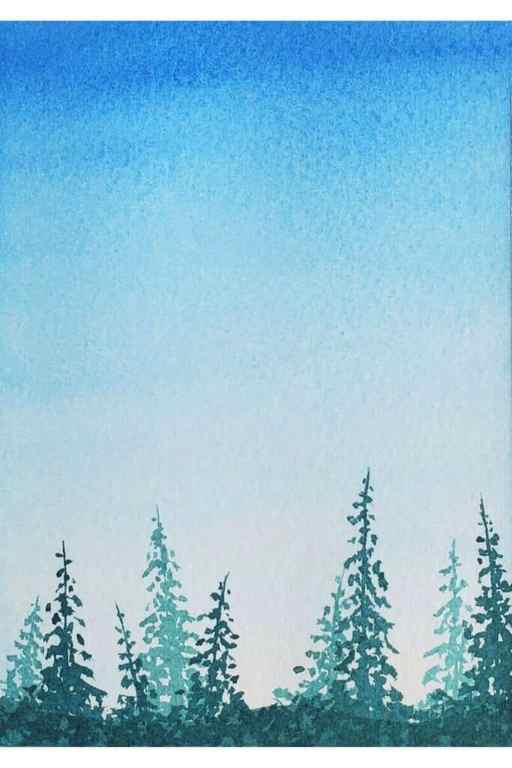
Repeat the steps from the previous section once again. But this time, make sure that the trees overlap one another.
As well, this layer of pine trees needs to incorporate medium values because these trees are closer to the foreground.
Wait for the layer to dry.
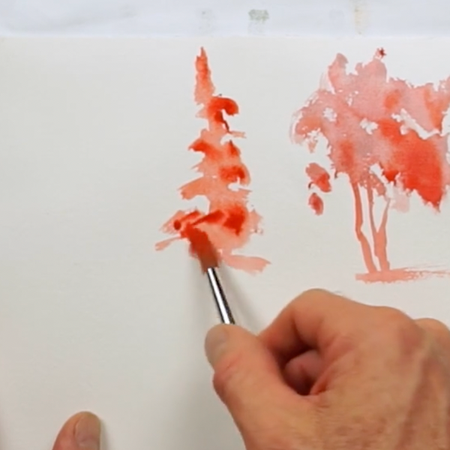
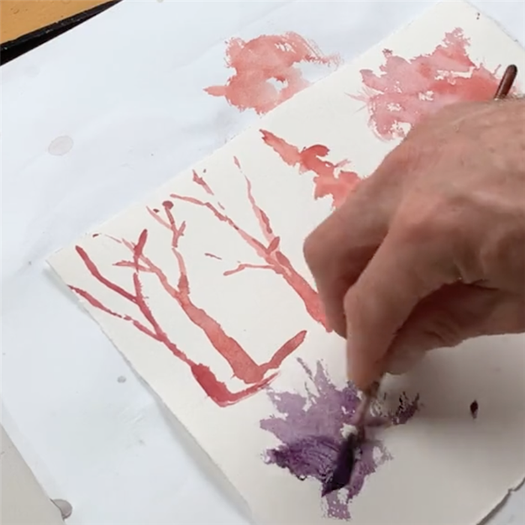
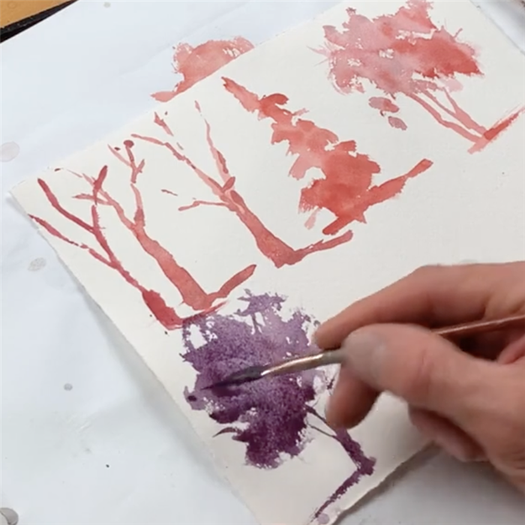
Step 6: Paint the Pine Trees in the Foreground
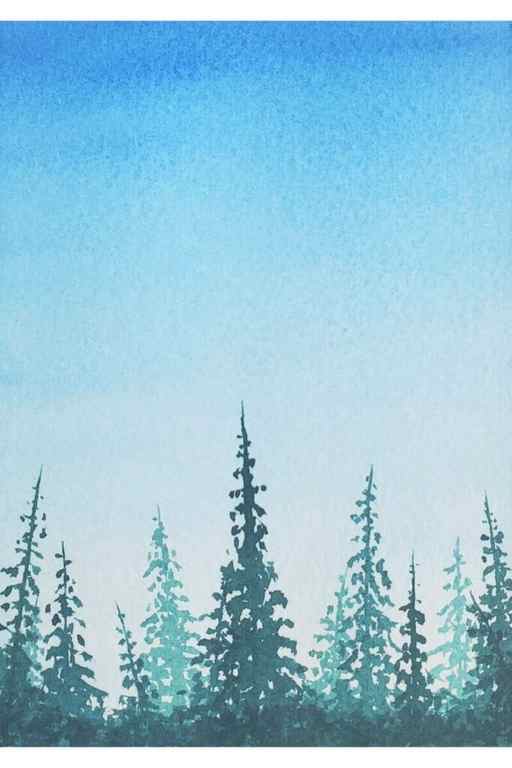
Last, repeat the steps from the previous section one last time. The trees you paint in the foreground should be the darkest because objects closer to the viewer are easier to see.
Since these trees are easier to see, add some more texture to the branches.
Finally, darken the pigment along the bottom of the painting to create the texture of grass.
Wait for the layer to dry.
Conclusion
Congratulations, you just completed the watercolour forest tutorial!
Now, you have the knowledge to paint watercolour forests. So, try experimenting with different trees and colours to create variations of this painting.
If you enjoyed this tutorial, you’ll probably enjoy the following tutorial. So, the next step is to check them out by clicking the link below!
MIRANDA BALOGH is an artist who loves teaching her audience how to paint confidently with watercolours. As a former ESL teacher, she uses online education to inspire artists to leverage their skills in an increasingly visual and digital world. Subscribe to her art channel on YouTube to enjoy more art content!
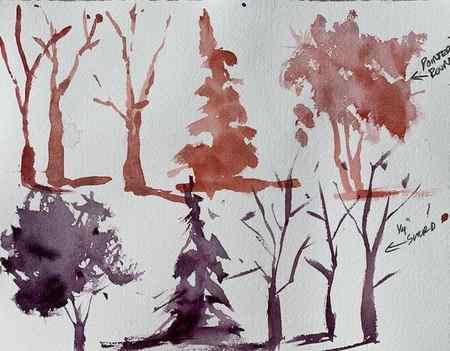
Let’s start painting awesome trees with watercolors
By simplifying the complexities of tree painting, you’ll gain confidence and find your artistic groove. This general model provides a solid foundation that can be customized to suit your style and preferences, allowing you to adapt and evolve as you progress.
In Tutorial One, we’ll explore the step-by-step process for painting a simple tree
Step one: Begin with the technique of scumbling, delicately applying paint using the side of the brush to create a textured effect. Remember to leave sky holes, allowing glimpses of the sky through the leaves.

Step two: Next, charge the color by layering thicker paint onto the initial wash, adding depth and dimension.
Step three: Finally, capture the essence of the tree trunks by painting them in short sections, varying brush angles to mimic the natural irregularity of tree forms.

Watercolor Landscape Workshop
Here’s a great beginner course for learning to paint landscapes using various techniques. It covers skies, trees, grass, rocks and more. You’ll love it!
Tutorial Two unveils the secrets of painting pine trees with watercolors
Using the same fundamental steps as in the previous tutorial, we’ll modify our approach to capture the unique characteristics of pine trees.
Step one: Start by painting the trunk with the tip of the bristles, gradually increasing thickness towards the base.
Step two: Use the scumbling technique to depict the intricate needles and branches, employing horizontal strokes and varying pressure to achieve a realistic texture.
Step three: Once again, charge the color to infuse the tree with richness and depth.
In Tutorial Three, we embrace the winter landscape tree
This approach allows you to paint a leafless trees that evoke the serenity of the season.
Step one: An interesting twist awaits as we turn the paper upside down, allowing for unpredictable and captivating tree trunks. Begin with bold strokes at the base, gradually decreasing pressure as you ascend towards the top. Add delicate branches and employ charging techniques to imbue the painting with a sense of winter’s ethereal beauty.
Step two: For those eager to experiment and push the boundaries of traditional techniques, I encourage you to try alternative brushes such as bristle brushes or the fan brush. Embrace the textured effects they can create, adding a new layer of interest to your tree paintings.
Remember, you don’t need to paint every leaf on the tree; focus on capturing the essence of the subject by highlighting the most significant elements and shaping the outer silhouette.

Ultimage Beginner Watercolor Course
Looking for an in-depth beginner watercolor course that will guide you in mastering one of the most challenging mediums on the planet? Look no further!
Step three: Finally, unleash your creativity with a dagger brush, employing scumbling techniques to create lush clusters of leaves. Charge the colors to bring vibrancy and realism to your artwork, and add the finishing touch of tree trunks to ground the composition. Embrace the joy of experimentation, for it is through exploration that we truly grow as artists.
Step four: As you continue on your watercolor tree painting journey, remember to have a general model in place to guide your artistic decisions while leaving room for personal interpretation. Allow your imagination to flourish and your skills to flourish as you immerse yourself in the serene beauty of watercolor tree painting. With practice and persistence, you’ll witness your landscapes come to life with breathtaking realism and artistic expression.
Final thoughts
In conclusion, I hope this comprehensive tutorial has inspired you to pick up your brushes and embark on the delightful adventure of painting watercolor trees. Whether you choose to paint simple trees, pine trees, or leafless winter trees, these techniques will empower you to create your own masterpiece.
So gather your supplies, unleash your creativity, and let the beauty of nature inspire your artistic endeavors. Remember, if you have any questions or need further guidance, don’t hesitate to reach out. Happy painting!
Intermediate Guide Wet-in-Wet Watercolor Washes Part 2
In this comprehensive tutorial, we’re delving deep into the fascinating world of variegated wet-in-wet wash techniques.
Nov 6, 2023 4 min read
Intermediate Guide Wet-in-Wet Watercolor Washes Part 1
Dive into the enchanting world of watercolors, where your canvas becomes a playground of creativity and expression. Intermediate artists tips.
Nov 1, 2023 5 min read


