Because in this well-reviewed course, you learn how to design many types of flowers to use in your paintings and drawings.
How to Paint Watercolour Florals for Beginners (10 Minute Tutorial)
Did you know that learning how to paint watercolour florals for beginners is one of the easiest ways to get started with watercolour?
Contrary to popular belief, you don’t have to start by painting realistic flowers. In fact, it’s smarter to first learn how to paint simple flowers.
This way, you can easily render watercolour flowers by breaking them down into simple shapes and brushstrokes.
To accomplish this goal, you’re going to need to learn three basic concepts:
- The shapes of petals, leaves, and stems.
- The simple brushstrokes you need to paint each shape.
- How to properly apply the wet-on-dry technique.
The best part is that once you understand these three basic concepts, you can apply them to paint a large variety of flowers.
DISCLOSURE: This page contains affiliate links. If you make a qualified purchase using any of the links, I’ll earn a small commission at no extra cost to you. I appreciate every sale because it allows me to create free content to promote the growth of this website.
Table of Contents
Materials You Will Need
Before you start, it’s best to take out your watercolour supplies. For this tutorial, you’ll need the following:
- Watercolour paints (I’m using White Nights Watercolour Paints)
- Watercolour brushes (I’m using Silver Black Velvet Brushes)
- Watercolour paper (I’m using Arches Cold-Pressed Paper)
- Mixing palette (I’m using Meeden Porcelain Mixing Palette)
- Masking tape (I’m using Pro Artist Tape)
- 2 jars of clear water
- A cloth or some tissues (optional)
Gather your art supplies, tape your watercolour paper down, and then proceed to the next section.
Step 1: Paint the First Cluster of Leaves
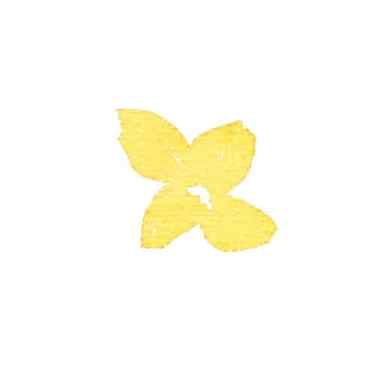
- In a mixing well, dilute the pigment that you’ve chosen for the petals of your flower. In this tutorial, we’re using an orange-yellow mixture. Load up your brush with a 50/50 ratio of paint to water.
- Identify the center of the flower so that you can leave this area white. Then, use the tip of your paintbrush to dab four small petals around this central point using the wet-on-dry technique. Each petal should be curved, somewhat oval in shape, and loosely painted.
- Wait for the layer to dry.
Easy Way to Paint Flowers – No Brush Painting
This article teaches children how to make pretty flowers out of plastic. It’s an easy and fun craft project to do with simple materials and instructions. It’s perfect for a day when it’s raining or a school project that requires creativity.
This tutorial brings to you a flower painting done in a unique way using plastic bags and watercolors. It’s a fun to make and can be done as an activity with your friends and class fellows. You don’t have to work separately on making the petals. They will be done in one go. So, collect all the material required, and let’s get started.
Easy Way to Paint Flowers – DIY Colorful Flowers Painting with Polythene Dip

- A white sheet of paper
- A pair of scissors
- Watercolors
- Polythene bags
- Earbuds
- Mixing palette
Procedure
Step 1: Starting With The Sheet Of Paper
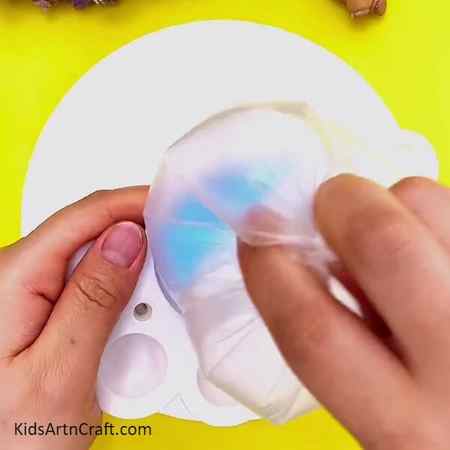
Take a white sheet of paper and cut a big circle out of it and place it on the table. Now, take a polythene bag and fill ai in it and tie a knot in the middle of the bag. Finally, wrap the inflated part with the open-ended area above the knot. See the picture below for reference.
Step 2: Painting The Bag
Hold the wrapped ends of the bag tightly. Now, take some blue paint on a mixing palette and dip the area around the knot in this blue paint as shown in the picture below.
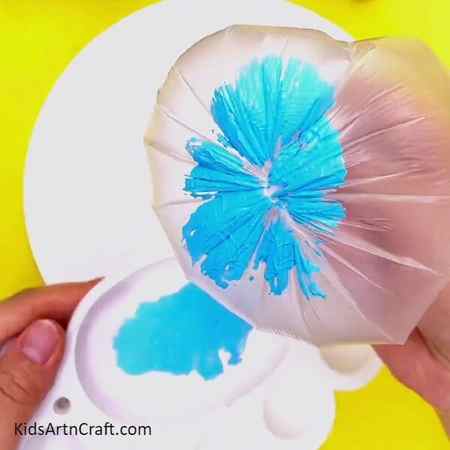
Step 3: Stamping The Bag On The Sheet
Stamp the painted polythene bag on the top of the white sheet as shown in the picture below.
Step 4: First Stamped Flower
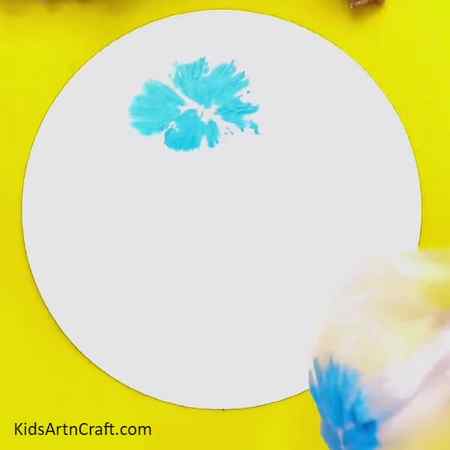
This gives us our first stamped flower with its unique blue petals as shown in the picture below.
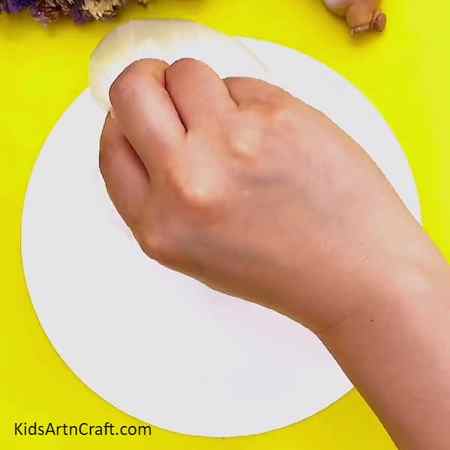
Step 5: Stamping Some More Flowers
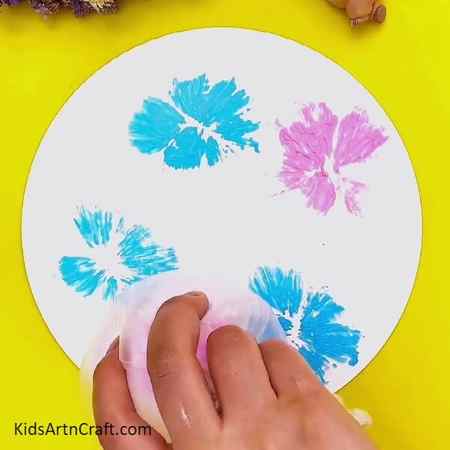
Take a clean polythene bag and repeat the process of inflating and tying a knot before dipping it in pink paint. Now, stamp this bag on the right side of the blue flower. Taking the bag painted blue, dip it in blue paint again, and stamp it twice at the bottom of the sheet. Finally, dip the bag painted pink in some pink paint and stamp it in between the two blue flowers at the bottom. See the picture below for reference.
Step 6: Stamping Some Purple Flowers
Take a fresh polythene bag and repeat the process of inflating and tying a knot before dipping it in some purple paint. Now, stamp the bag on the sheet thrice throughout the middle section of the sheet. See the picture below for reference.
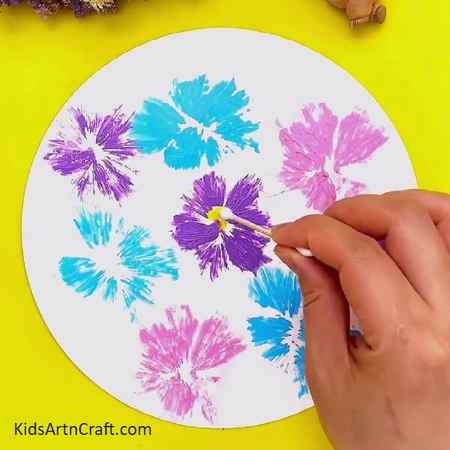
Step 7: Painting With The Earbuds
Take an earbud and dip it in some yellow paint. Now paint the small area in the middle of each flower by making closely clustered dots using this earbud. See the picture below for reference.
Step 8: Painting Some Leaves
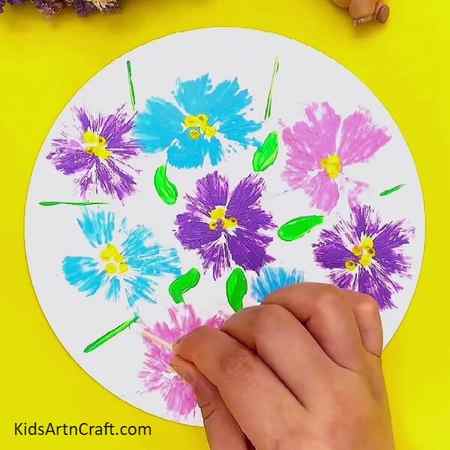
Take a clean earbud and dip it in some green paint. Now, make five small leaf-like structures around the purple flower in the middle of the sheet. Then make thin, small lines in between each flower using the same green-painted earbuds. See the picture below for reference.
Step 9: Making Small Dots Around The Lines

Make tiny green dots on each side of the lines that you just made between the flowers. See the picture below for reference.
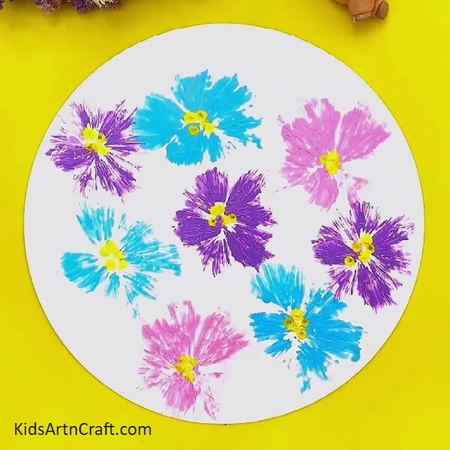
Hurray ! Finally Your Colourful Flower Painting Is Ready
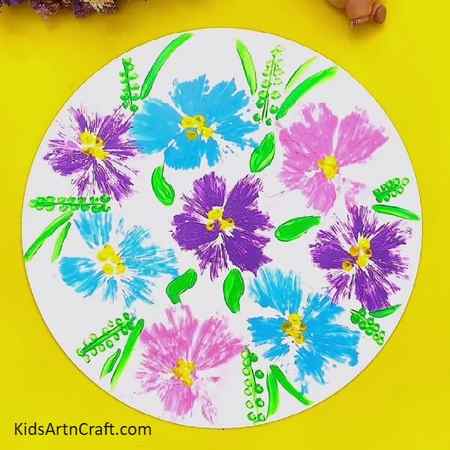
Paint some more long leaves on one of the sides of each line. Use the same earbuds for painting these leaves. See the picture below for reference
This completes the tutorial and we are left with an amazing flower painting. Today, you learned to paint using unique methods and materials to achieve the finish desired. It taught you great painting skills and it also taught how to work smart while making crafts. You can hang it on the walls of your room or paste it in your art book. It will even look great in your drawing room as a decorative painting. Keep practicing the techniques that you learn in these tutorials and keep inventing new ideas to make your craft more original and unique.
See you in the next tutorial with another unique craft. Till then, good luck and goodbye.
Thank you for visiting our website.
Follow us on Youtube for art and craft tutorials and much more.
More Articles from Kids Art & Craft
- Recycled Egg Tray Mushroom & Flower Craft – Step by Step Tutorial
- How to Make Paper Flower Ring Easy Tutorial
- Tissue Paper Flower Artwork For Kids
- DIY Flower Basket Step by Step Tutorials for Kids
- Cute Bunny Artwork Using Paint Tutorial For Kids
Related posts:
- Beautiful Rose Flower Pot Painting Idea For Beginners
- Recycled Egg Tray Mushroom & Flower Craft – Step by Step Tutorial
- How to Make Paper Flower Ring Easy Tutorial
- Tissue Paper Flower Artwork For Kids
- Underwater Starfish Drawing Creative Idea For Beginners
- How To Make Ostrich Easy Tutorial For Kids
- Cat Catching Fish Step-by-step Art Tutorial For Kids
- Pretty Straw Flower Bouquet Craft Tutorial For Kids


