Tips for painting bunny eyes on ceramics
- Supplies
- Video Downloads & DVDS
- Streaming Video
- How To Technique Packets
- Learning Center >
- Techniques
- Painting Tips Blog
- Q&A
- Free Projects
- Store
- >
- “How To” PDF Technique Packets
- >
- How to Paint Basic Eyes PDF

How to Paint Basic Eyes PDF
SKU: PDF-T001
16,99 $
16,99 $
Unavailable
per item
This Download is a 9 pg. packet that contains the step-by-step Technique for painting basic eyes by artist and teacher Shelley Long. It includes pictures and illustrations that will help you learn to paint basic eyes for your ceramic projects. This packet focuses on the basic shape straight ahead looking eye, but teaches you what you need to know to branch out and be creative. Most importantly, you will learn the step-by-step process for creating beautiful eye lashes.
Brushes can also be purchased here in the Supplies Section for 20% off after purchase of this technique sheet.
Quantity
Personal One on One Phone or Skype support with Shelley Long is also available to help walk you through any part of the packet or technique you need additional help with.
Advanced Eye Packet Coming soon
Our Company

Copyright © 2009 |
- Supplies
- Video Downloads & DVDS
- Streaming Video
- How To Technique Packets
- Learning Center >
- Techniques
- Painting Tips Blog
- Q&A
- Free Projects
Paint at Home
If you’d prefer to paint your ceramics at home, and not in the studio, we have a great solution for you! This is a great idea for home gatherings, family get-togethers and larger ‘project’ items where you’d rather have more time to create your masterpiece.
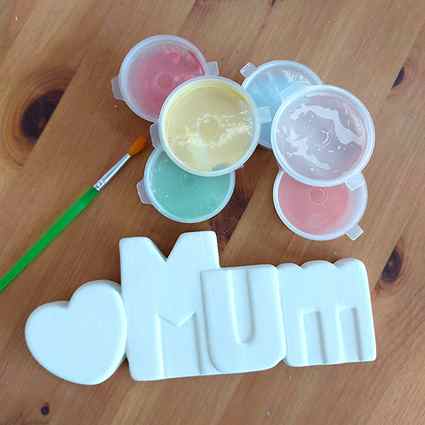
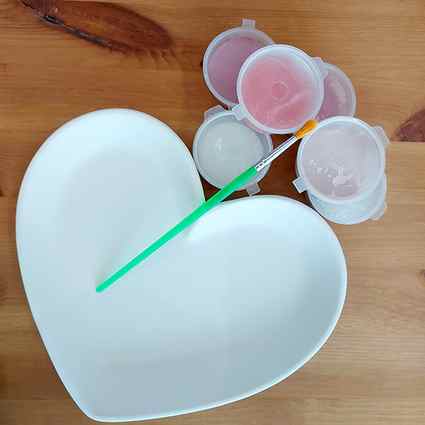
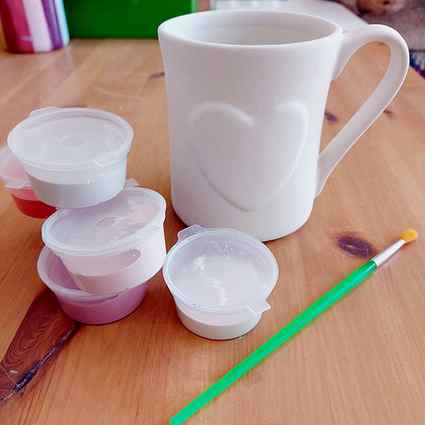
Pop into the studio and choose your ceramic pieces from our selection on the shelves. We have a huge range of ceramics to paint, from animals and letters as well as the usual functional items like plates, mugs and bowls.
Once you’ve chosen your item from our shelves, you can then choose your paints from our ready-to-go pots. We have every colour available at a cost of £1 per pot and you can choose as many or few colours as you like. If you choose 10 colours, you get 2 free plus a free paintbrush per item.
As the paints are ready to go, there’s no waiting involved.


Previous
Next
Painting Tips
GENERAL TIPS
- Use light colours first as light colours will not show over dark colours so plan your work!
- Apply 3 even coats for a solid colour
- Add a little water if the paint is too thick
- Use felt pen to draw designs – the pen will not show once fired DO NOT USE A PENCIL
- Clean brushes between colours
CREATING DOTS
Dots can be created using the other end of the paintbrush. You can create different size dots depending on the size of the brush. Practice on some paper to get the right size. You’ll see the size of the dot decreases with each impression. These dots make great eyes!
Different paint colours can be blended to create a graduated effect. This does take some practice, but is a superb technique for using colour, especially for rainbows. The paint needs to be loosened with water first, and blended with long brush strokes so the colours mix together where they touch.
Sponging is an easy technique to master which is great for covering large areas. Soak the sponge in paint (don’t add any water) and dab the sponge all over the item. Try to get an even coat as the texture will show once it’s fired.
Washes are a great way to cover a large area with a background colour, but you will need to choose a light colour if you intend to add a design on top. Loosen the paint with water to create a thin solution. Using a large brush, cover the surface of your bisque, working quickly as the paint dries quickly! The more layers you add, the darker the colour will be.


